Musical Instrument Building Projects
Drum Building Projects (2005)
An incomplete documentation of my Keller-shell snare drum projects.
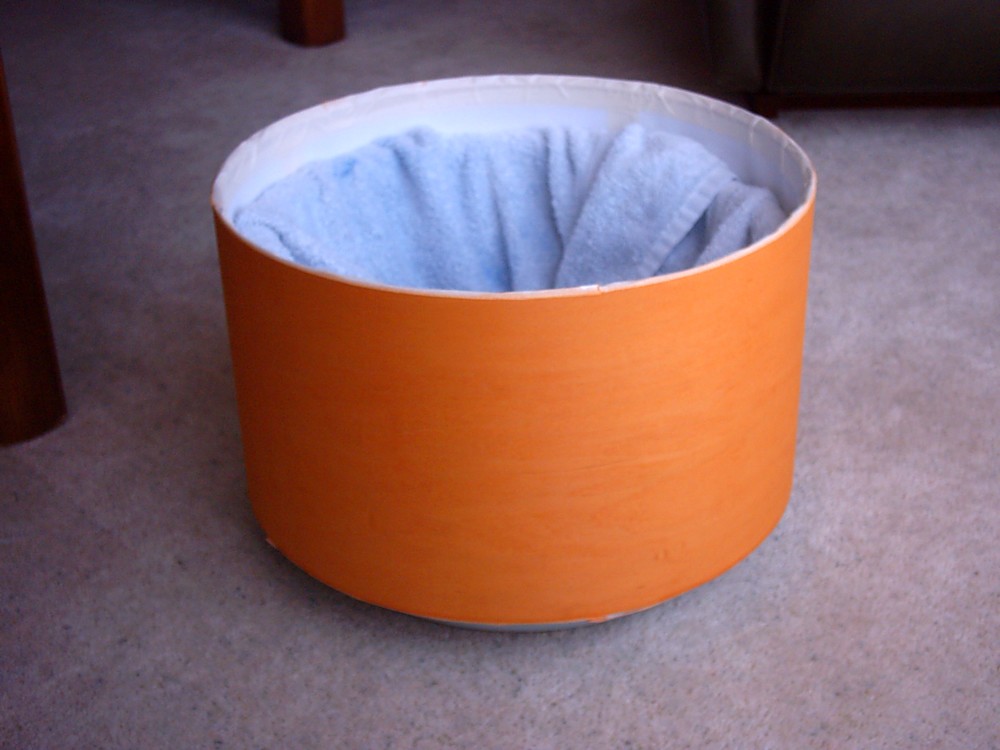
First shell - came with bearing edges and miniscule snare beds.
The first raw shell stained orange with water-based dye |
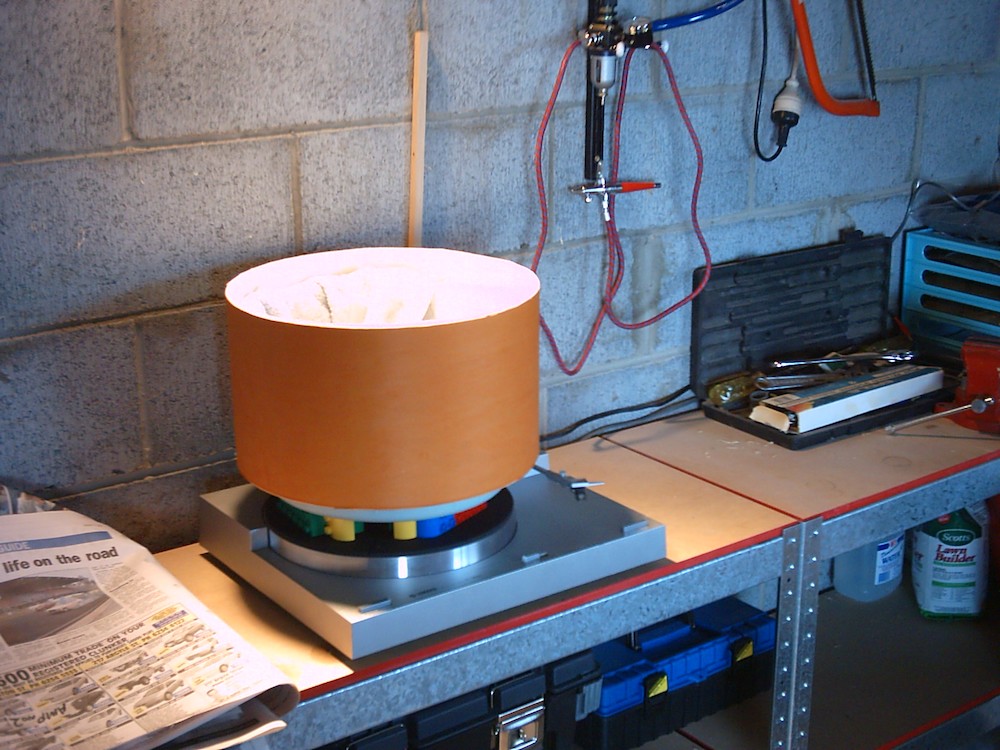
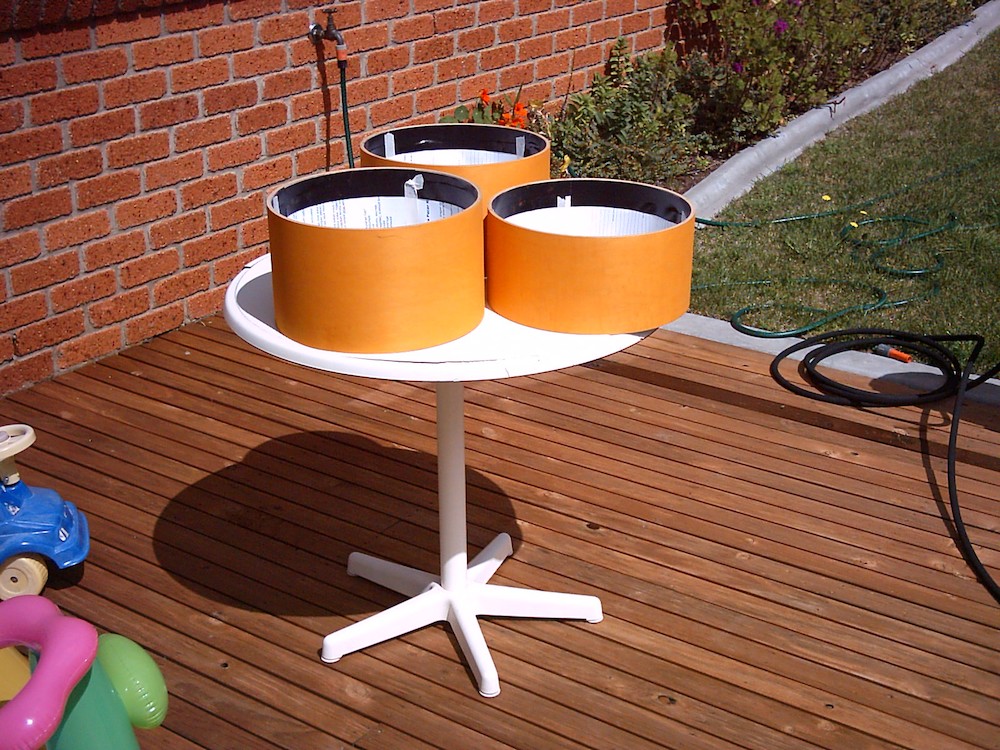
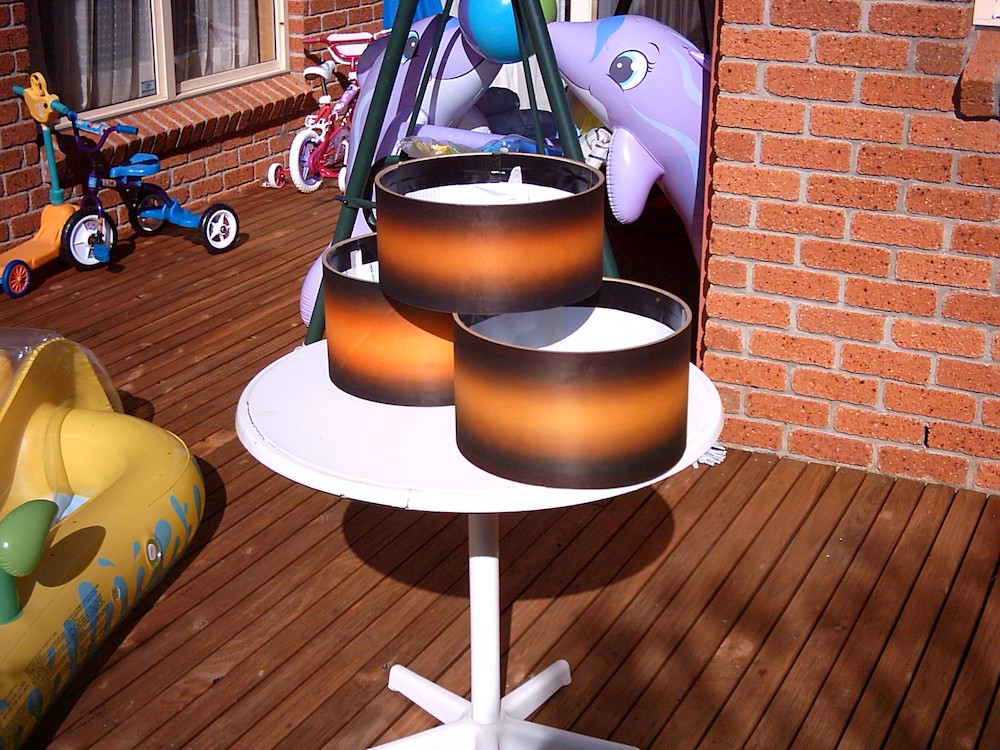
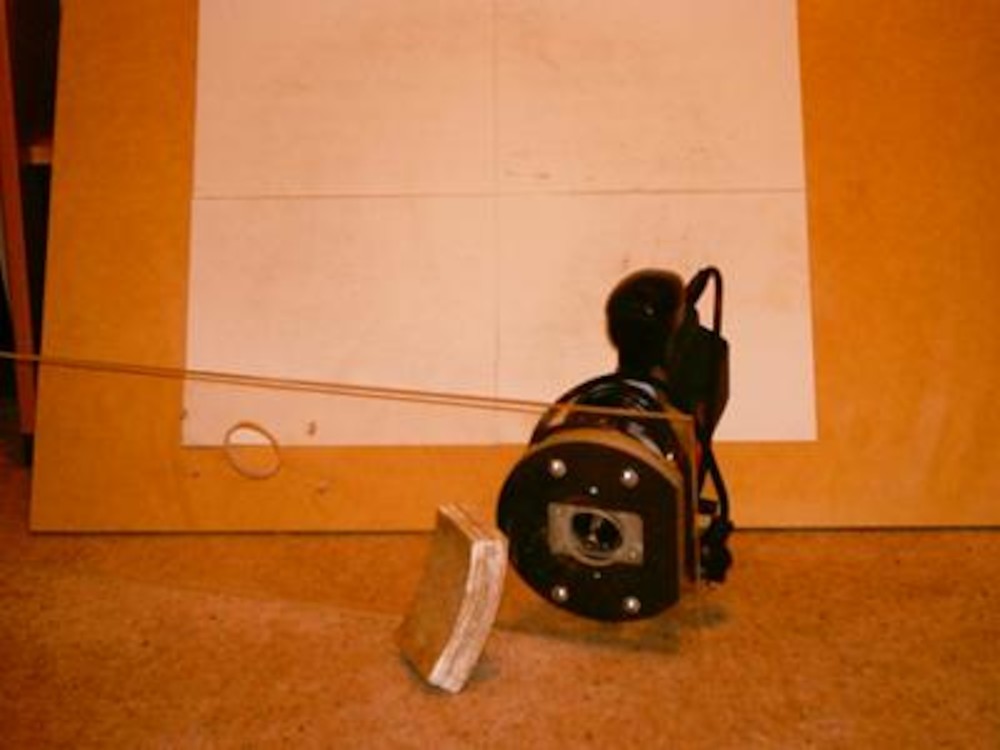
Ready for spraying the fade. Yes, that's a record player |
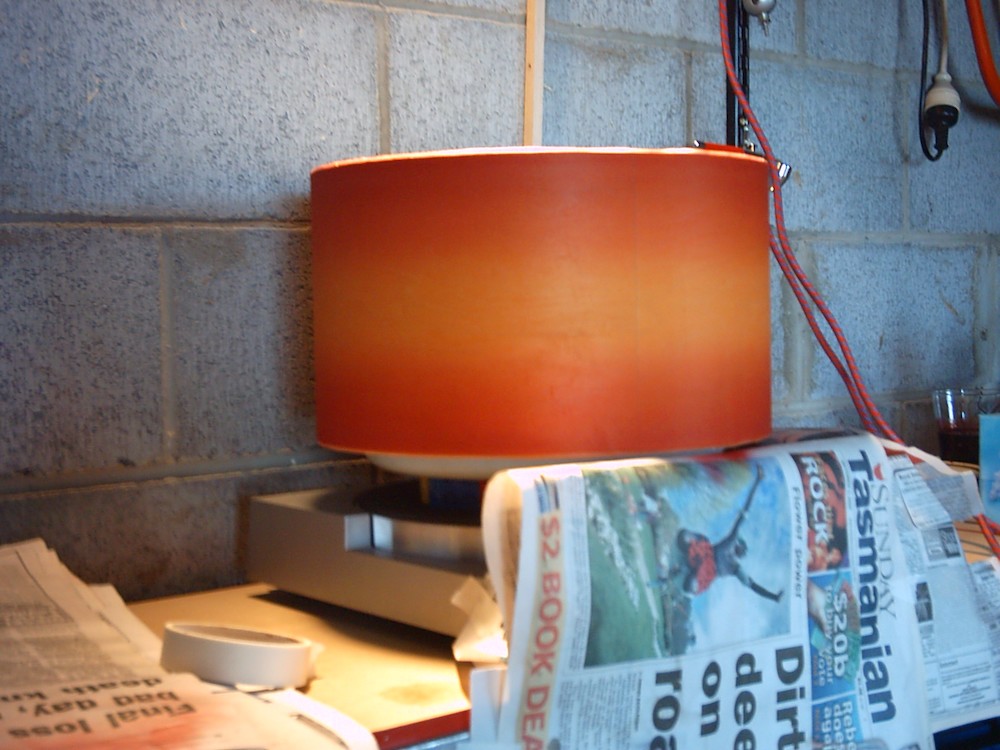
After spraying the red component of the fade with an airbrush. |
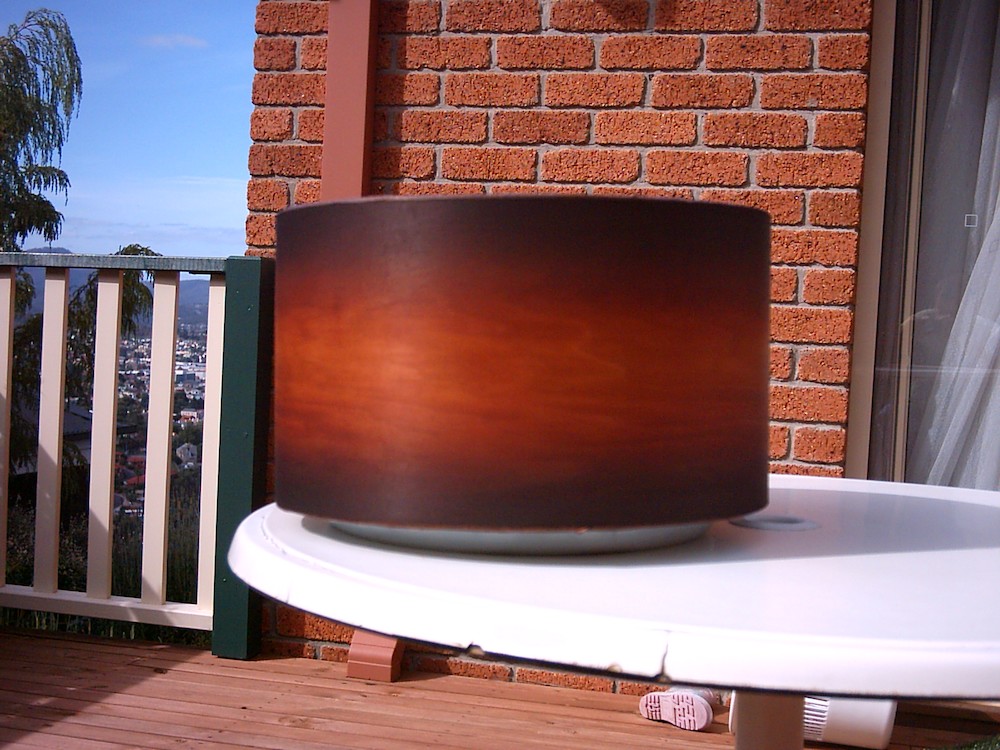
After the black component of the fade. |
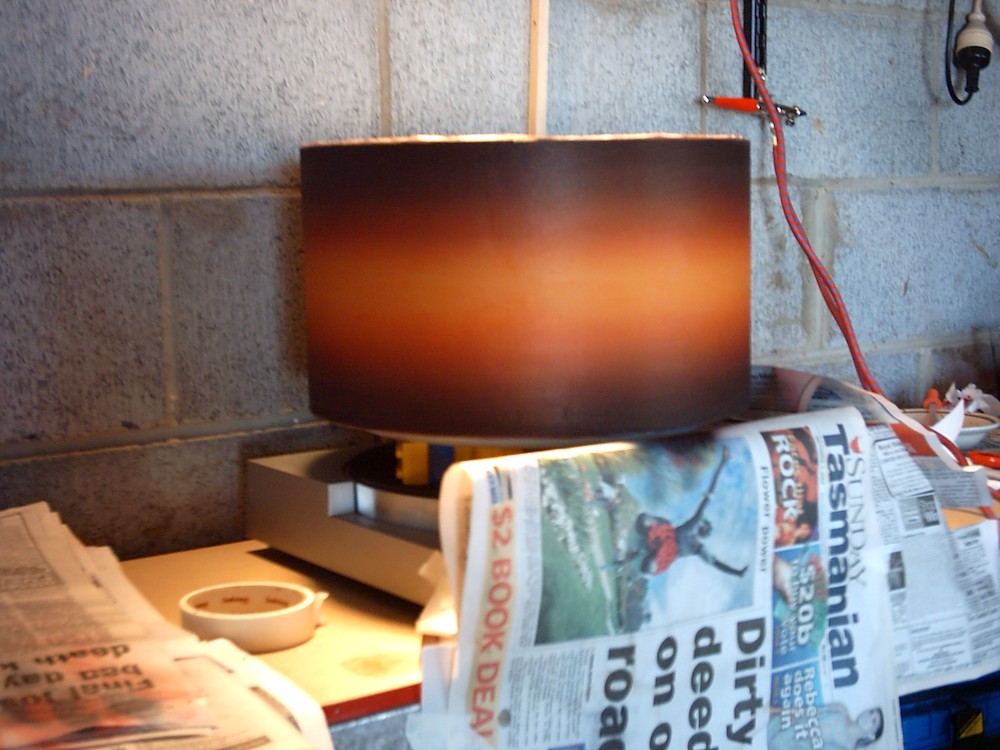
I then added a thinners-based stain to make the colours richer, and also accent the parts of the grain that resisted the water-based dye. |
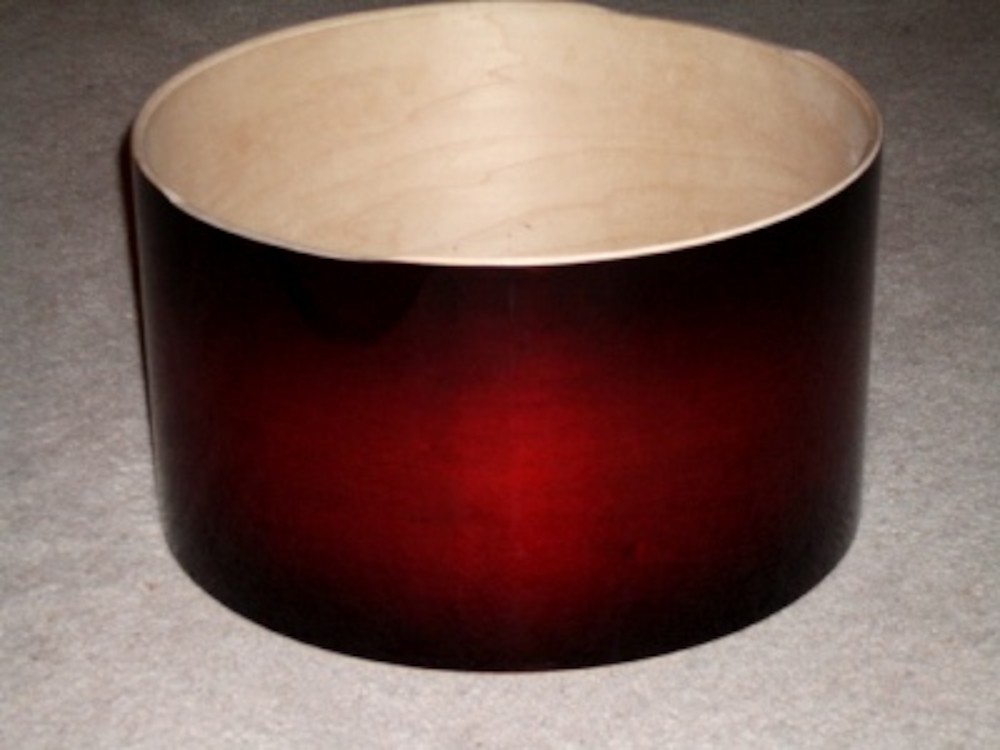
Disaster... while sanding a thin coat of polyurathane with wet sandpaper, I broke through to the wood. To cover up this debacle, I abandoned the dark caramel fade in favour of a black cherry fade. This is how the shell looks now, I also recut the bearing edges and snare beds. |
Second run - three shells from AIT, no bearing edges.
The orange water-based dye again |
Partway through spraying the fades |
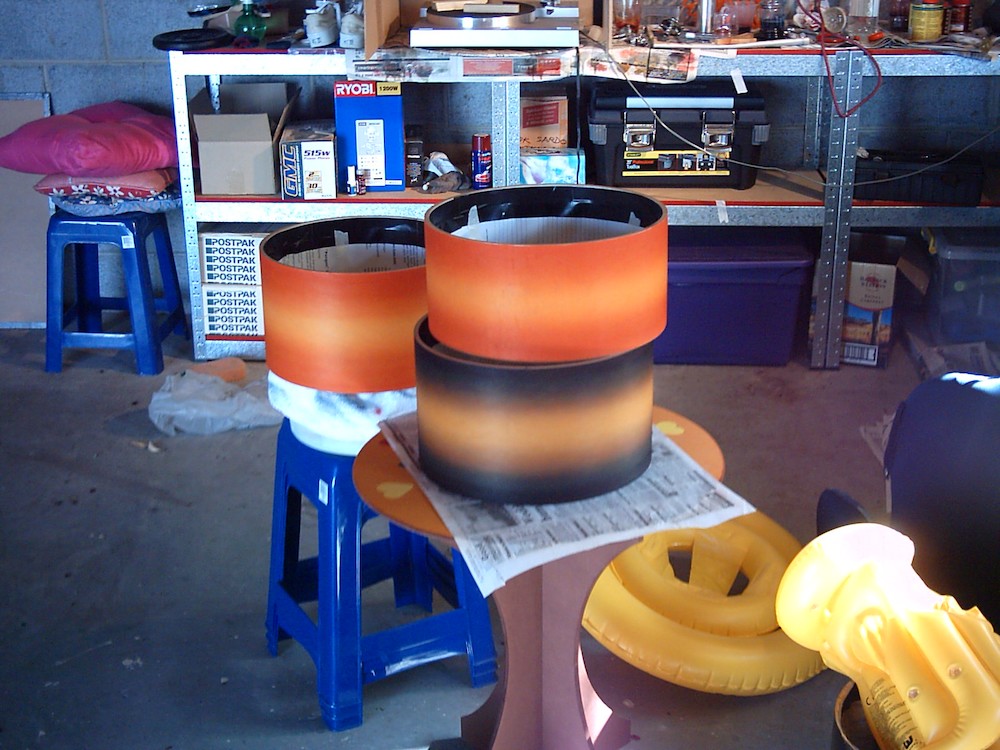
The spraying part of the fades completed |
After applying the woodstain. I intended to make the 6.5" snare darker, and used a different stain. However it was way too dark, so I ended up bleaching it and starting over. |

Incompletely documented: |
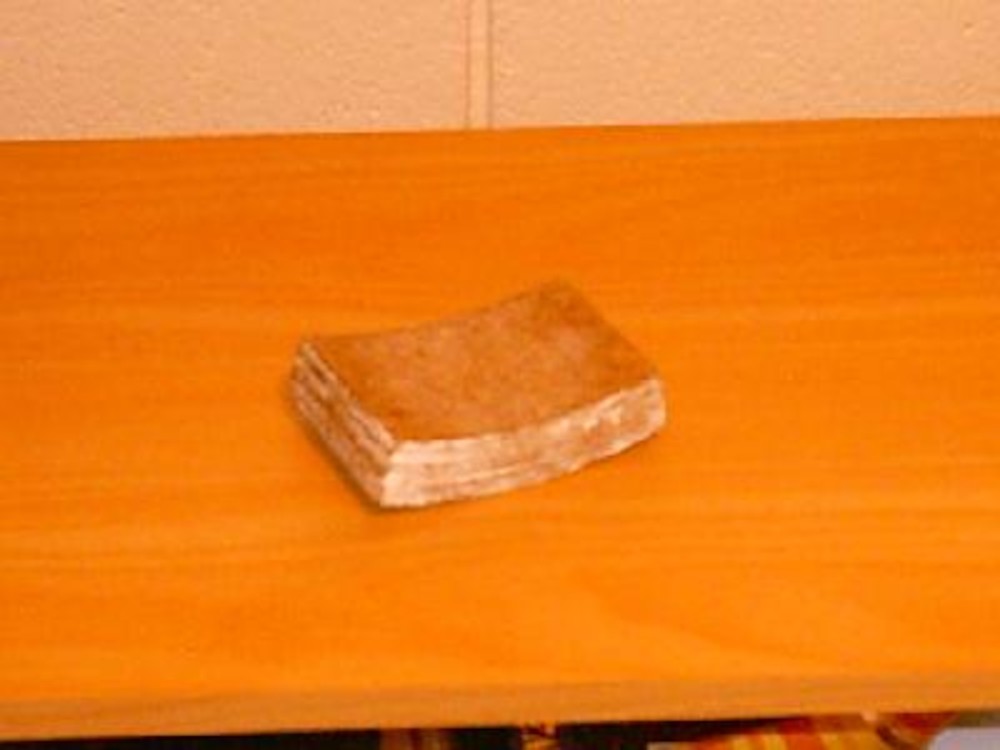
Essential tools: |
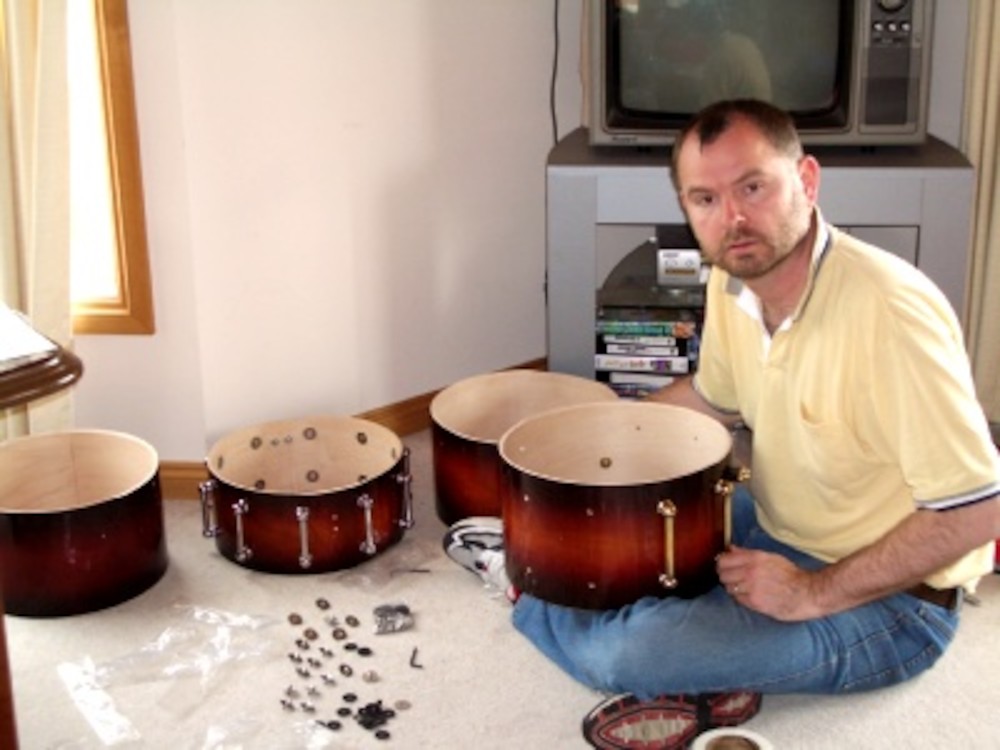
Assembling the first two drums
Attaching the lugs |
After all that work, a result at last! |
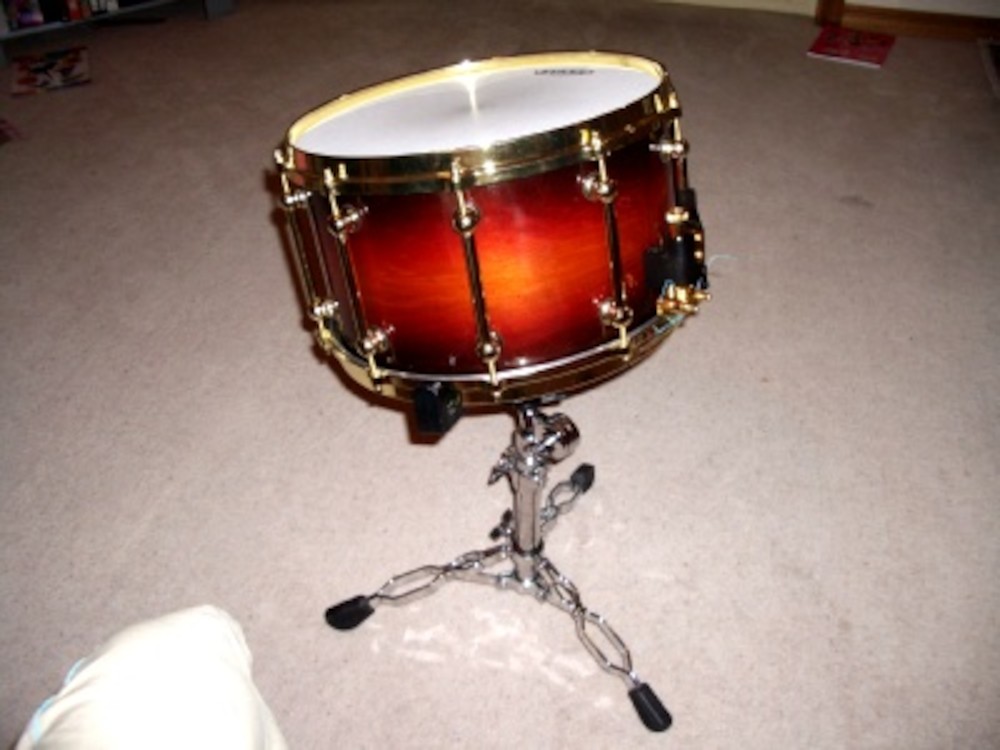
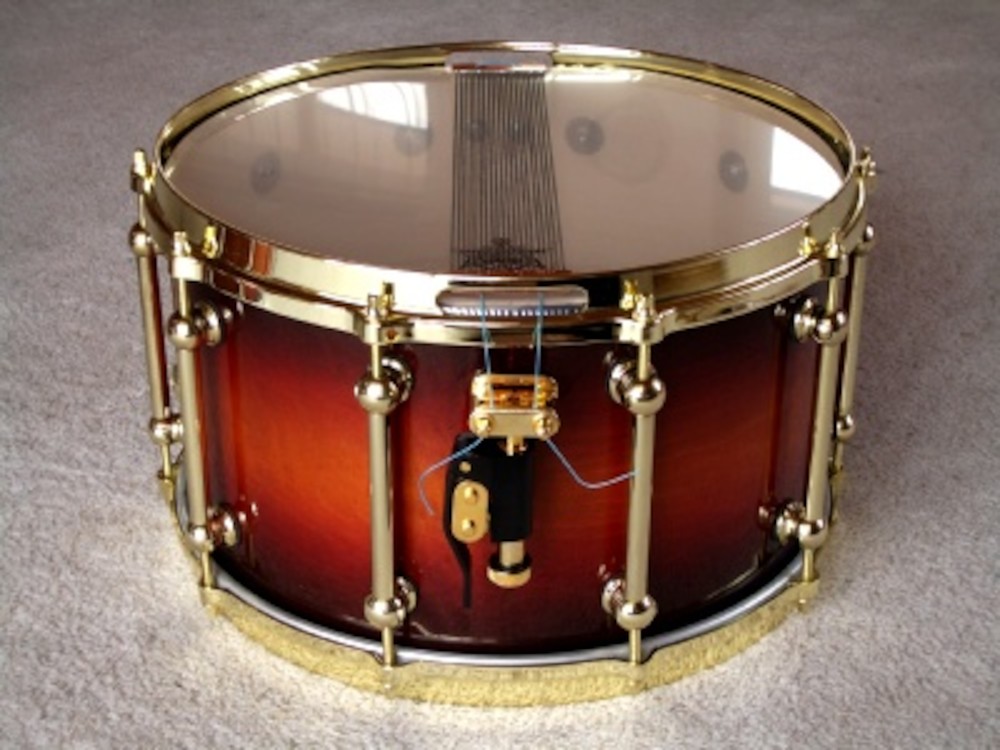
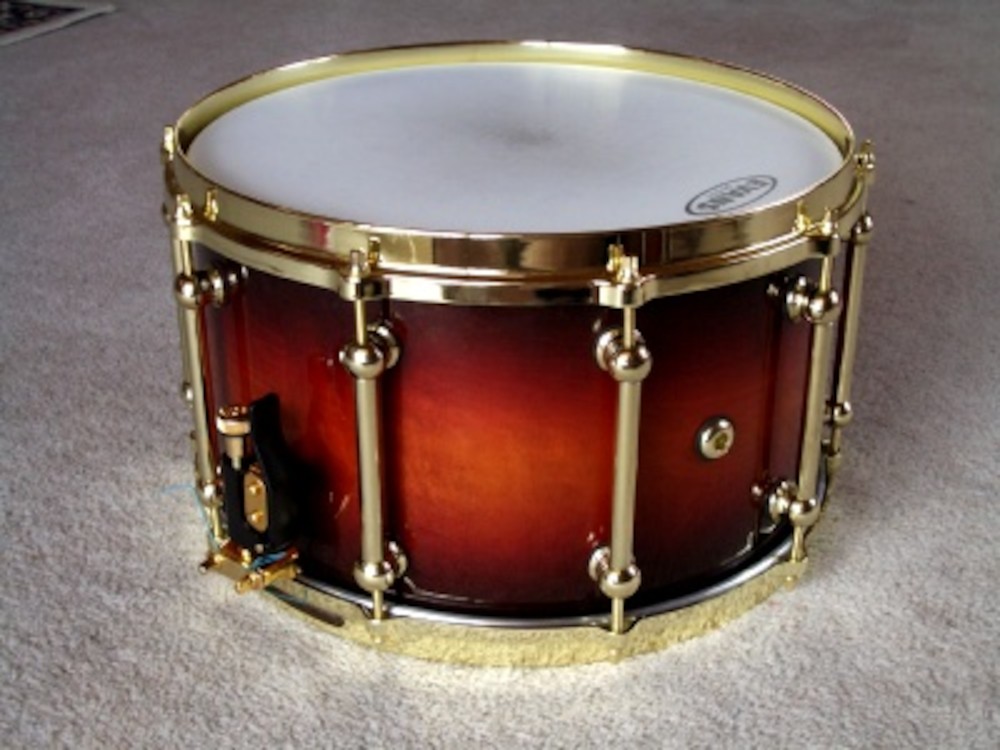
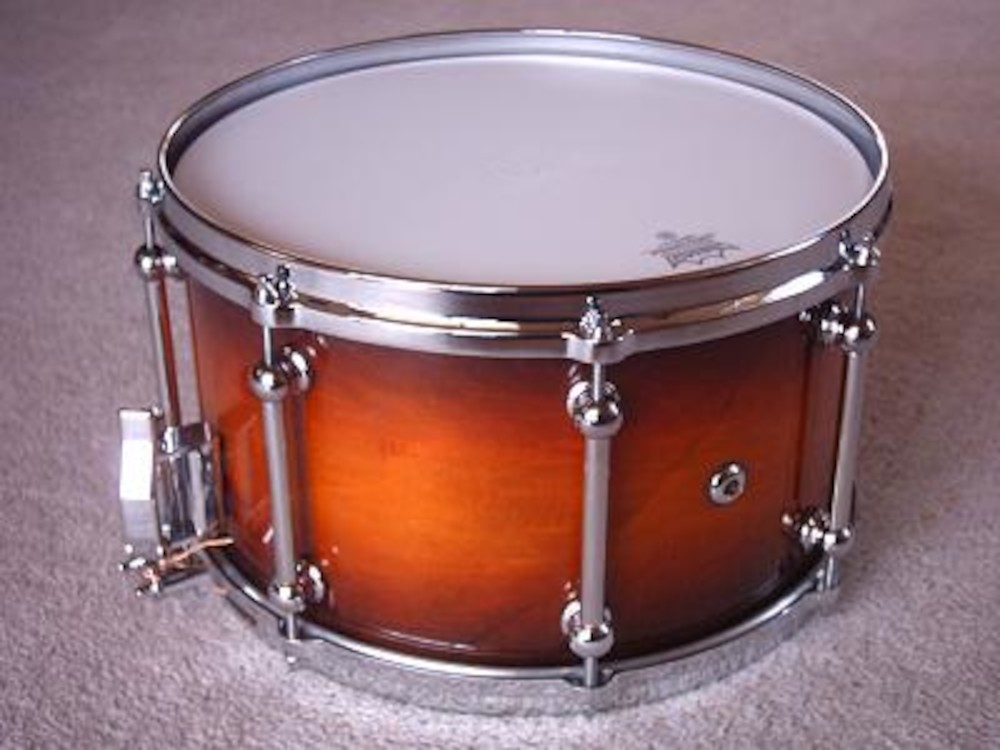
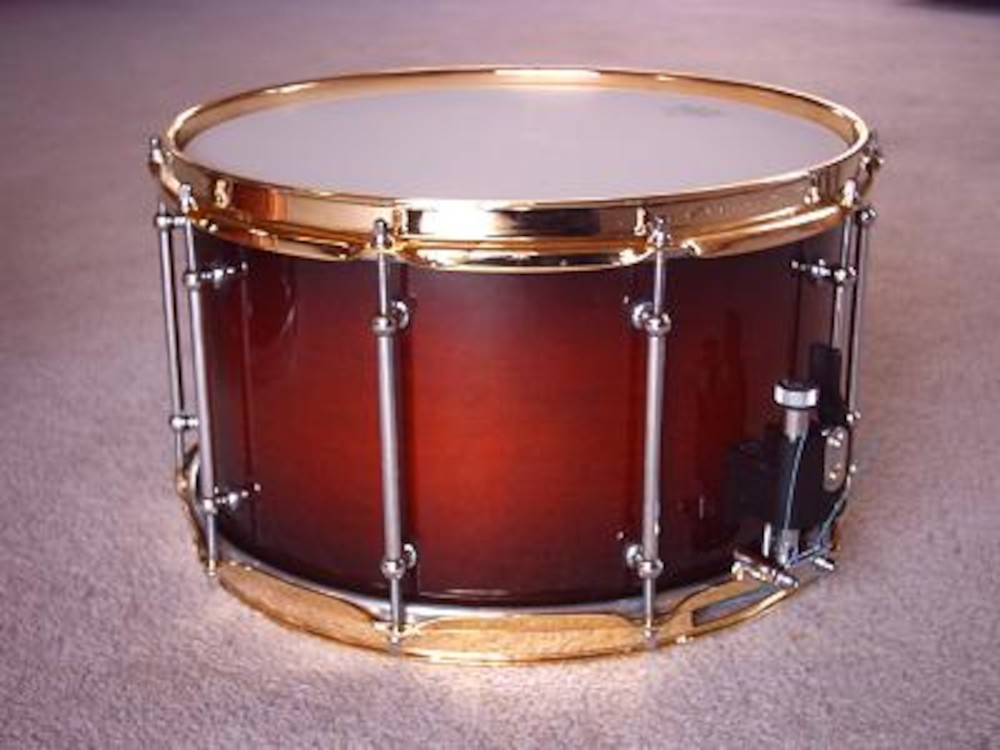
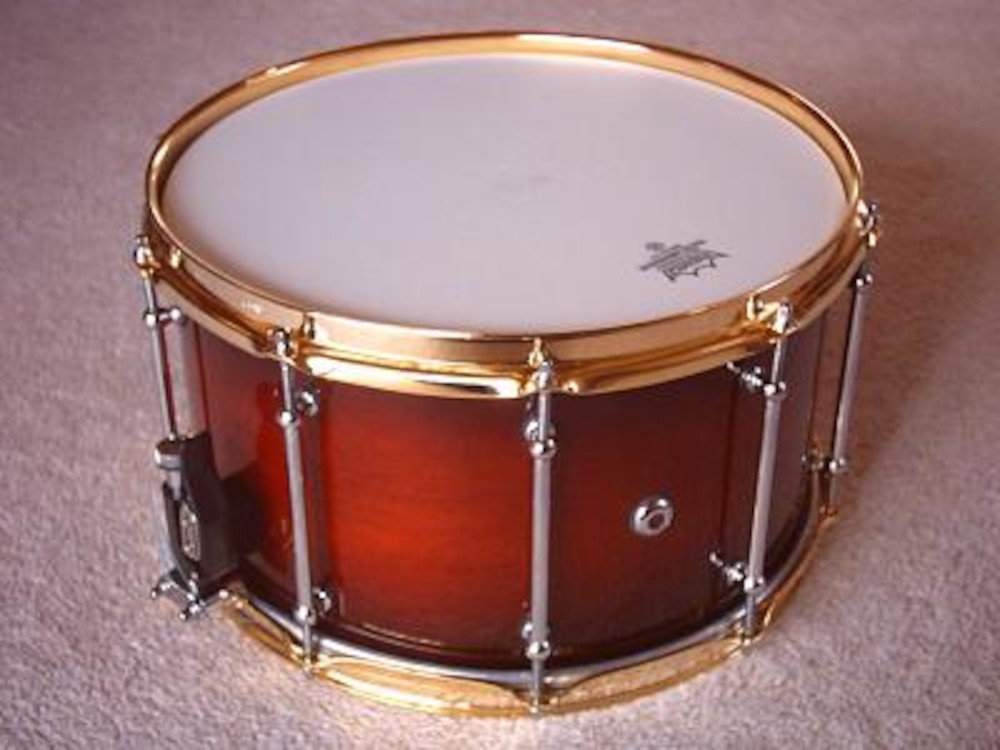
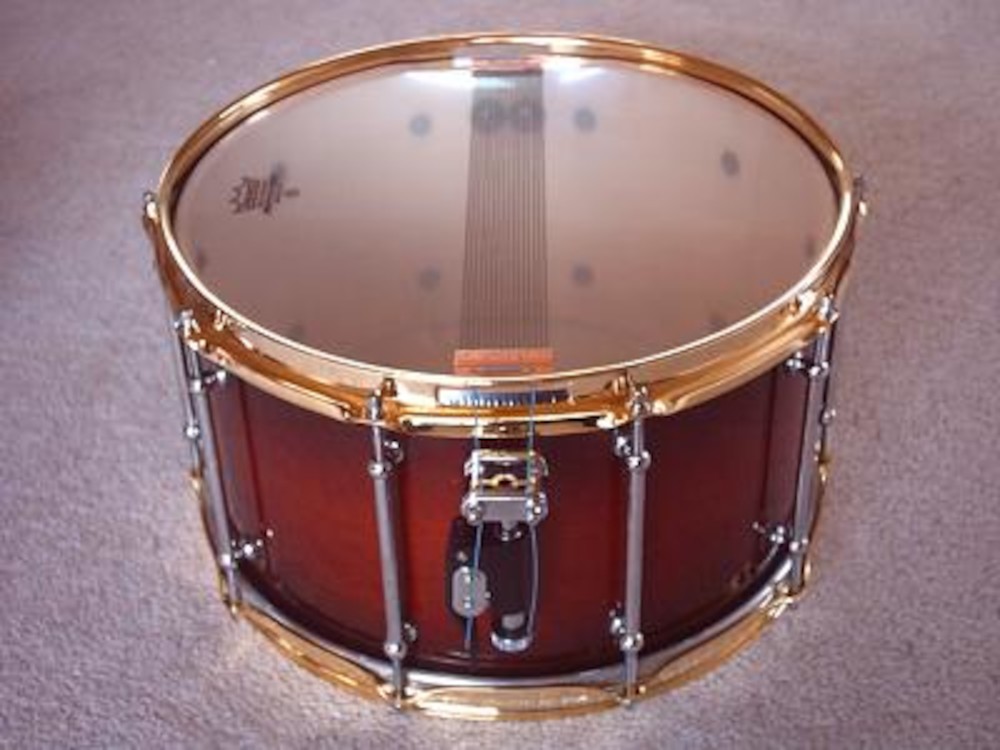
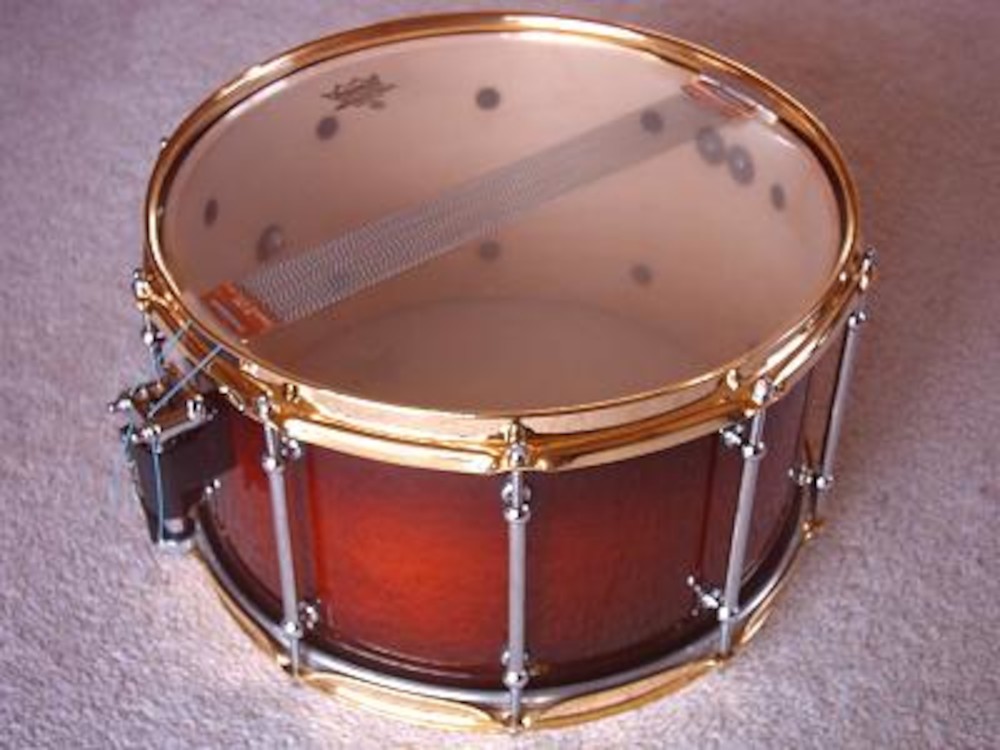
Bombasticus #1
|
|
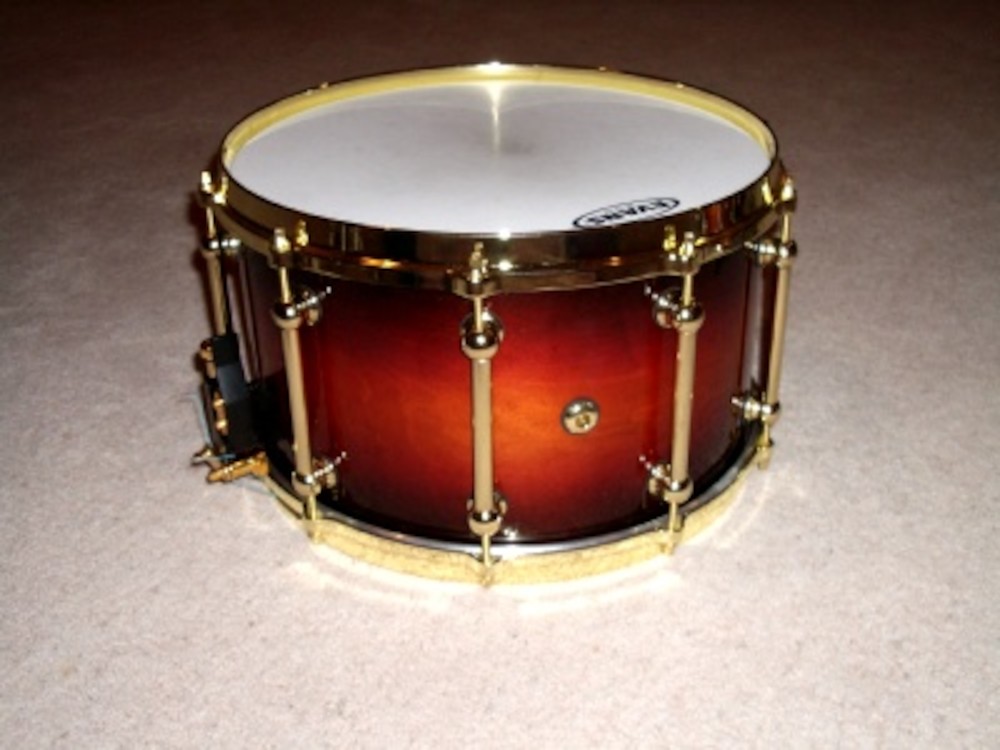
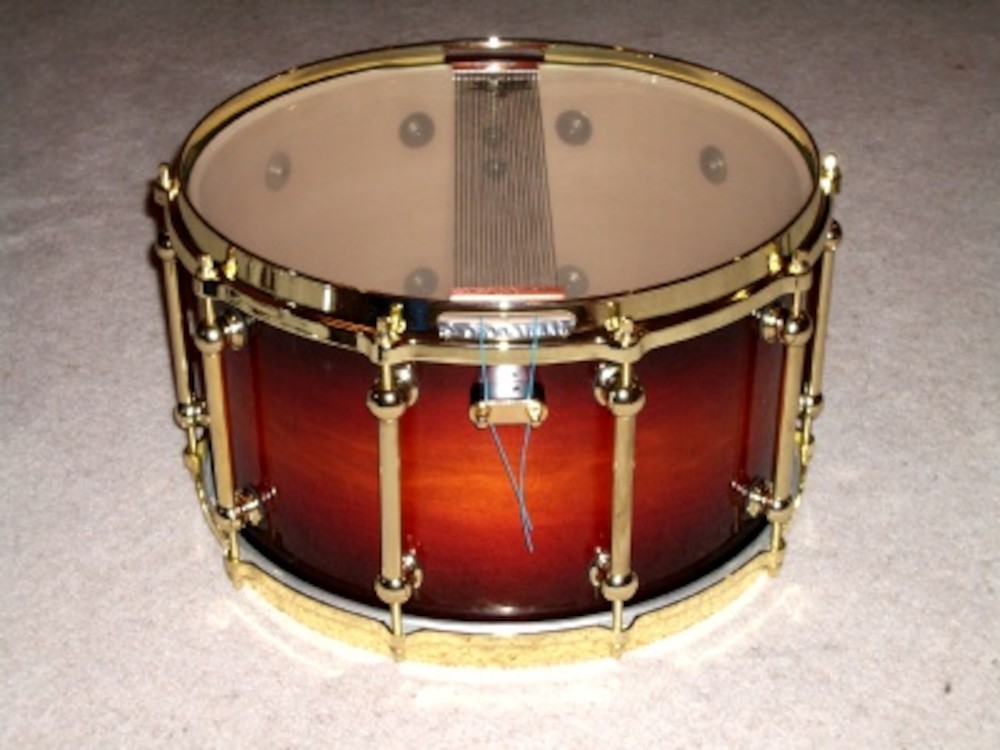
Keller maple shell with gloss deep caramel fade. |
Sound - somewhat dry with a concussive attack, supported by heaps of low-end thump.
Lay into it hard and you almost get a rimshot effect. |
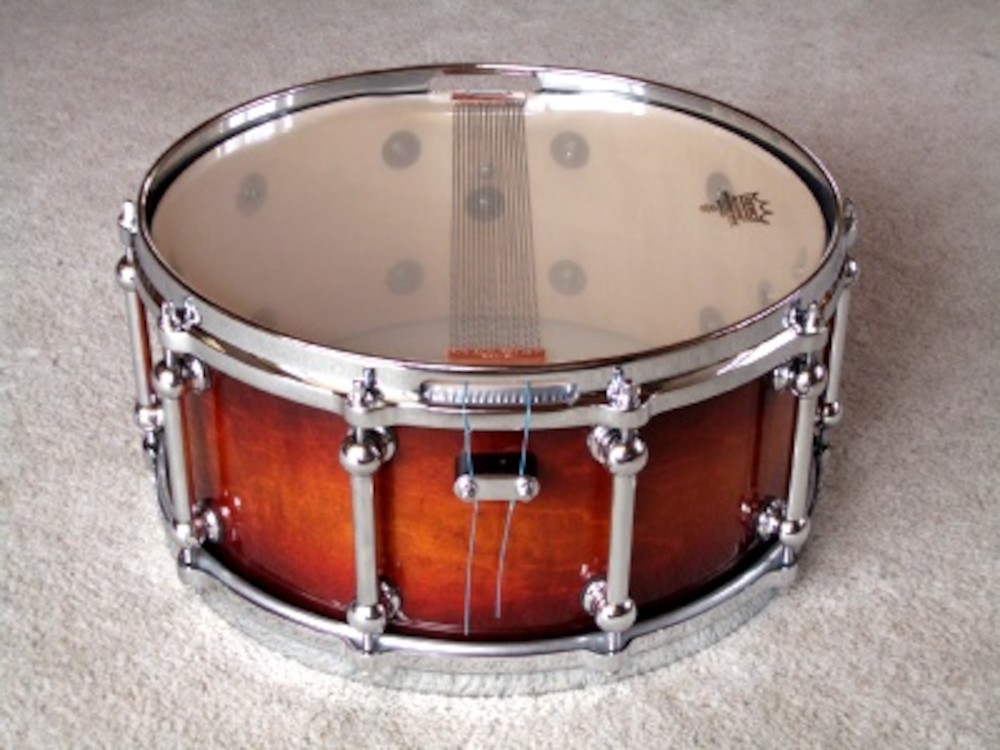
Paladin #1
|
|
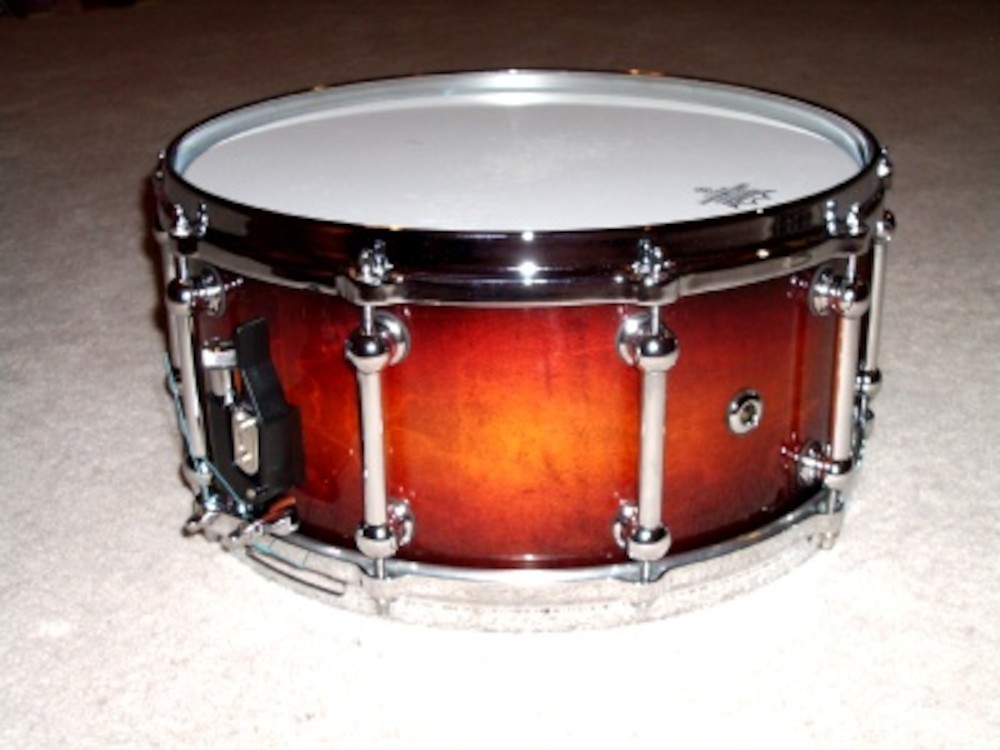
Keller maple shell with gloss deep caramel fade. |
Sound - considerably less ringy than my equivalently-configured brass 6.5",
but more attack, more depth. |
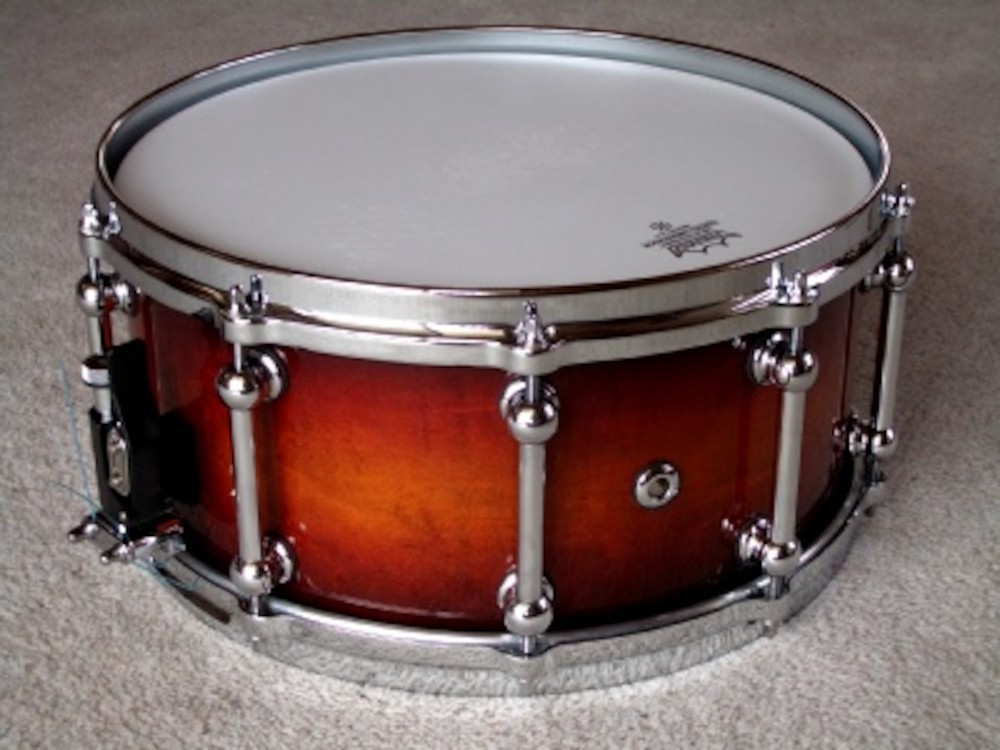
Bombasticus #2
|
|
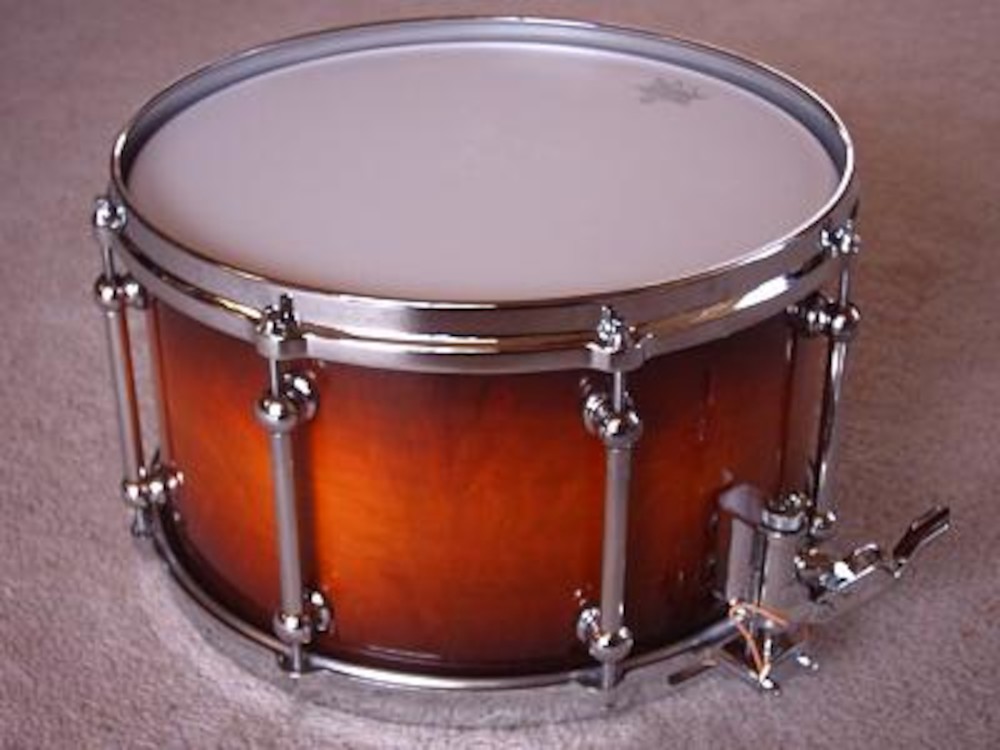
Keller maple shell with gloss deep caramel fade. |
Sound - dry with a sharp attack and plenty of depth. Slightly more defined than Bombasticus #1. |
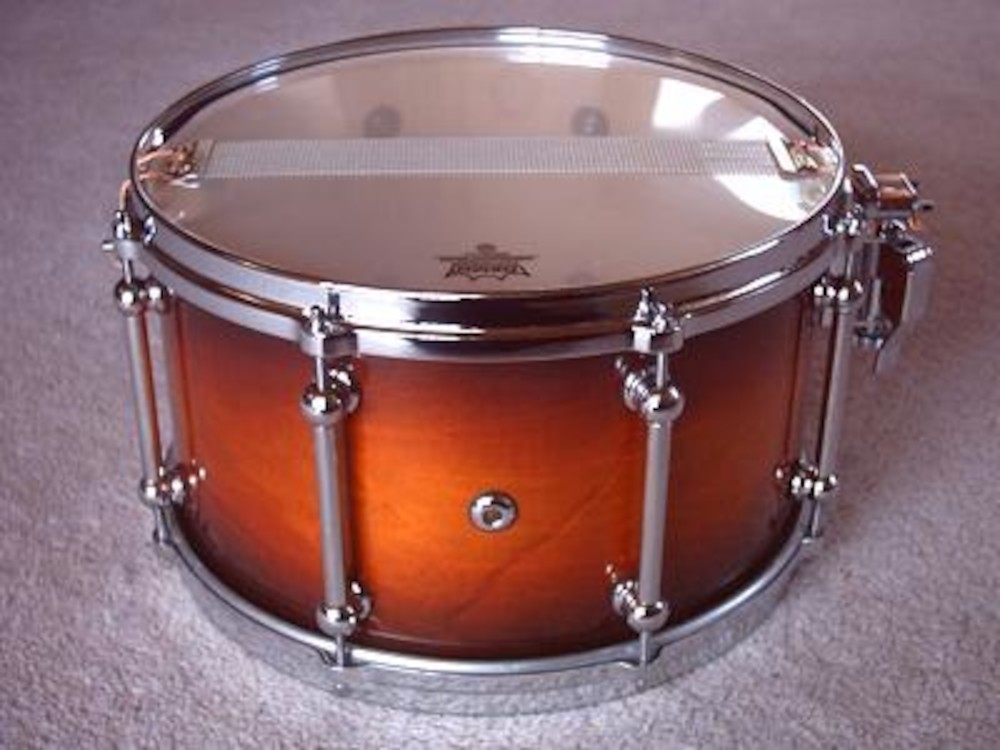

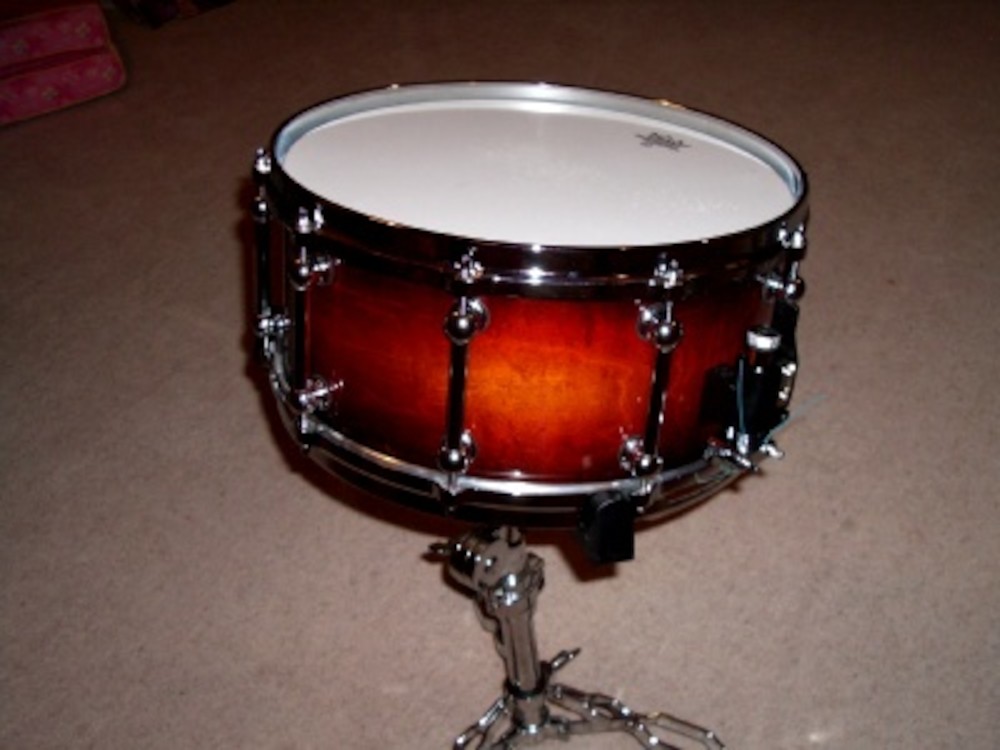
Bombasticus #3
|
|
Keller maple shell with gloss dark cherry fade. |
Sound - dry with a sharp attack and plenty of depth. Drier than Bombasticus #1 and #2. |
Bass Cabinet Build (2015)
Documenting my 210 bass guitar cabinet build.
Design
The design I chose was the Simplexx 210 from Bill Fitzmaurice (www.billfitzmaurice.com).
Materials
Bill's design calls for 0.5" baltic birch 9-ply, which I could not readily obtain in Tasmania.
I chose generic AWP brand "Marine Ply" from Mitre 10, as it was 12mm and 9-ply.
Unfortunately, this is a very heavy plywood - the naked cabinet (no drivers, no grille) weighs 17.5 kg (38.5 lb).
Update: the plans (and a few posts on the Bill Fitzmaurice forum) indicate that "Arauco" (Radiata pine in Australia) is an acceptable alternative, particularly if finished with thicker Duratex. Radiata pine ply is of course found in most Australian chain hardware stores. I wish I'd known that earlier...
The polyurathane glue in the plans is not available in Australian stores, though there are local websites that offer it.
Two readily available polyurathane glues in Bunnings/Mitre10 are Selleys Aquadhere Durabond and Selleys Liquid Nails Waterproof.
The Liquid Nails product has been successfully used by several Australian speaker builders, but in my ignorance I bought the Durabond.
I have since learnt the hard way that this glue is far too runny for speaker building projects. To anyone who insists on using it,
I have one very important tip: oven paper is your friend!!!
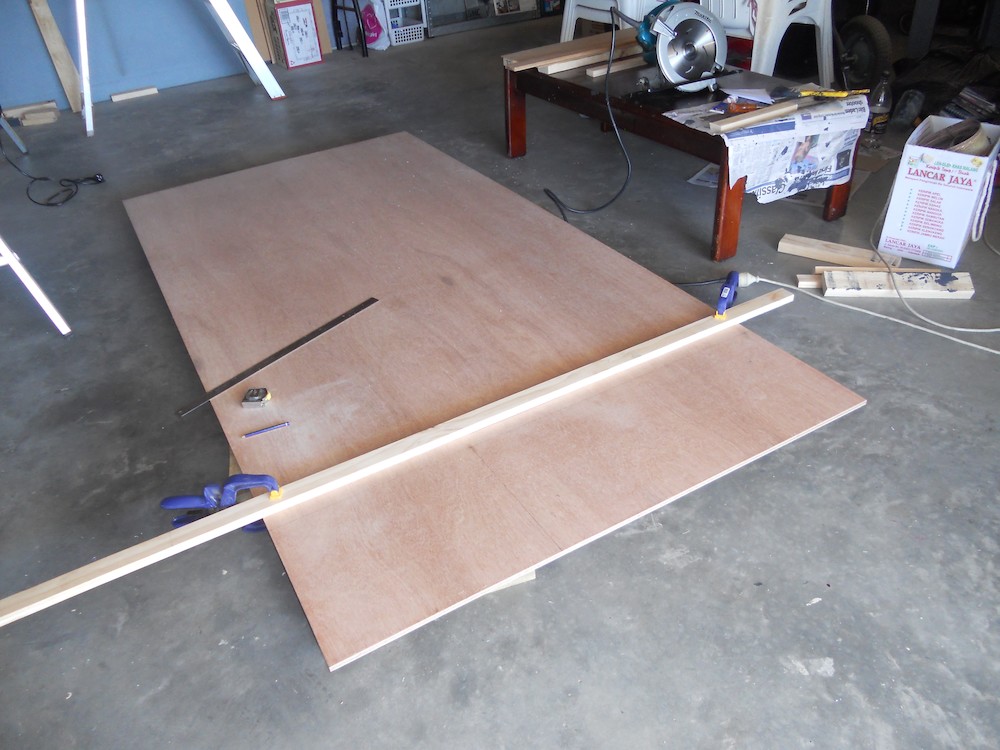
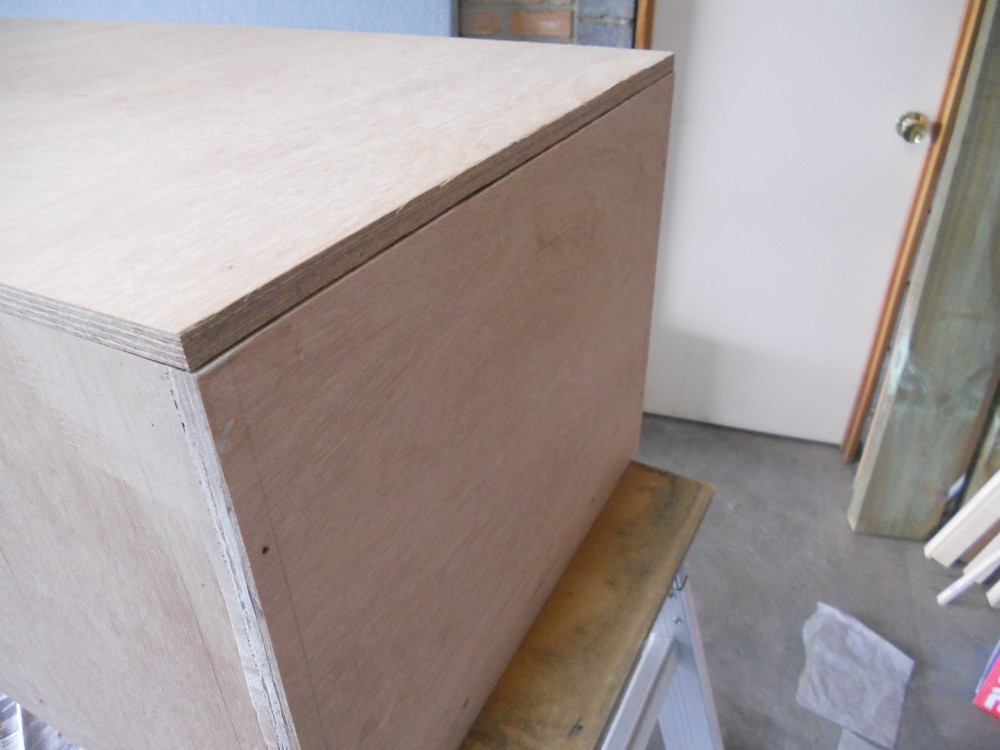
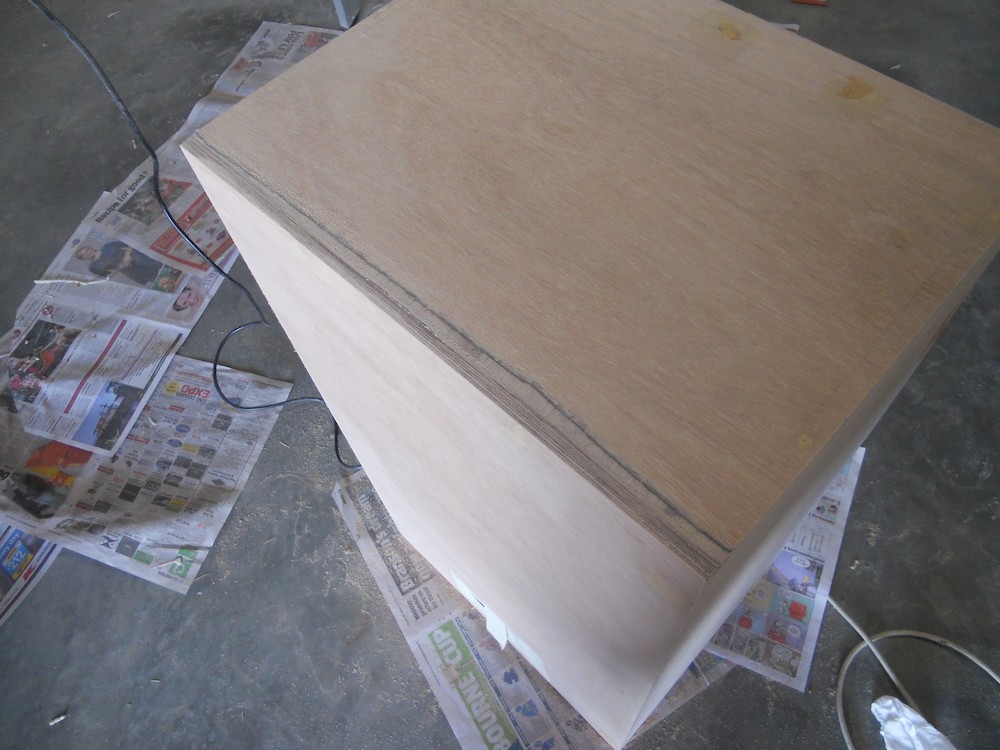
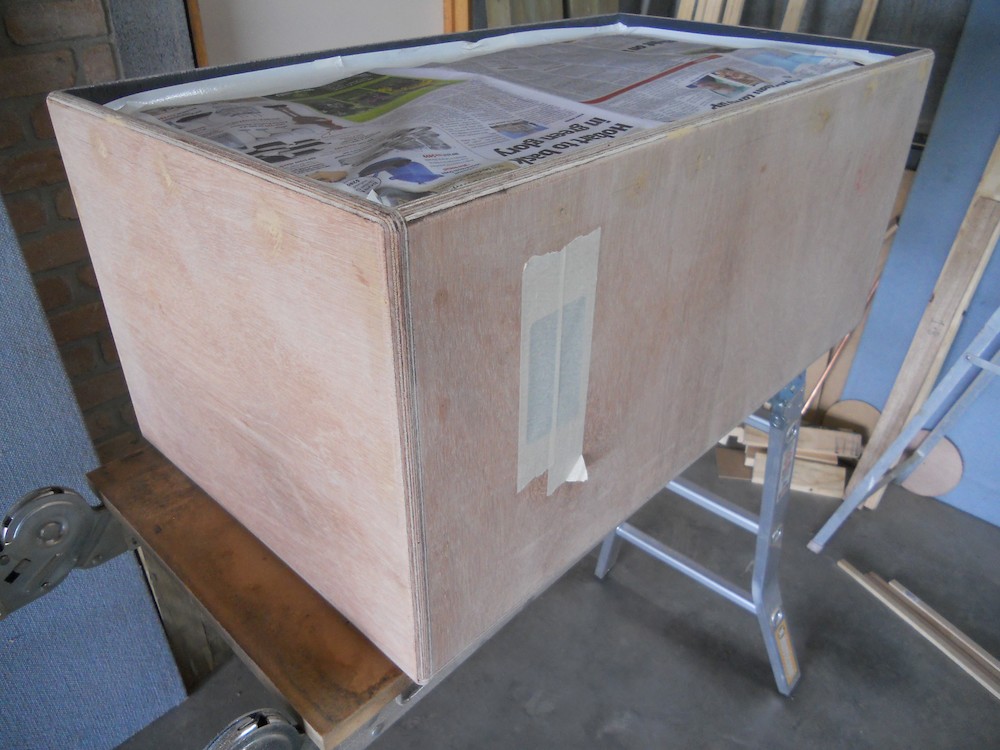
The build
Preparing for the first cut |
Marine ply has a pretty significant "pullups" issue with my power saw. I'm not sure if baltic birch (or Arauco / Radiata pine) would have been any different. |

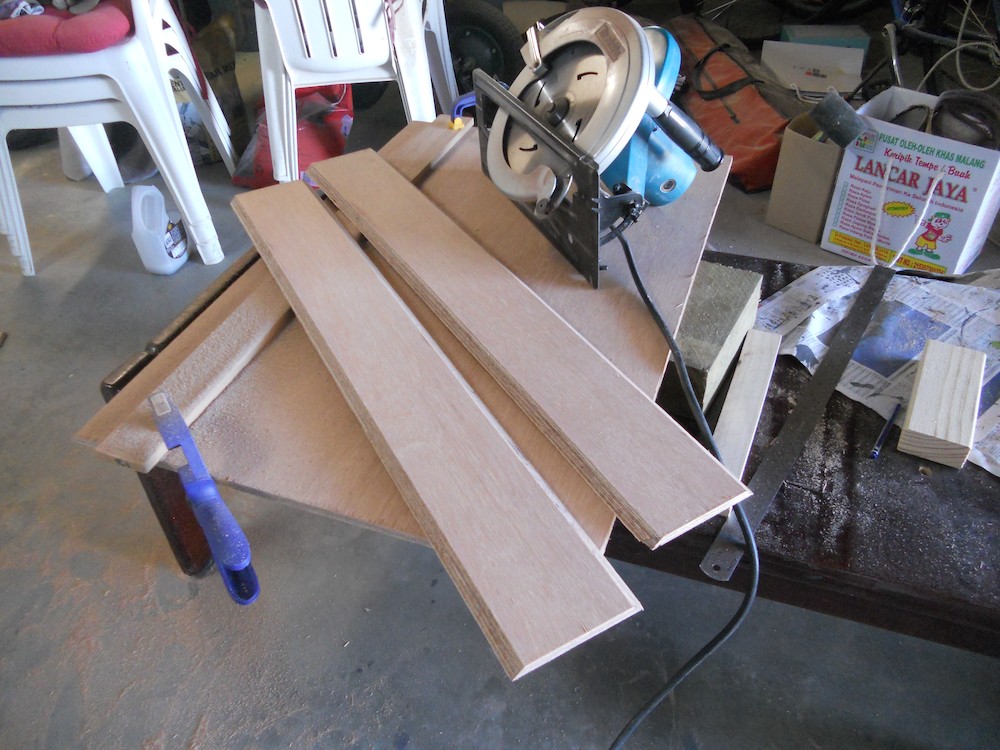
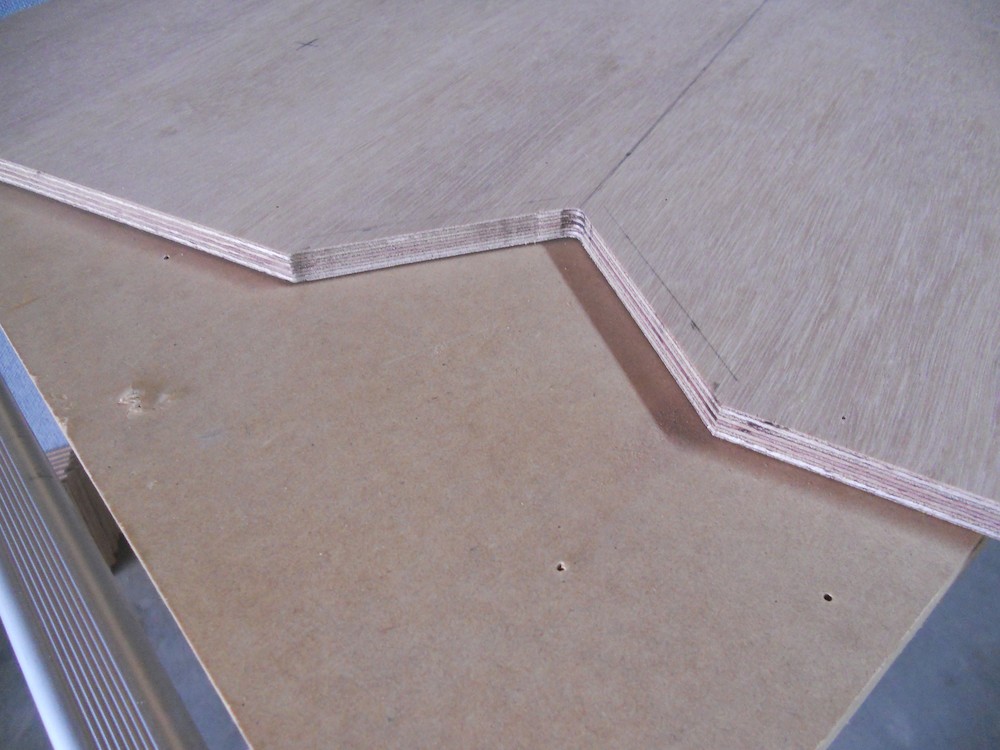
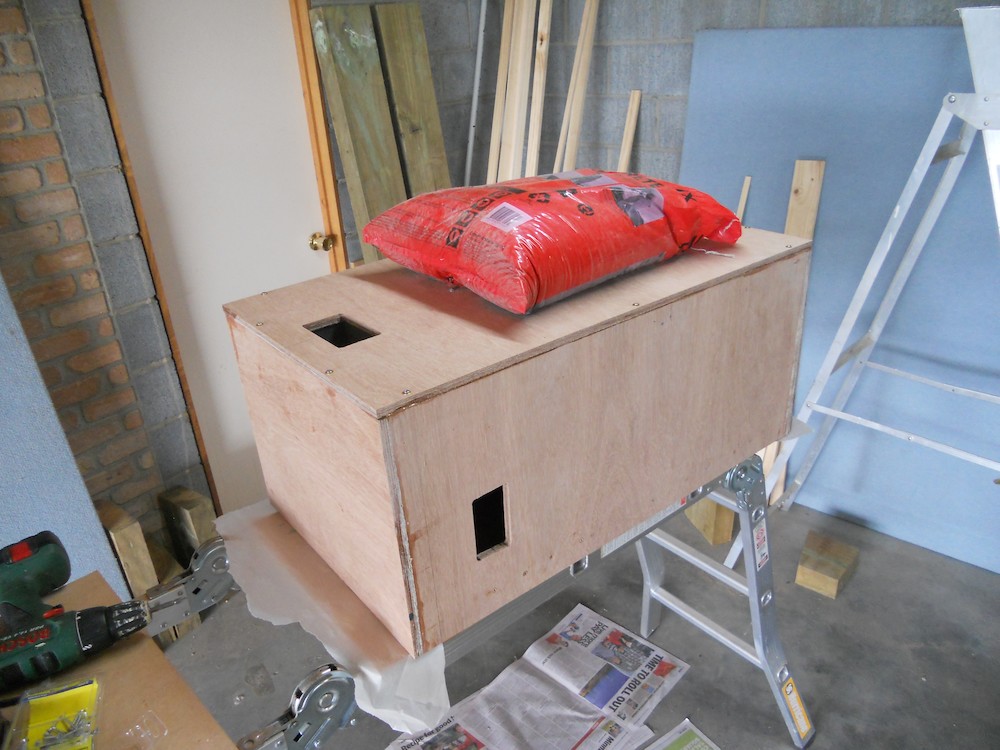
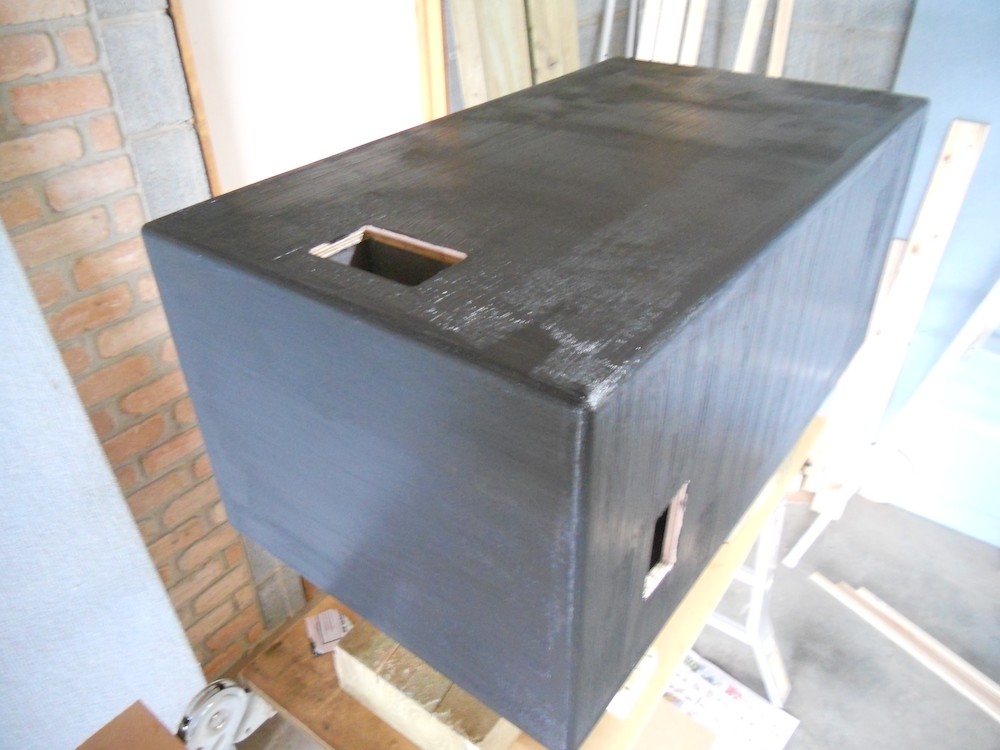
Angle cuts for the integrated vents |
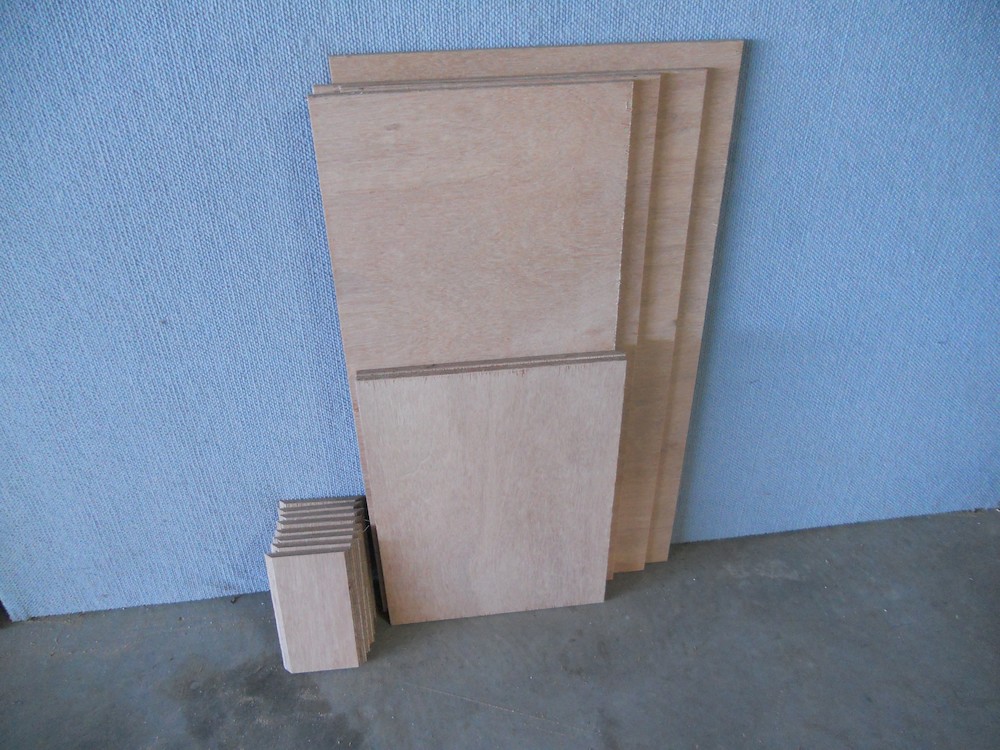
All the major panels cut |
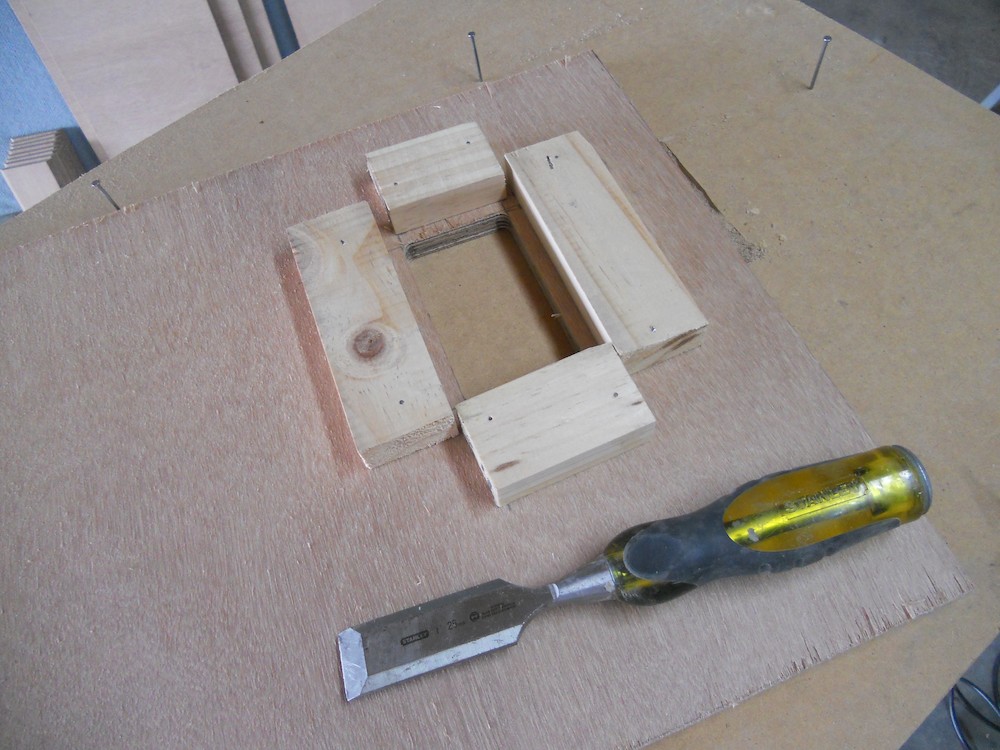
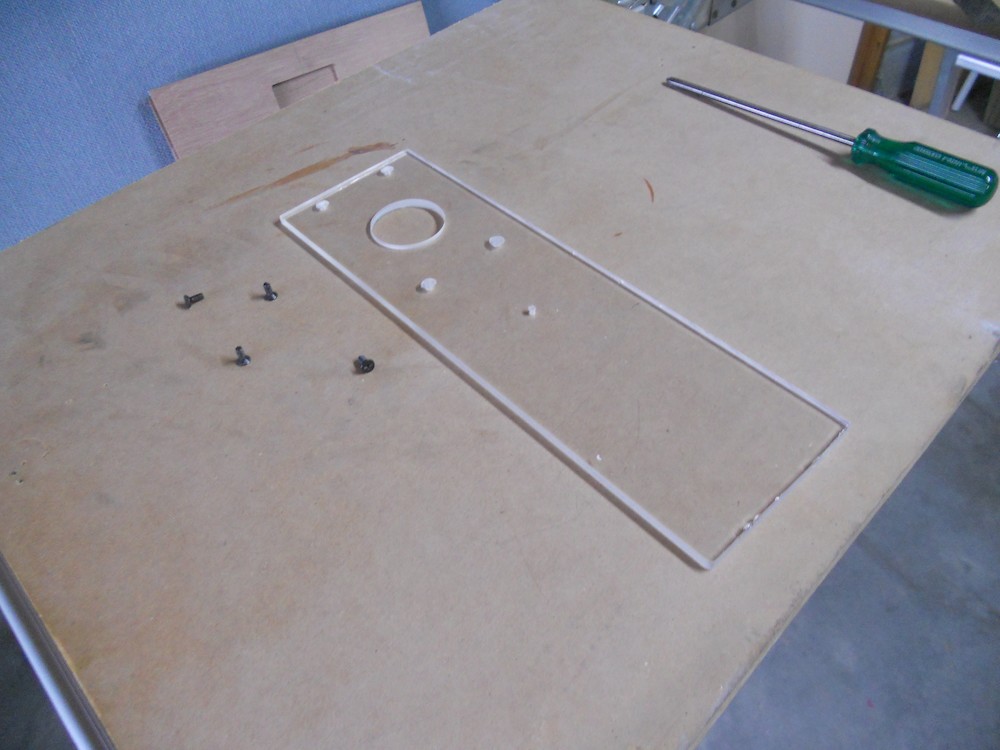
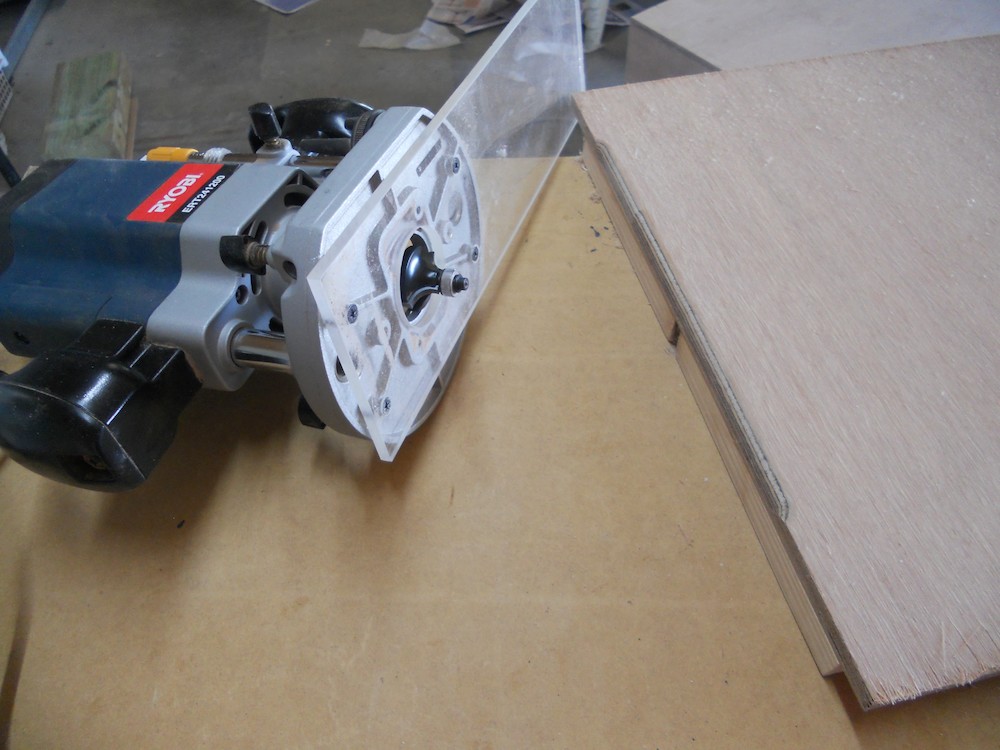
Router template (and template follower) for the handle cutouts |
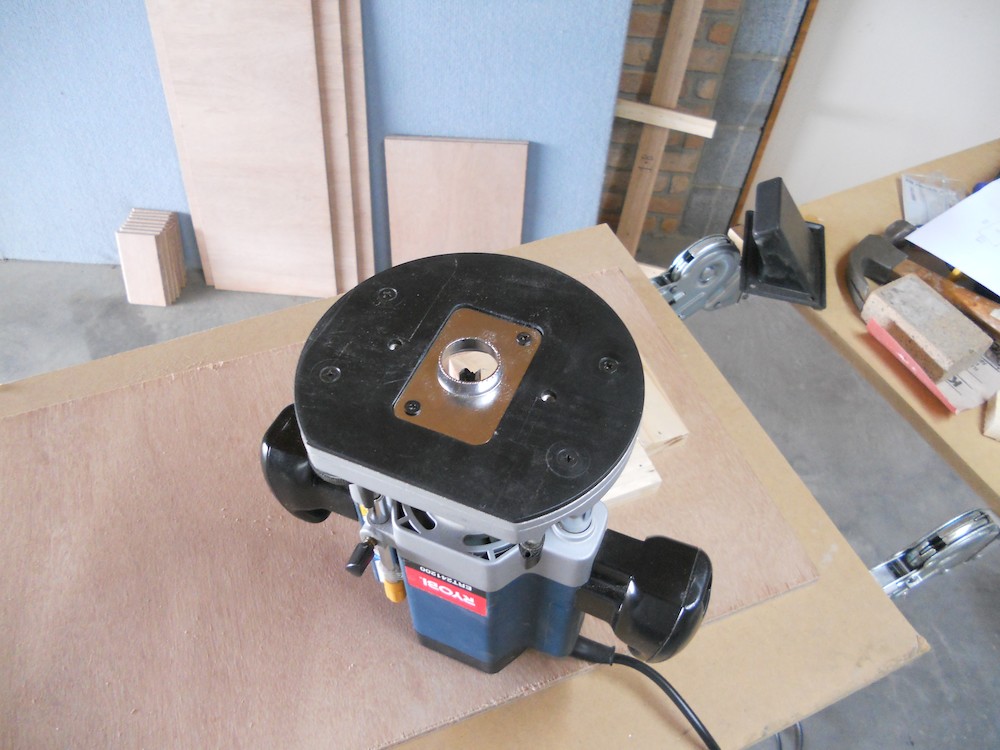
Router with template follower attached |
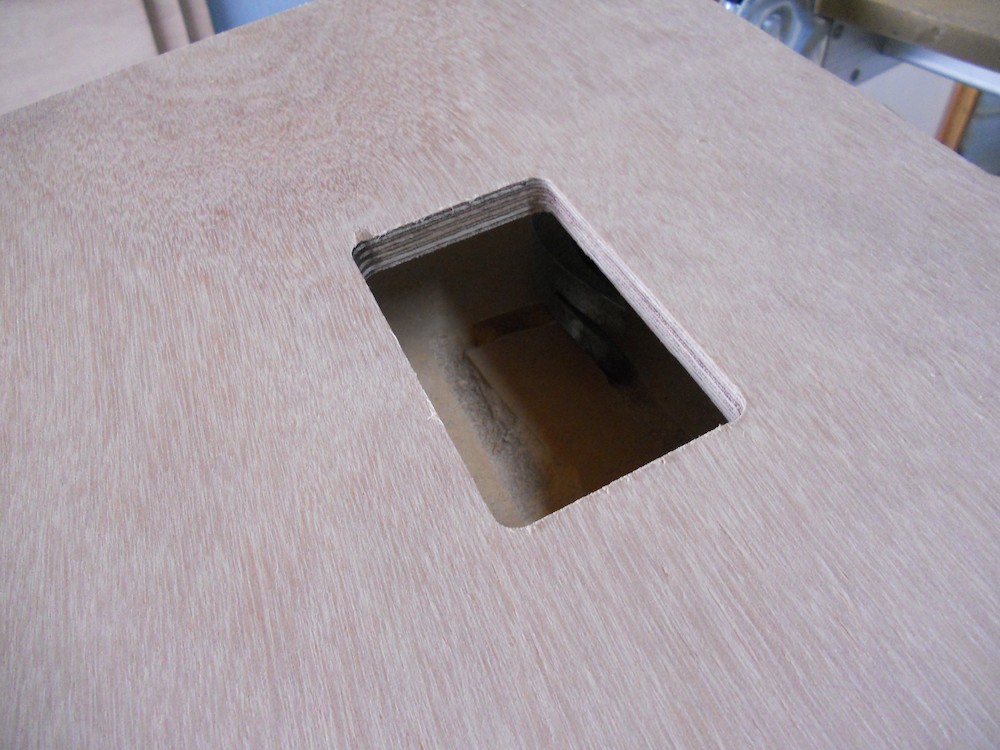
Handle cutout done |
Handle cutout cleaned up |
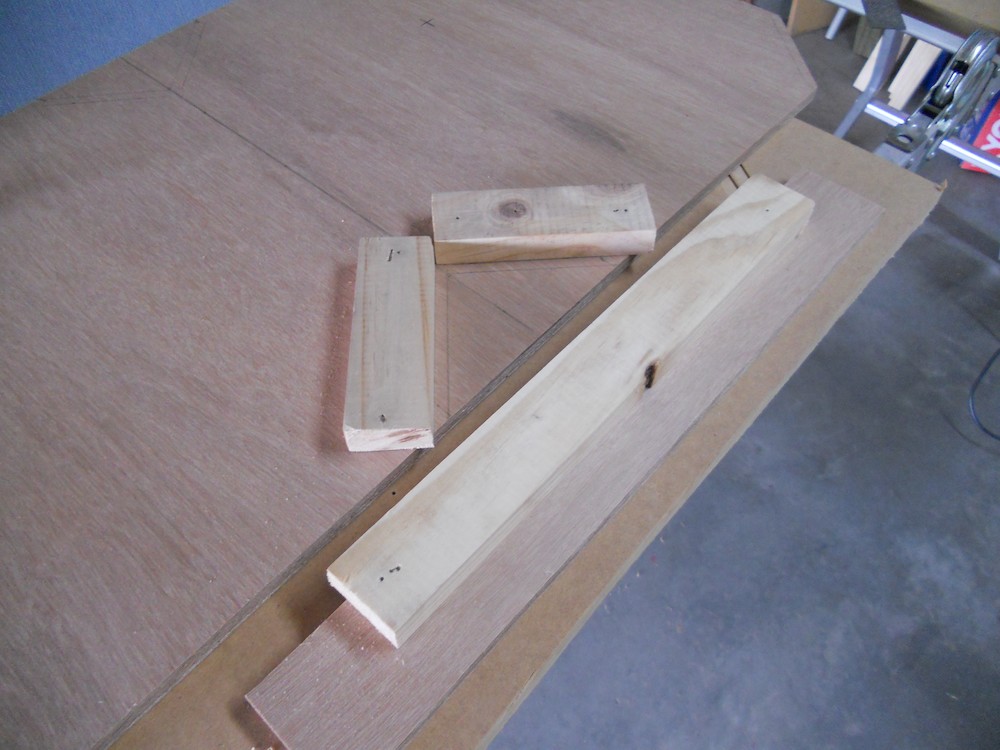
Using the same technique for the vent cutouts |
Middle vent cutout cleaned up |
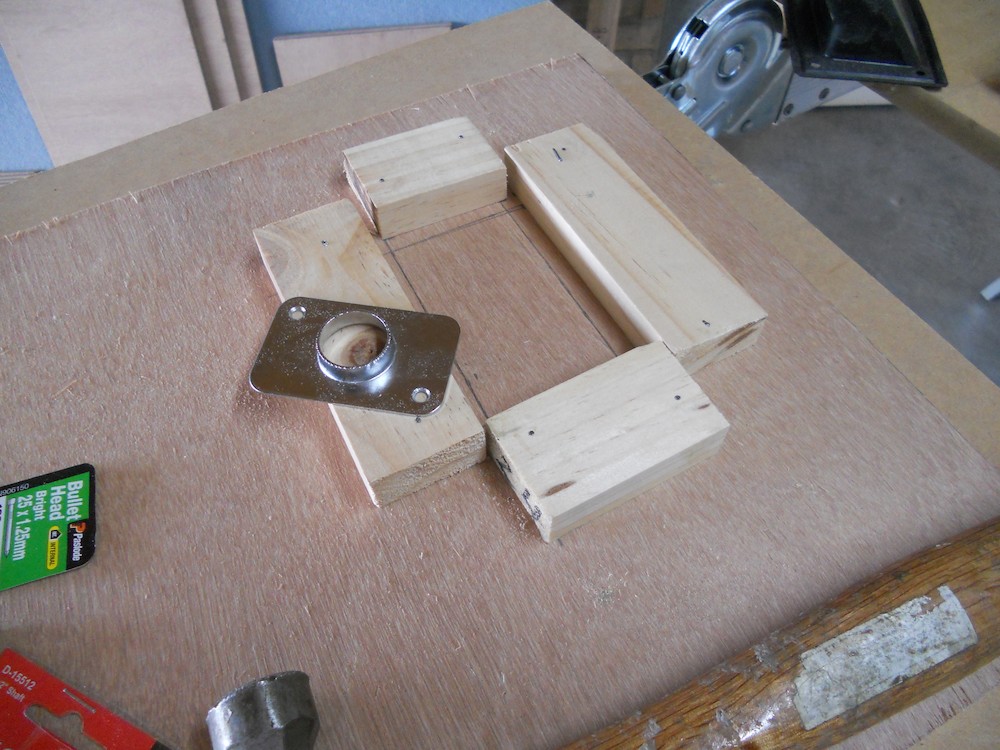
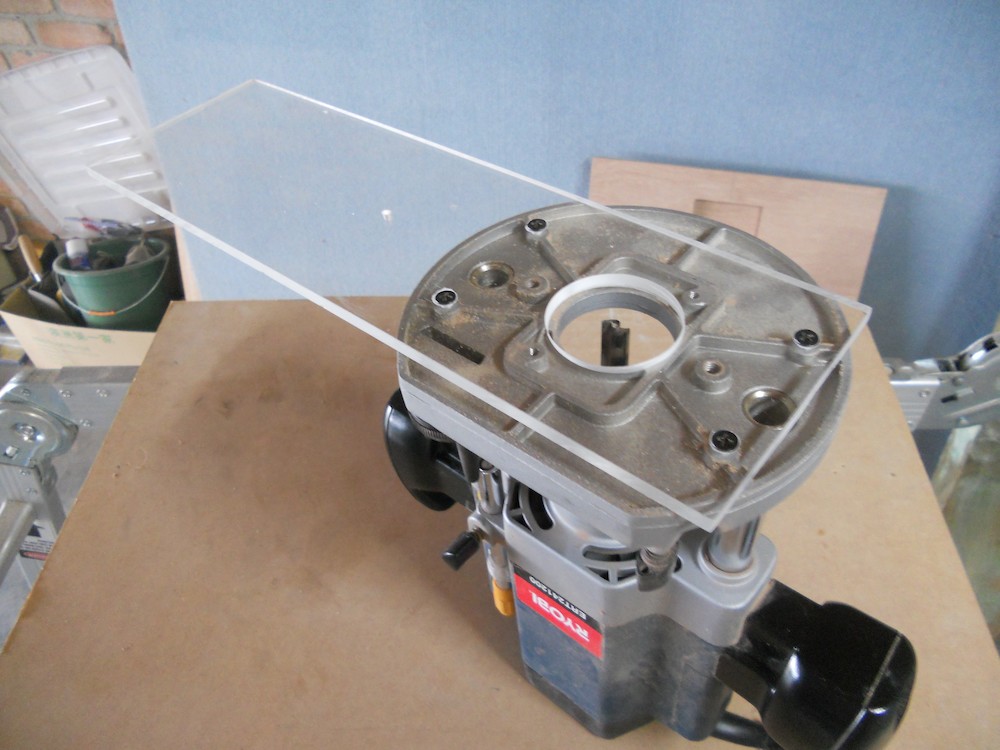
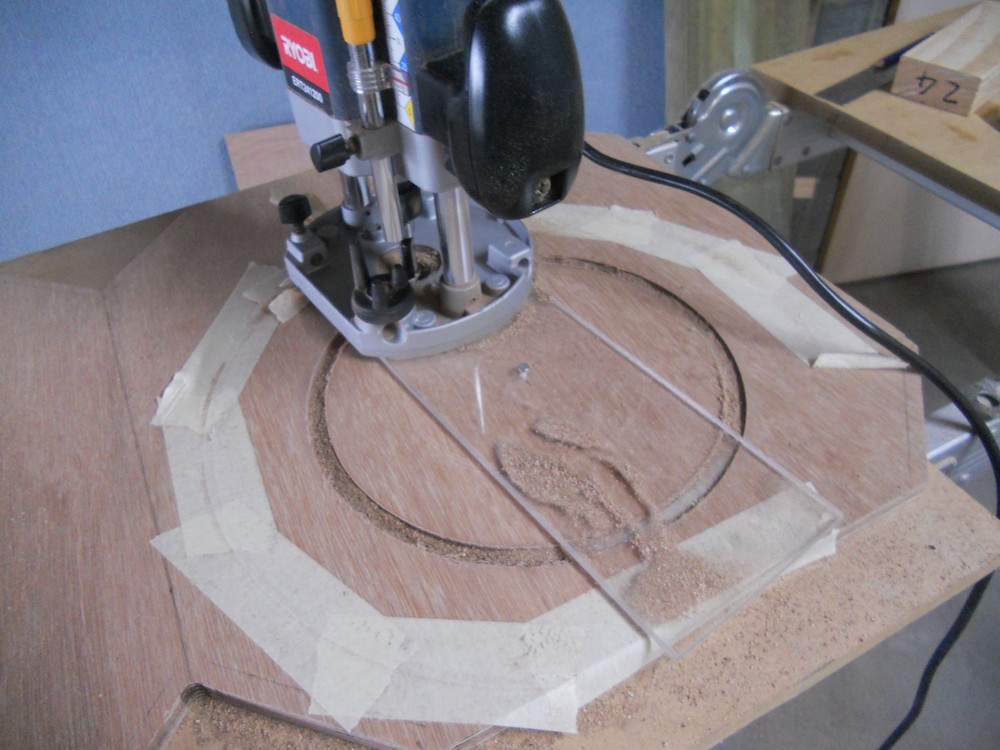
Speaker cutout router jig. I made this from perspex so I could see what I was doing. The position of the "centre" hole is critical! |
Speaker cutout jig attached to router. A hole is drilled at the centre, and a nail used as the centre pivot so the router behaves like a compass. |
A test cut to make sure the diameter is correct |
Routing the speaker cutouts |
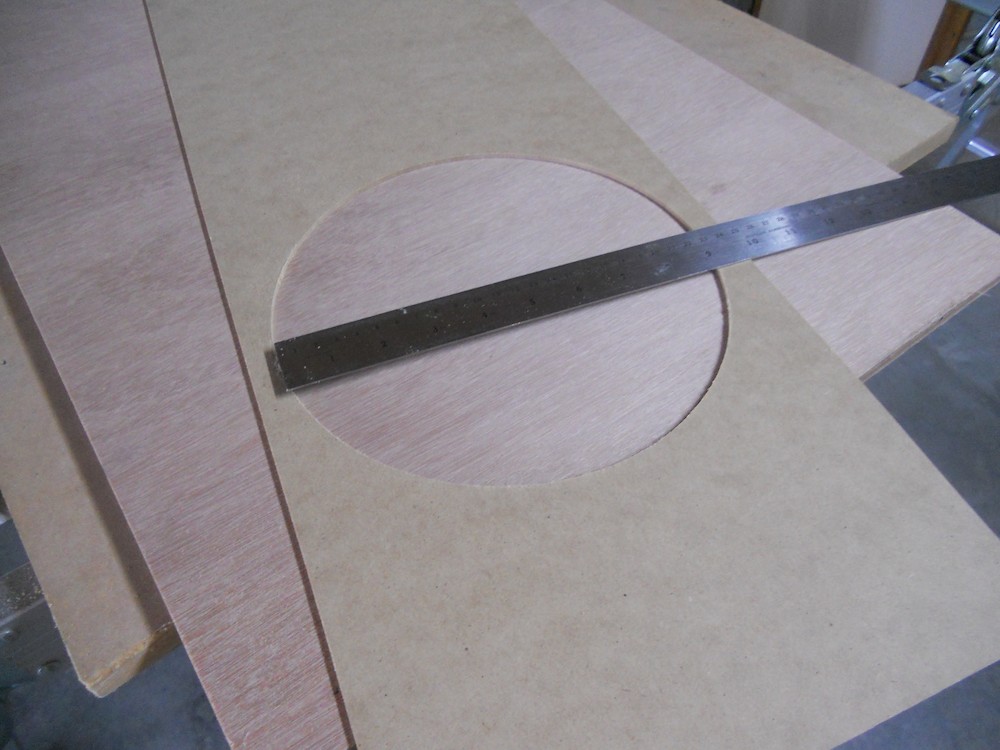
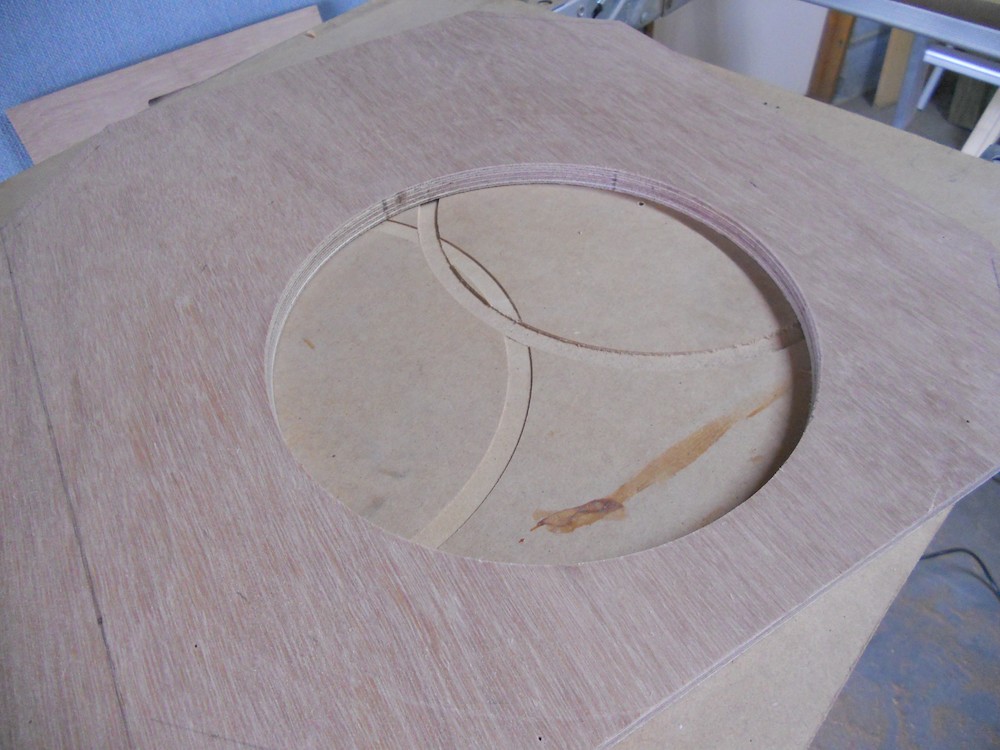
Speaker cutout cleaned up |
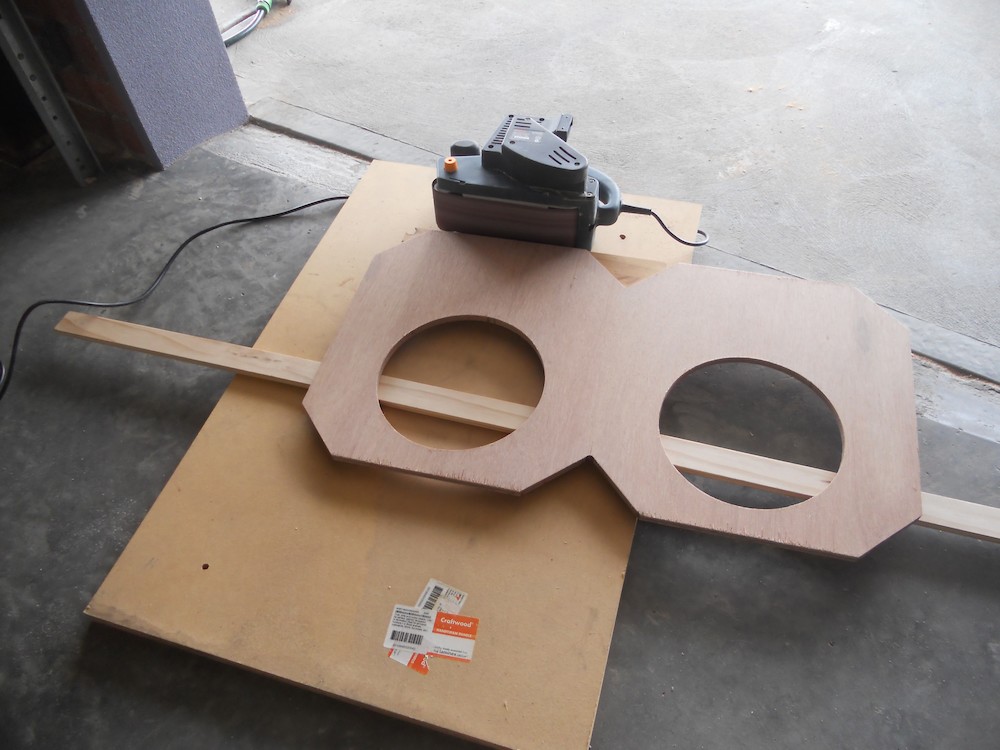
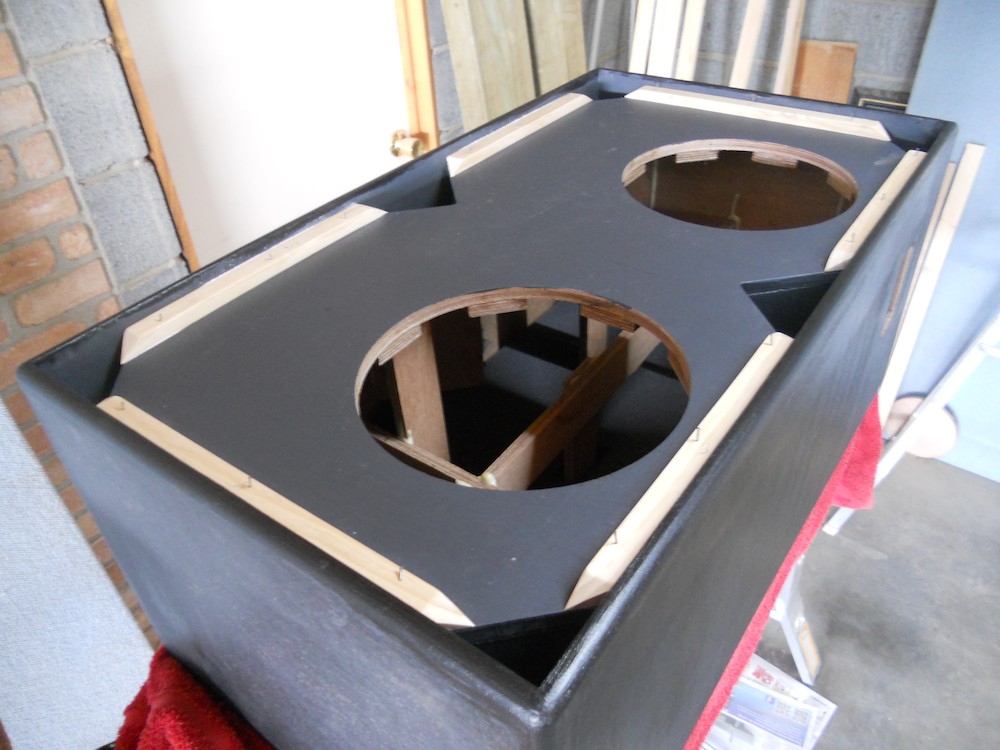
All cutouts done |

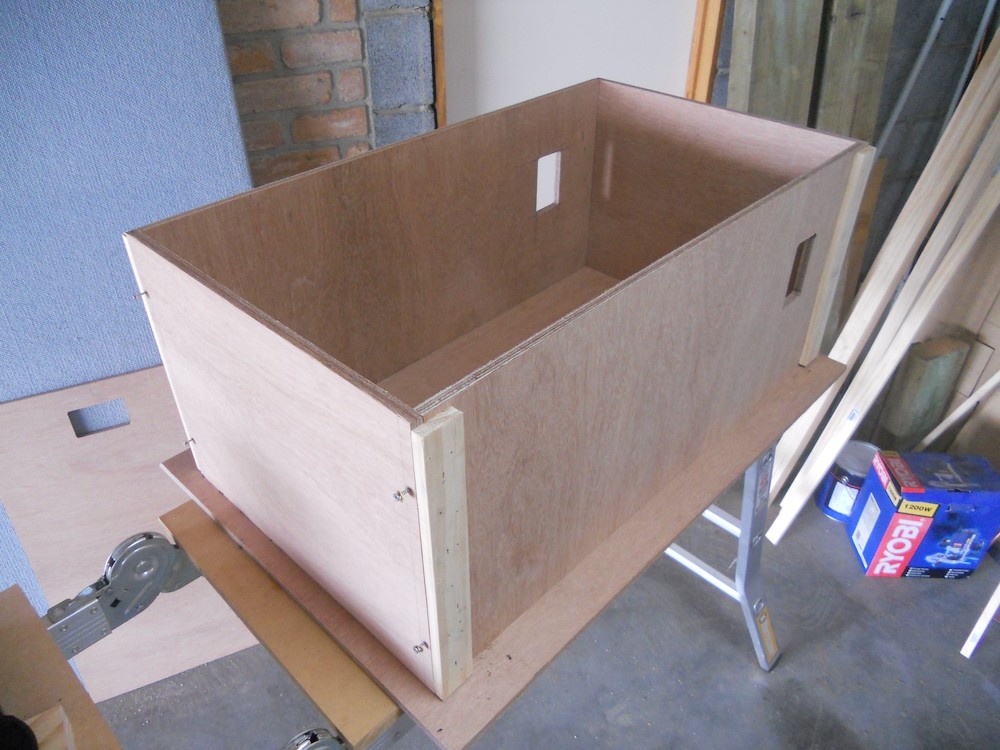
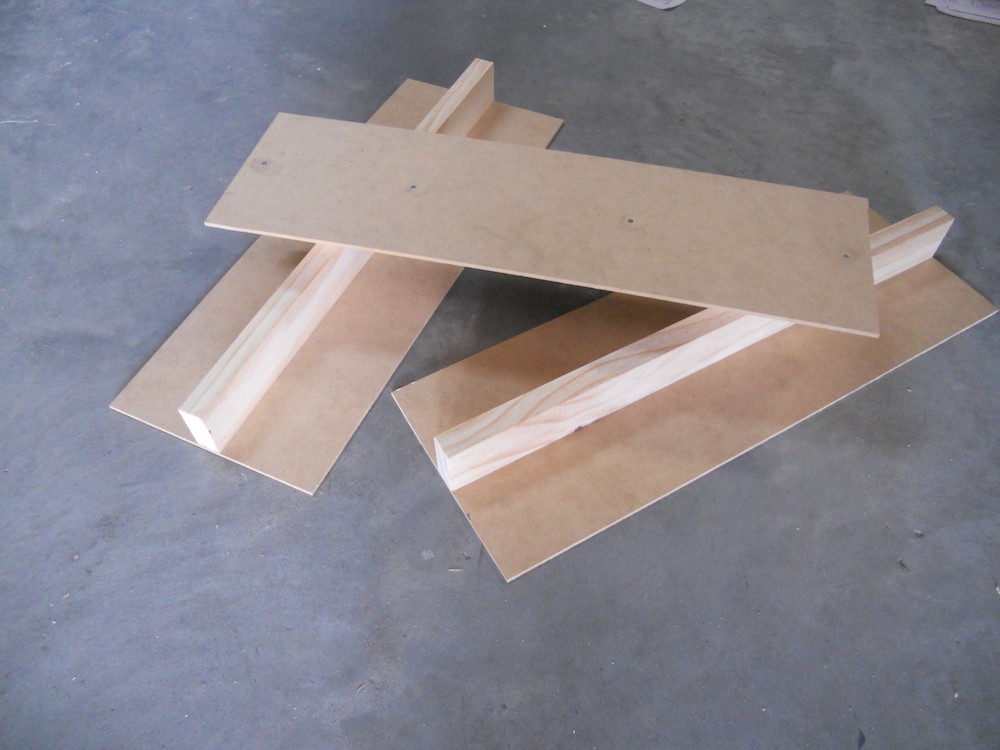
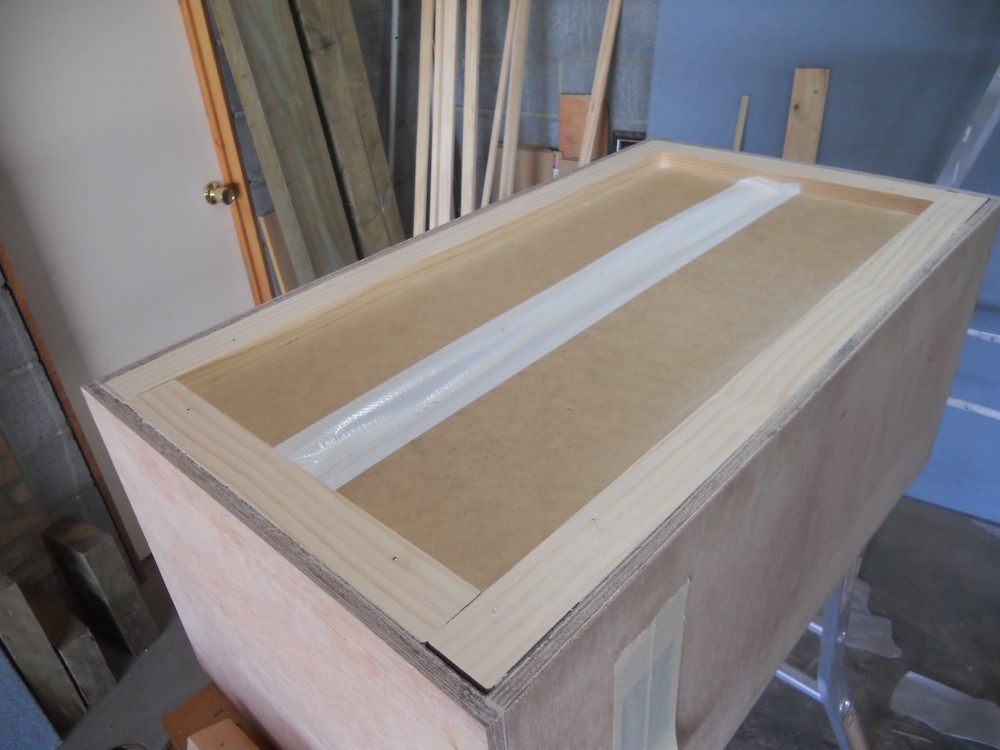
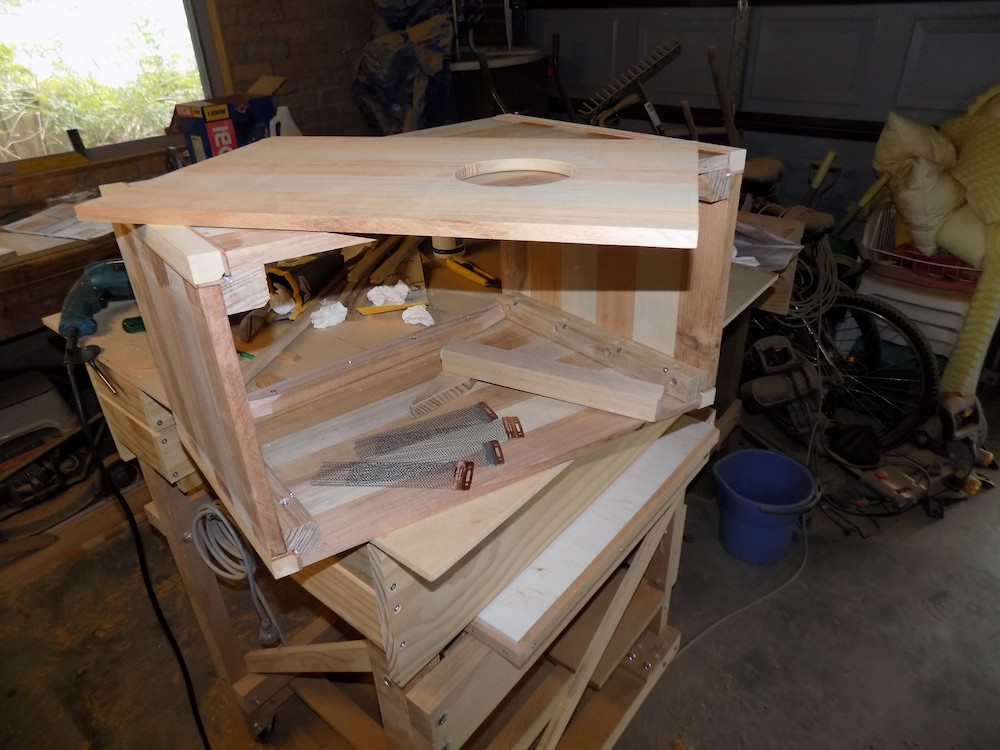
Top, base and sides ready for glueing |
Bad choice of glue - too runny! Oven paper is your friend! |

Adjusting the width of the baffle using a hand sander mounted (with dowels - easily removable) to a sheet of MDF. |
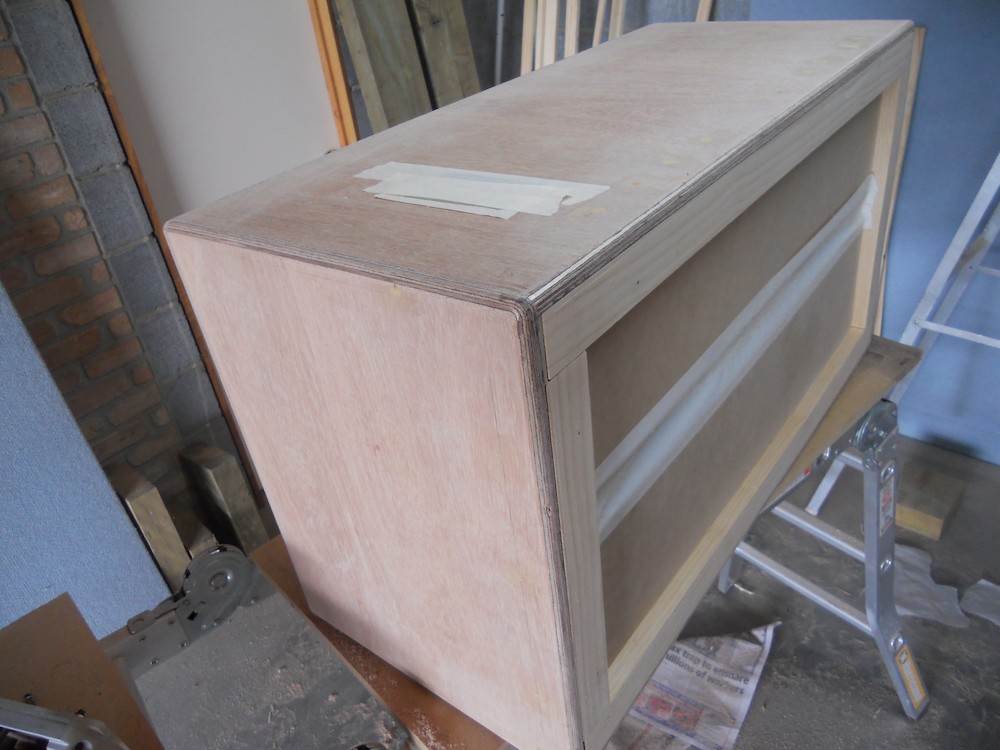
Baffle glued in |
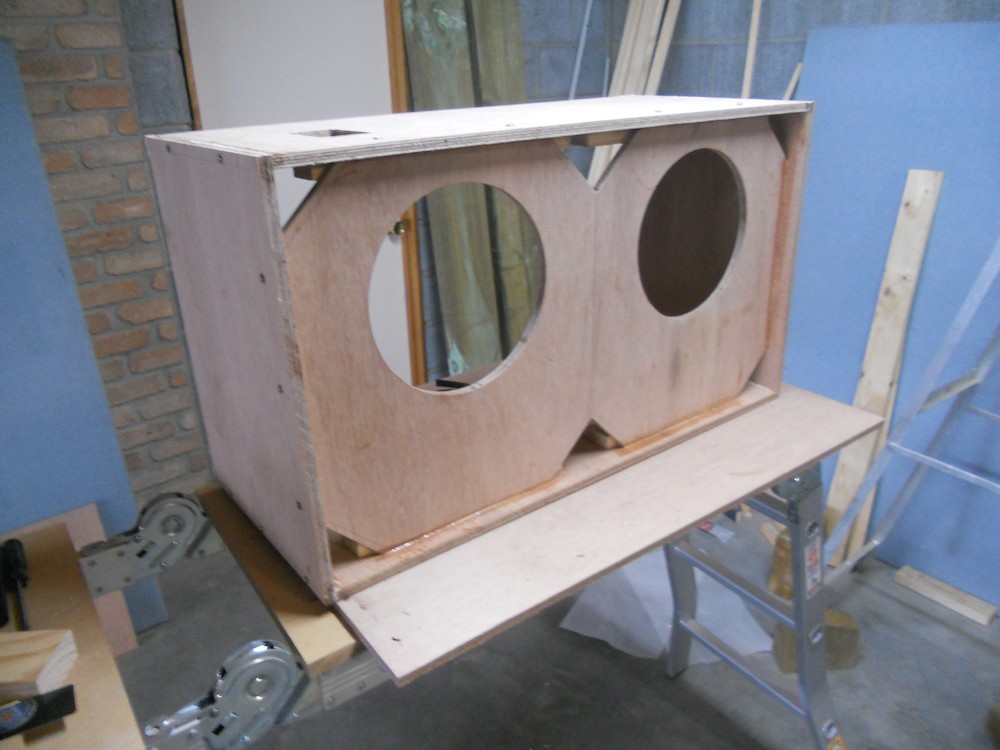
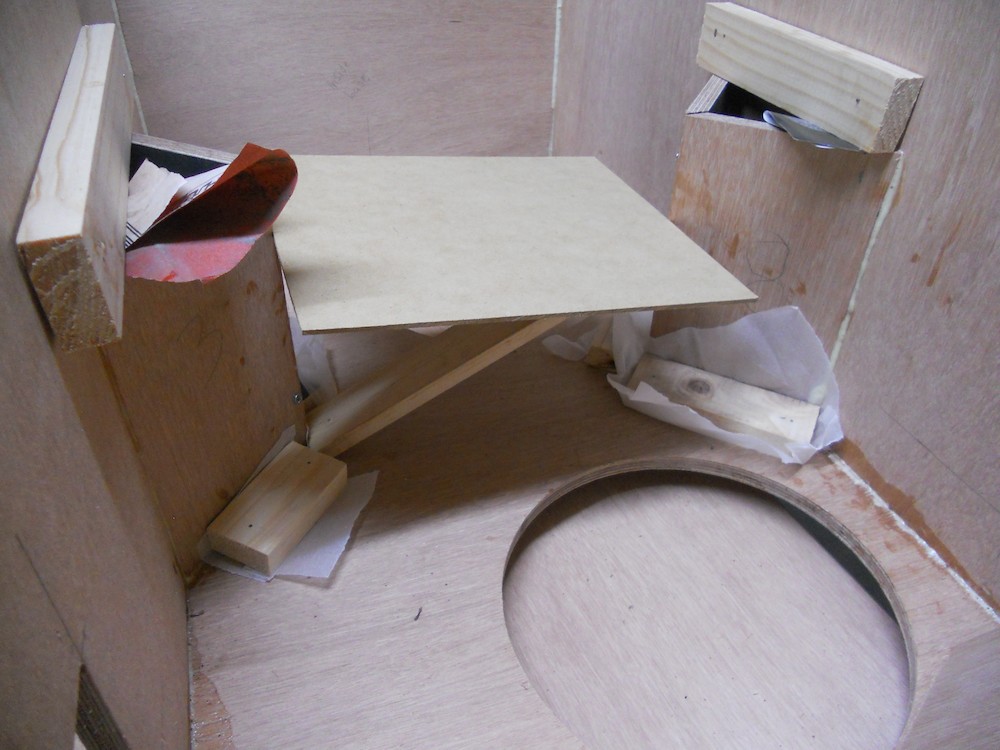
Apallingly non-standard clamping technique for the middle vents. |
Apallingly non-standard clamping technique for the corner vents. |
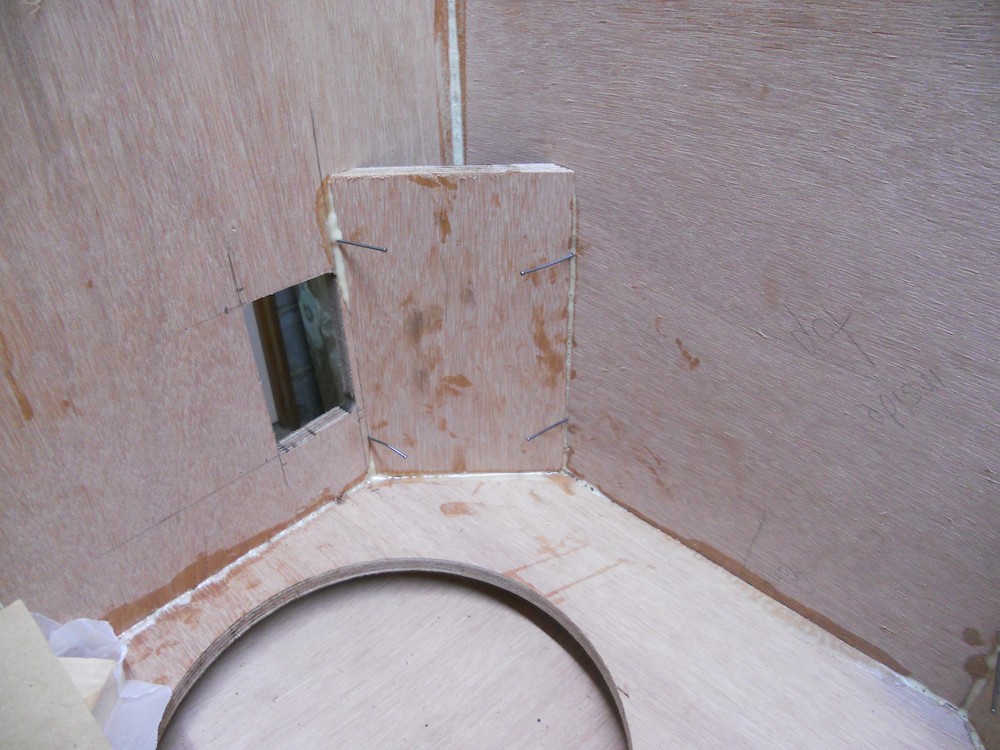
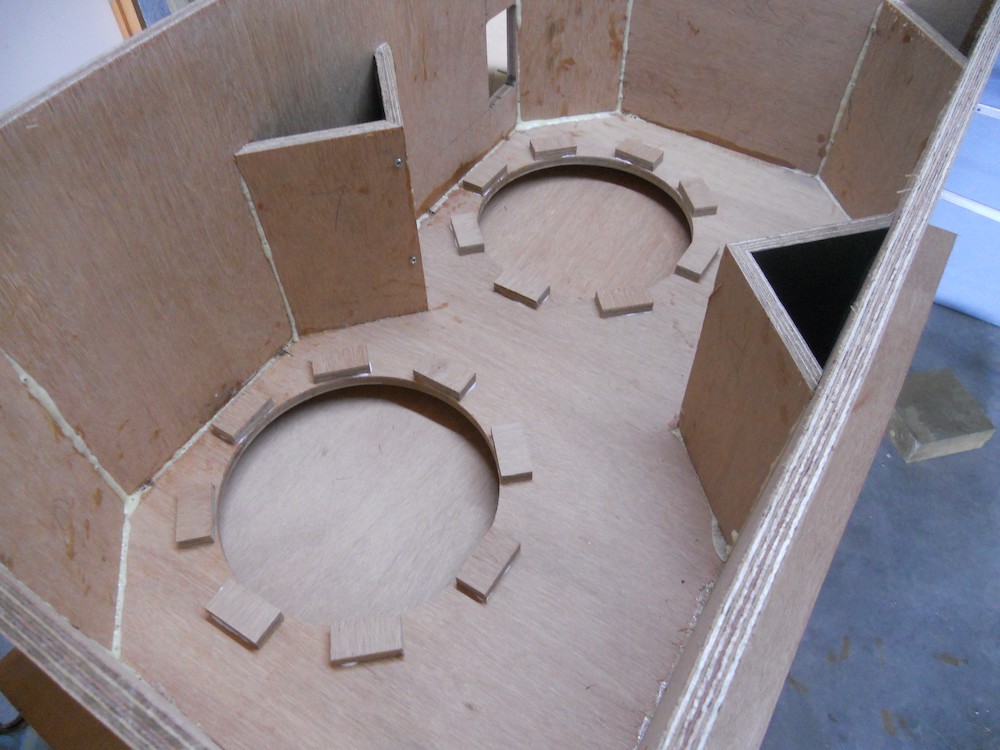
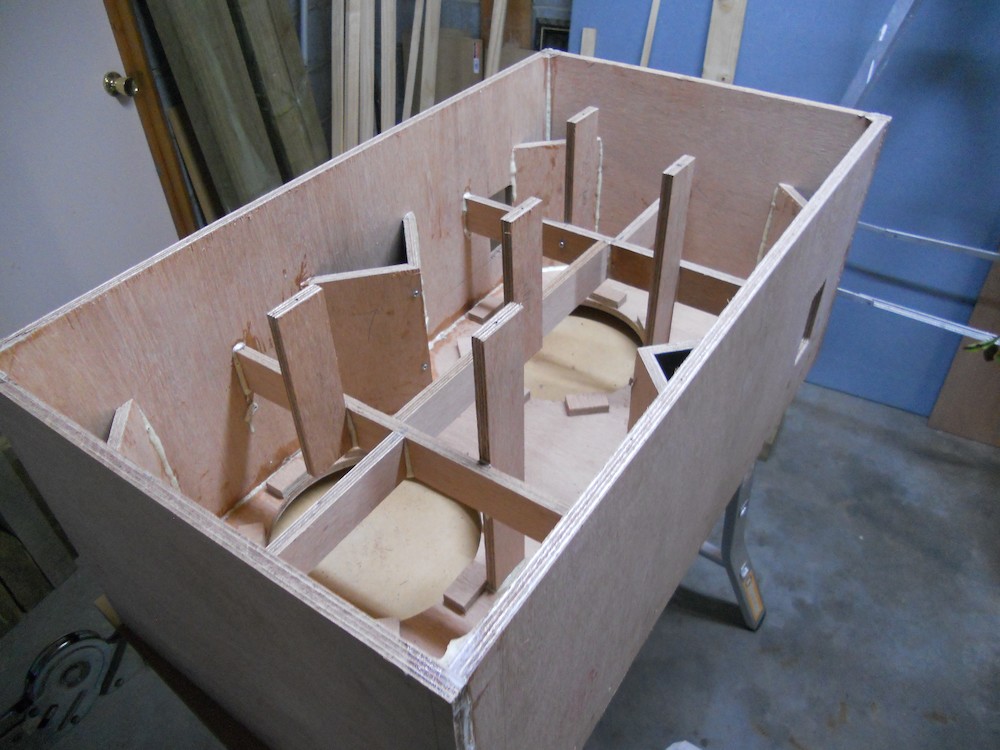
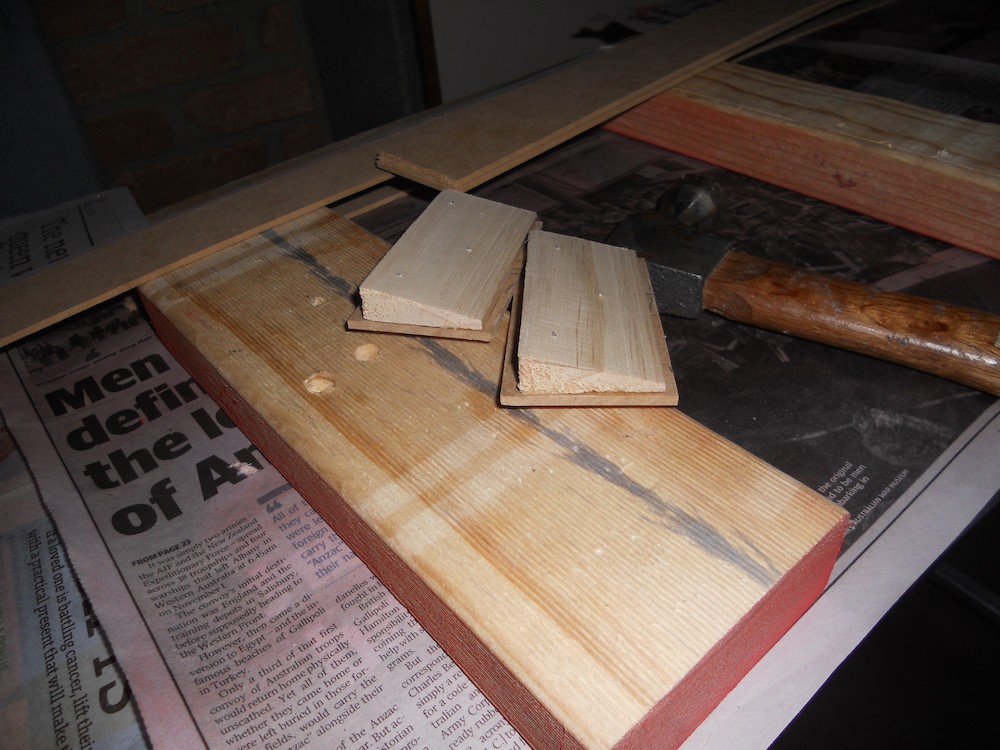
Speaker screw retention blocks installed |
Proactive leak prevention using (ab)using regular woodworking glue. |

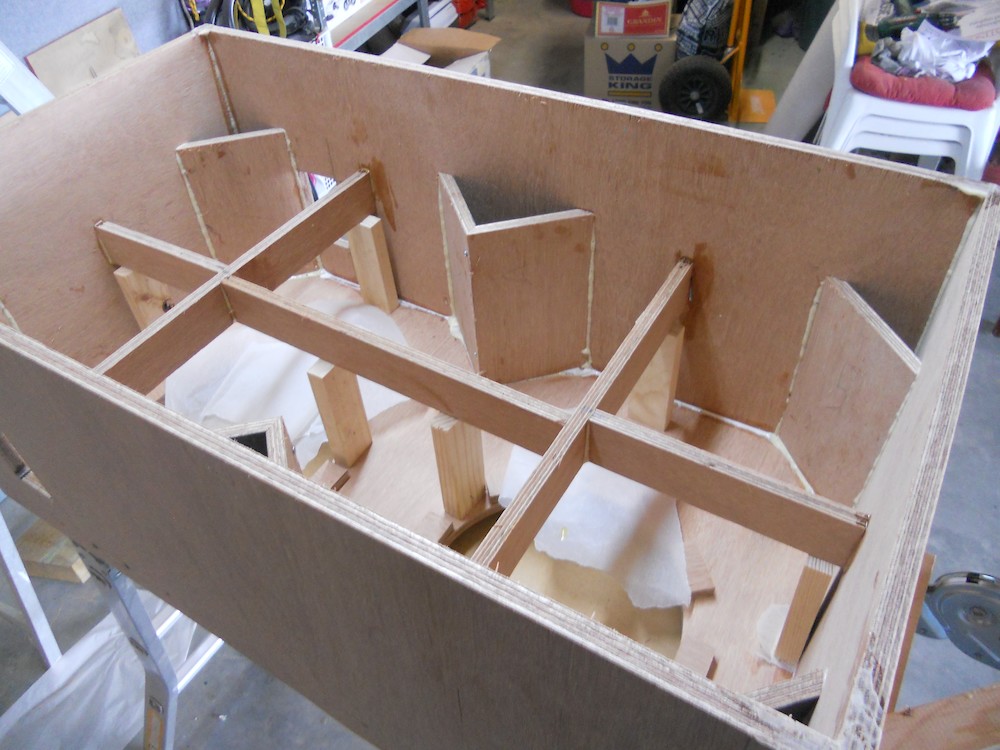
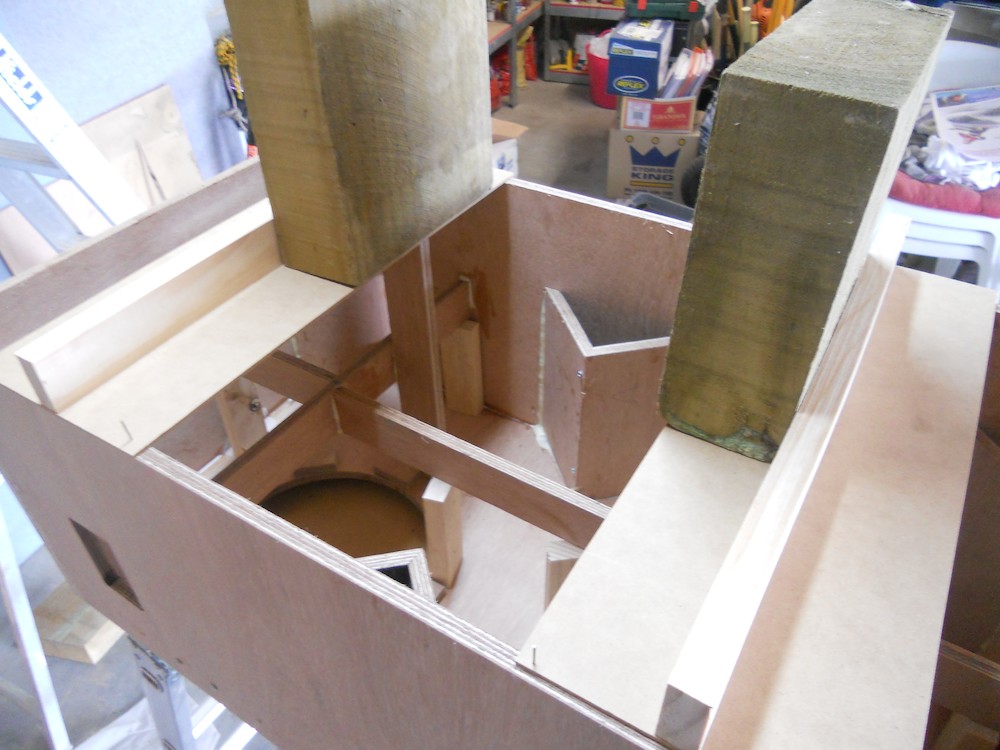
Some more non-standard (non-existant) clamping for the side and vertical bracing. Those aren't jigs, they're stilts! |
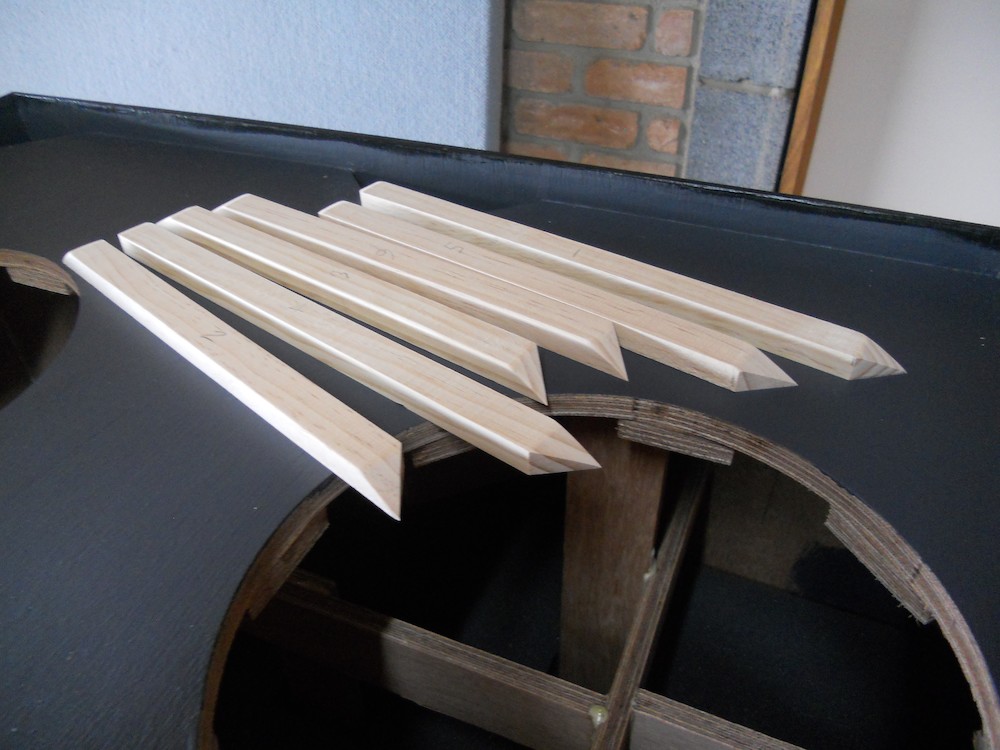
At last, some (slightly) more standard jigs! |
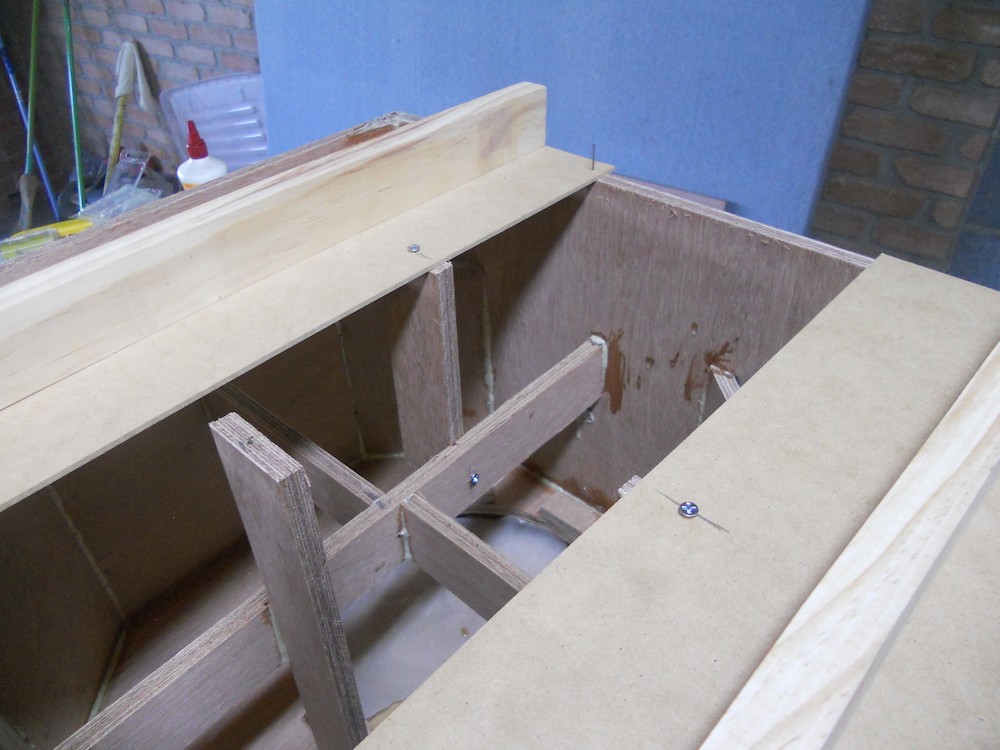
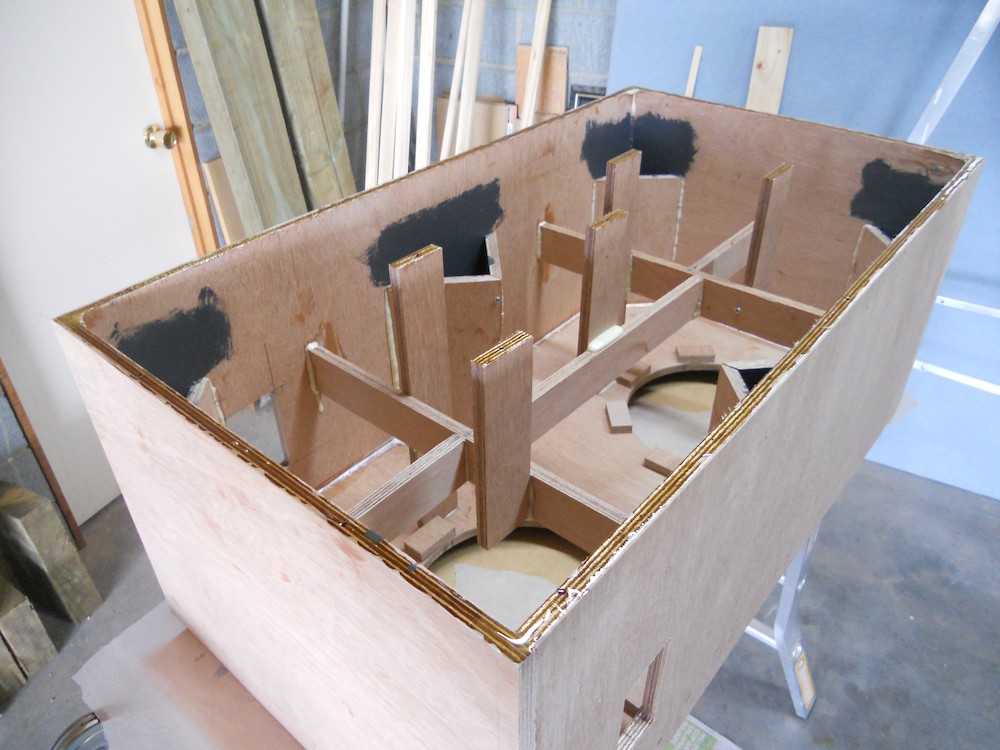
Glueing the full-depth back bracing |
Glueing the full-depth back bracing |
All bracing complete |
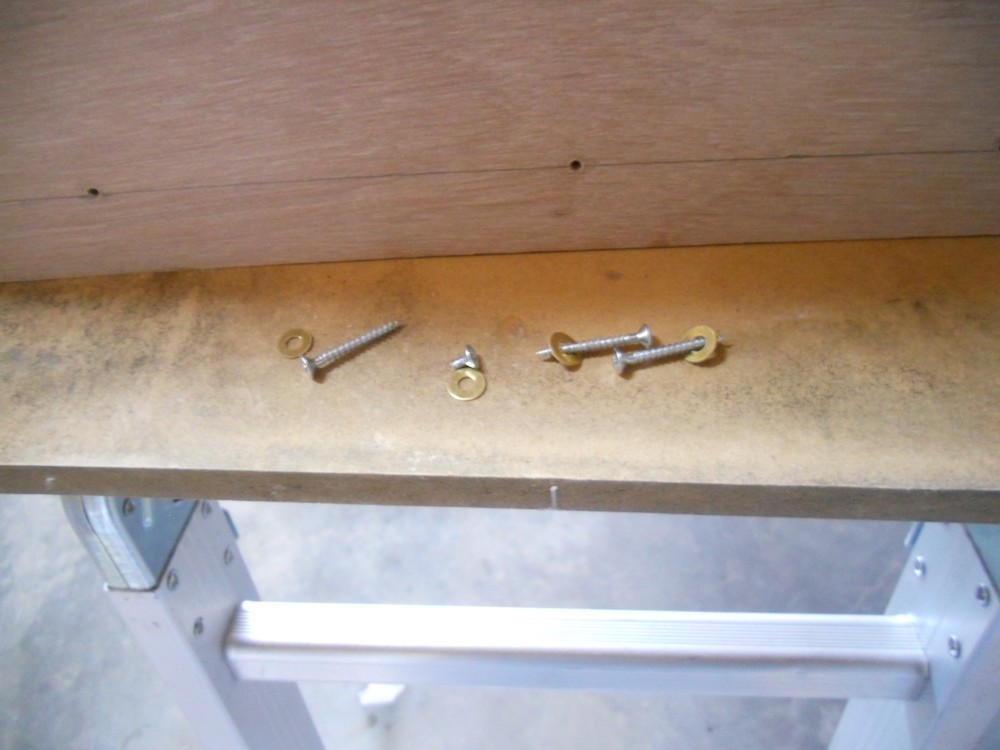
I had some difficulty removing some of the clamping screws, so much so that a couple of them sheared right off! Fortunately, these were not in any of the edges that were to be rounded over! |
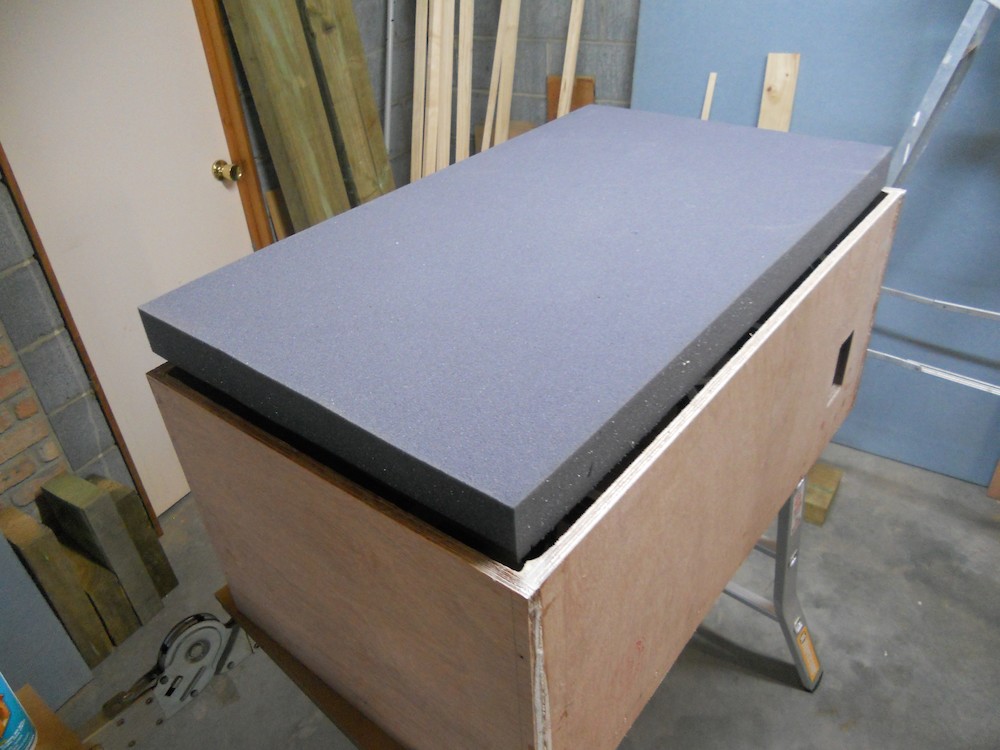
Pressing the damping foam down on the bracing to form temporary indentations. |
Marking those indentations with marker before they disappear. |
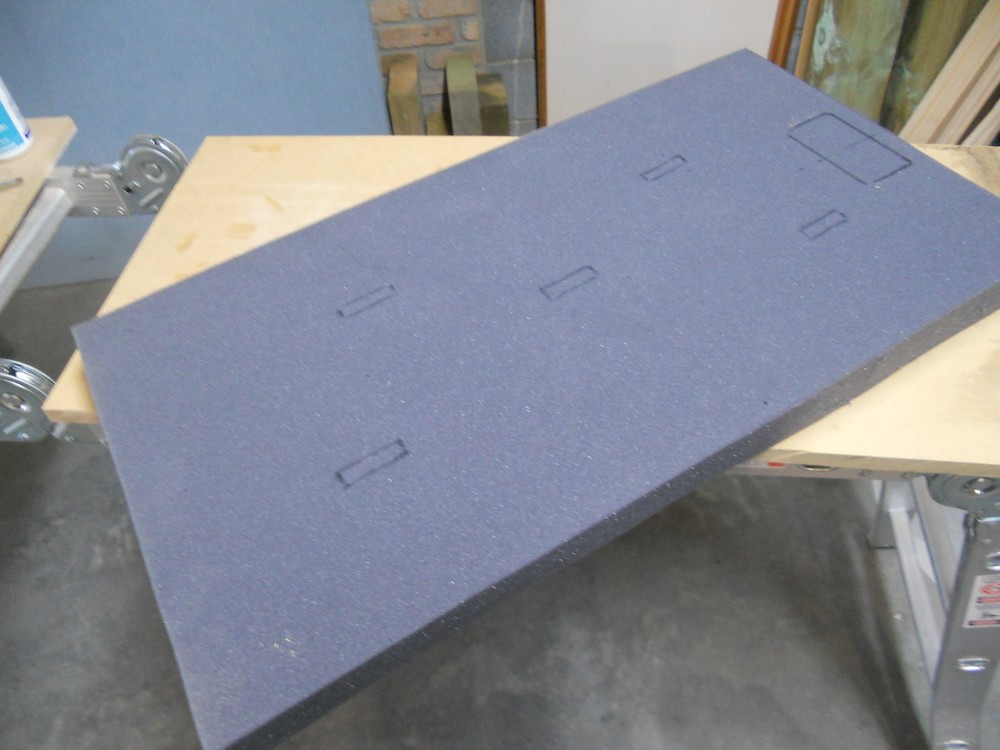
The cutouts in the foam fit nicely |
Spraying contact adhesive on the cabinet back |
"Gravity clamping" the damping foam to the back |
Cabinet back with damping attached |
Discovering that the back panel was a bit short. Fortunately, this can be positioned at the base, where it doesn't matter. |
Generous amounts of polyurathane glue when attaching the back - but this time it was deliberate, as part of a proactive leak prevention strategy. |
A mixture of screw- and gravity-clamping when attaching the back. |
Filling the screw holes |
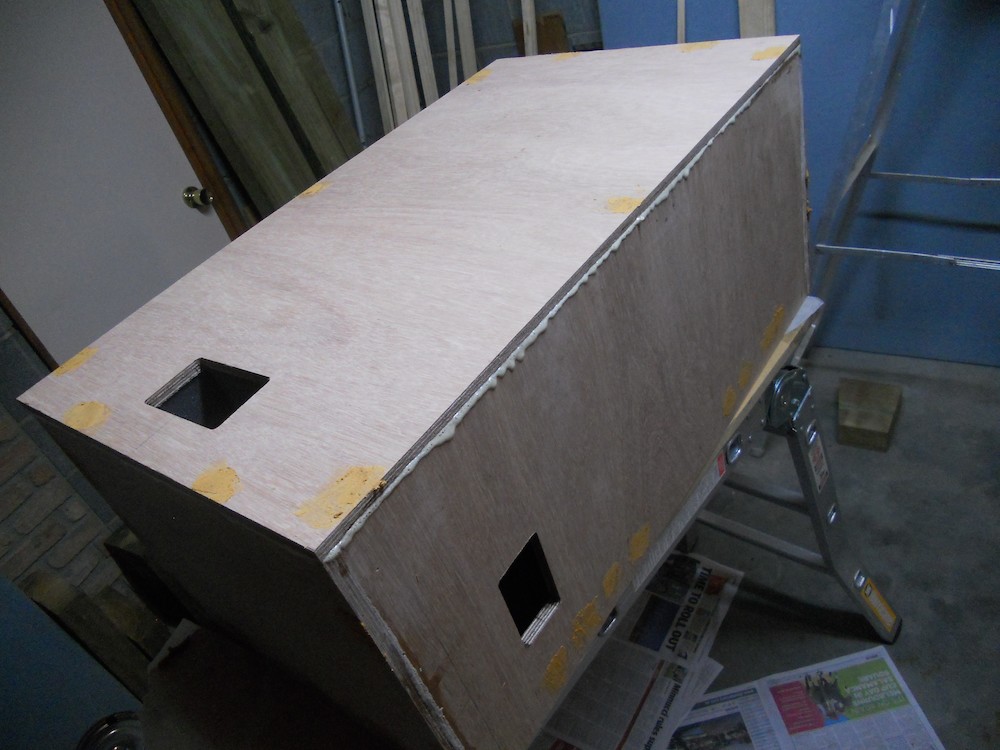
Squaring and smoothing all the edges (including the short back-base edge). |
Router with roundover bit and the same perspex jig used for the speaker cutouts, but this time used simply to keep the router level. |
The "inset" baffle presents a problem - there is not enough lip to support the roundover bit's guide wheel. I therefore had to "pad it out" (and level everything) so that a roundover could be cut on the protruding sides, top and base. |
Roundover complete - a very nice result |
After final sanding |
First coat of Duratex, applied with brush and sanded smooth. |
Grille mount/standoff pieces (made using power saw and mounted belt sander). |
Grille standoff installed |
Test run of Duratex texture layer on cabinet base |
Final Duratext layer applied. The result is very impressively professional. With the light at some angles you can just see some vertical roller marks (I only bought the narrow roller). |

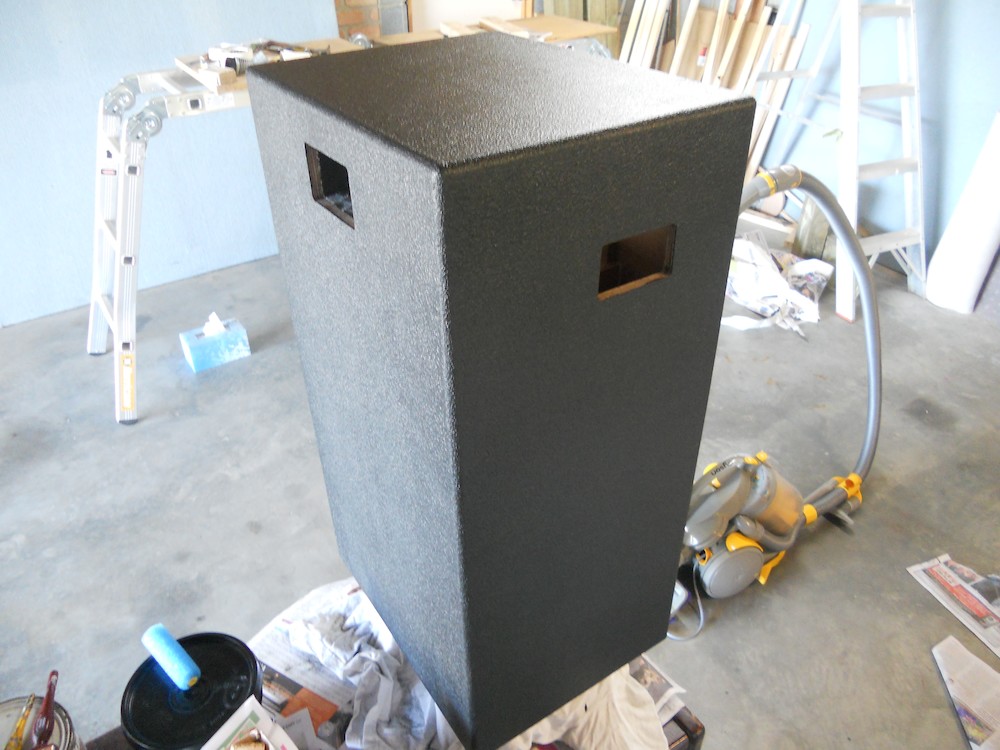
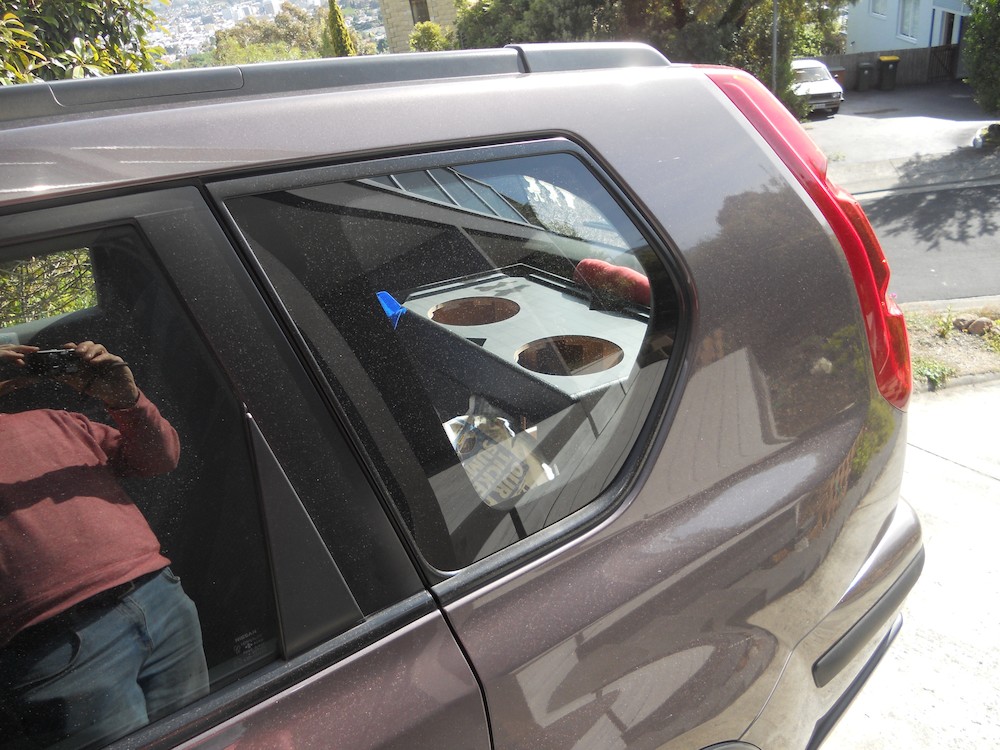
Using a car in the sun as a paint curing oven. |
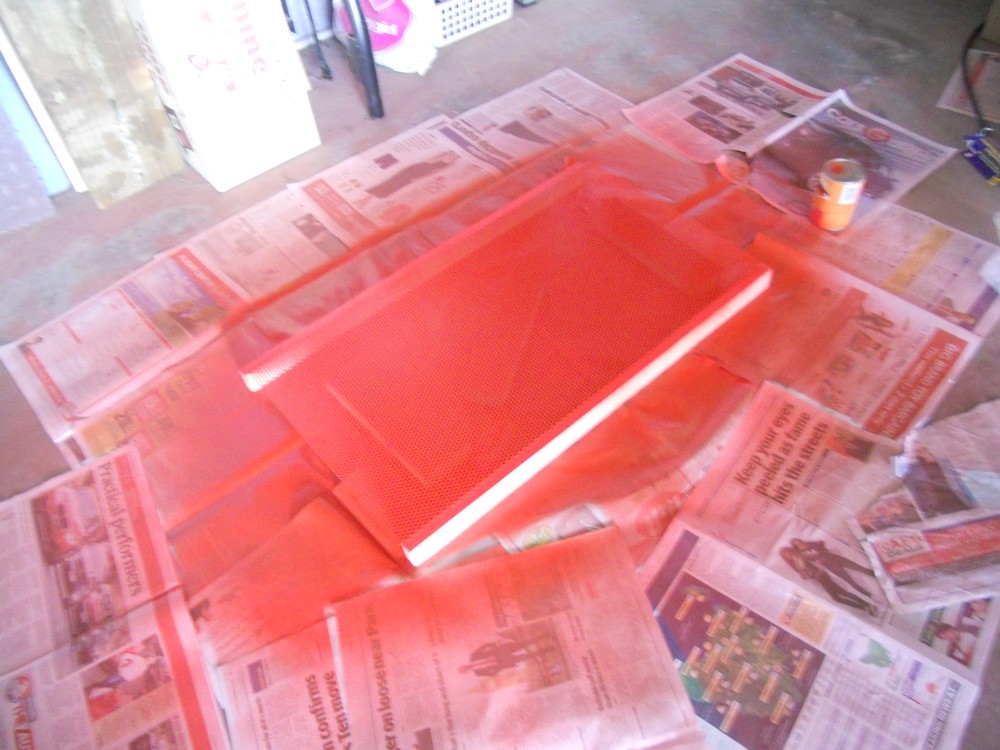
Perforated metal grille, bought from a local sheet metalwork factory (cut from offcuts) for $15! |
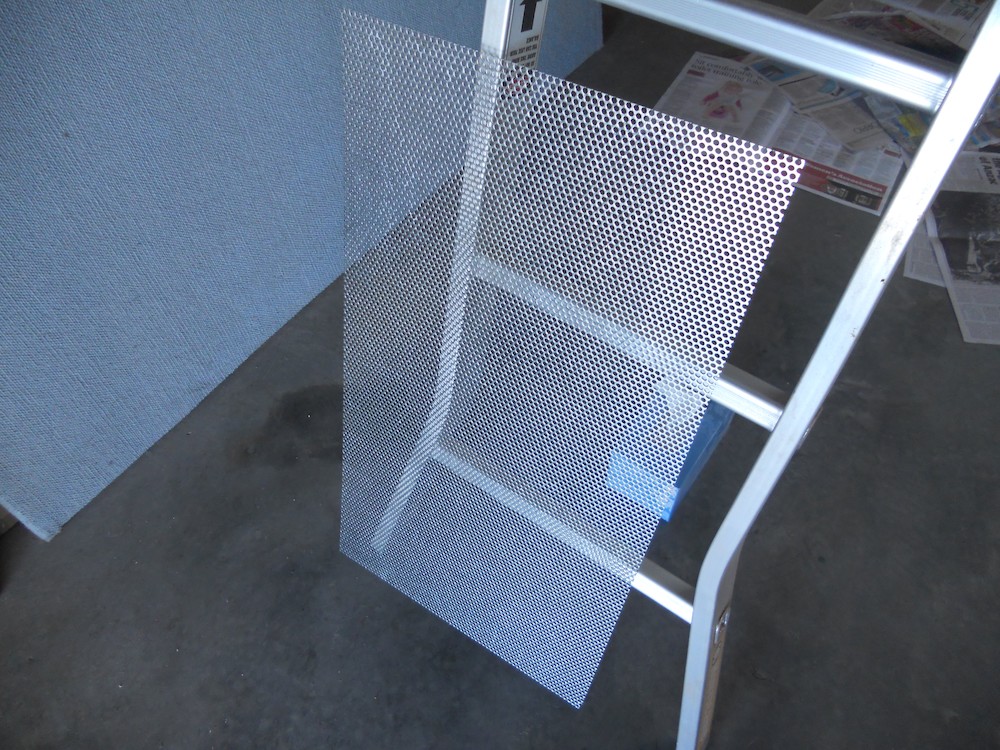
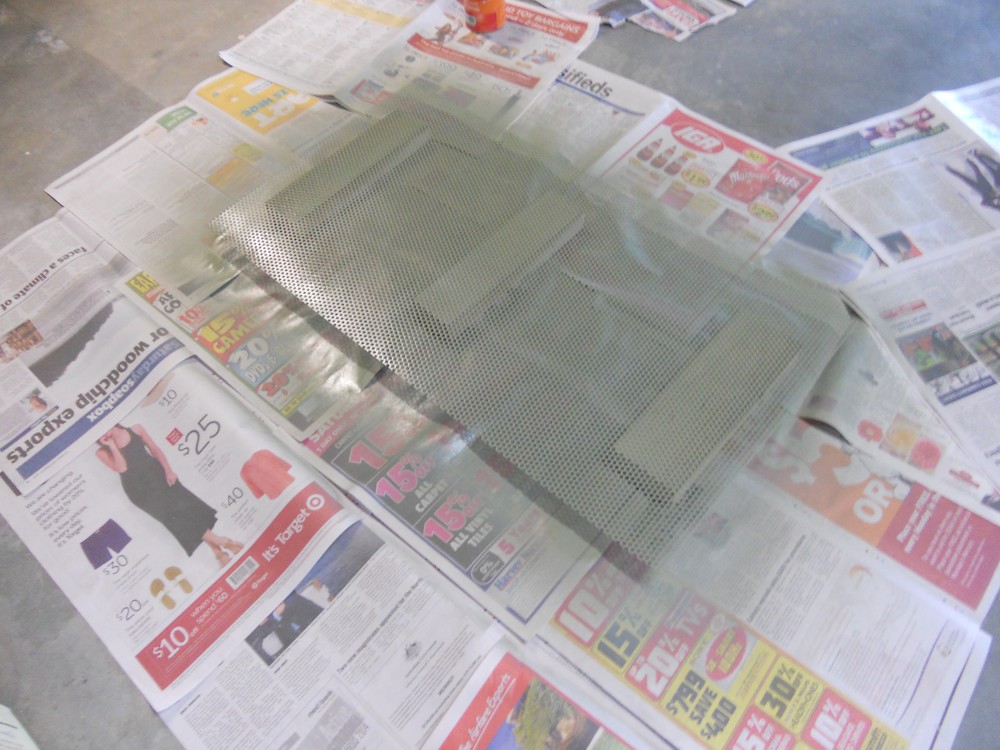
Spraying metal primer |
Spraying red enamel. This stuff forms a fine red dust that gets everywhere! |
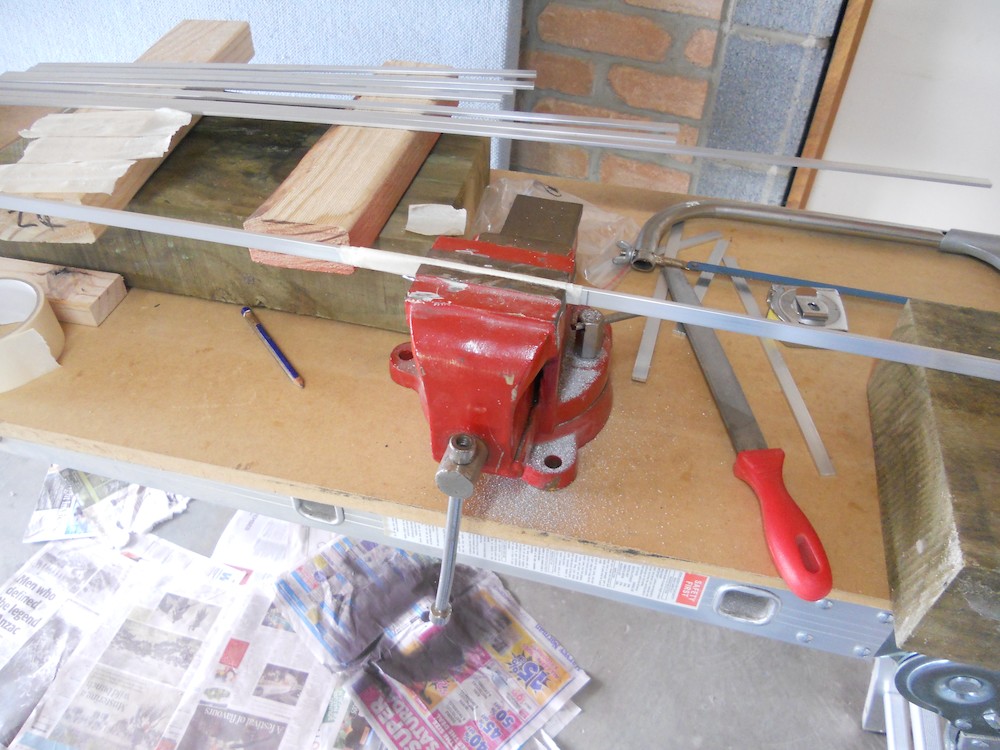
Cutting aluminium bar (by hand) |
The brushed aluminium look. Although I used a rotary brush, I finised it off with sandpaper for a more uniform result. |
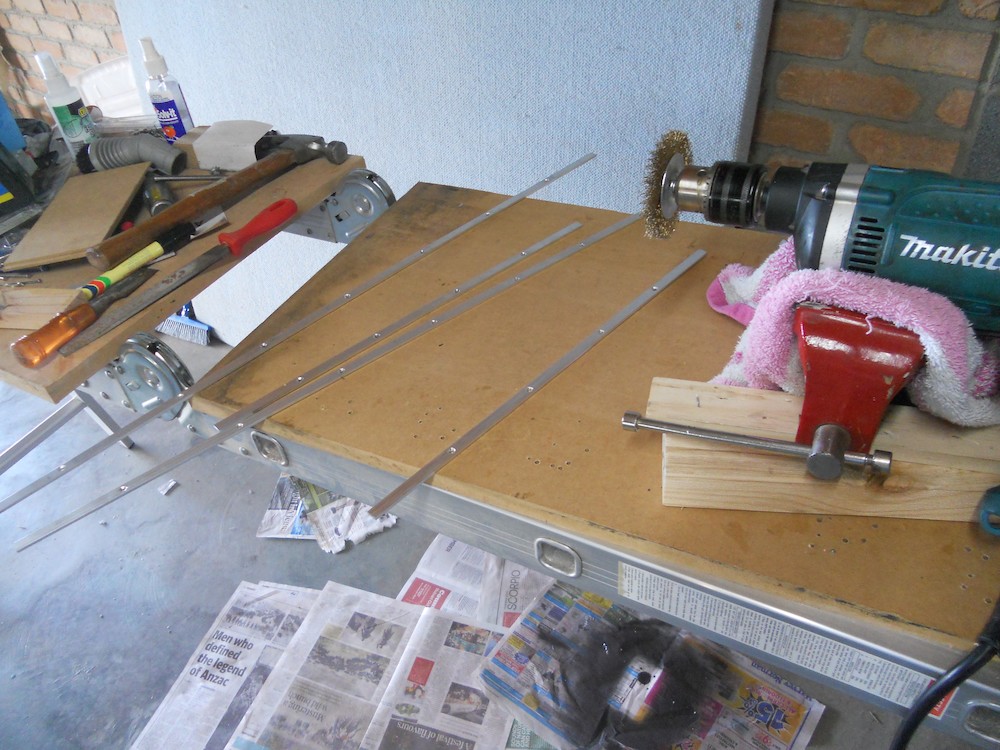
Drilling the aluminium and applying a layer of clearcoat |
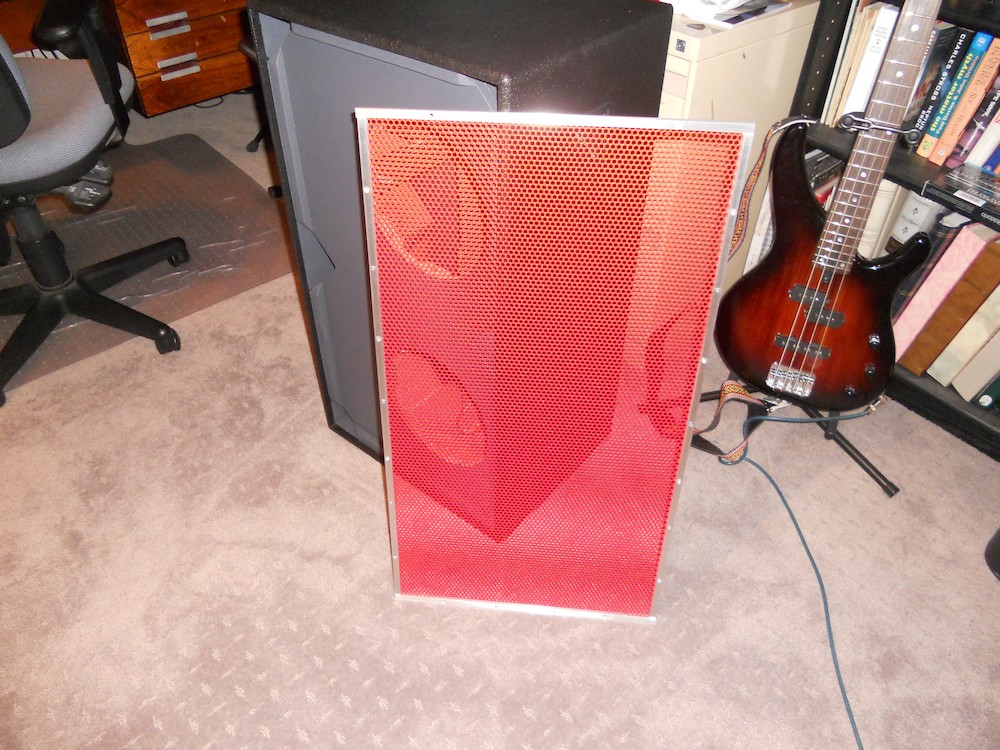
The completed grille, ready for attaching (when the speakers finally arrive...) |
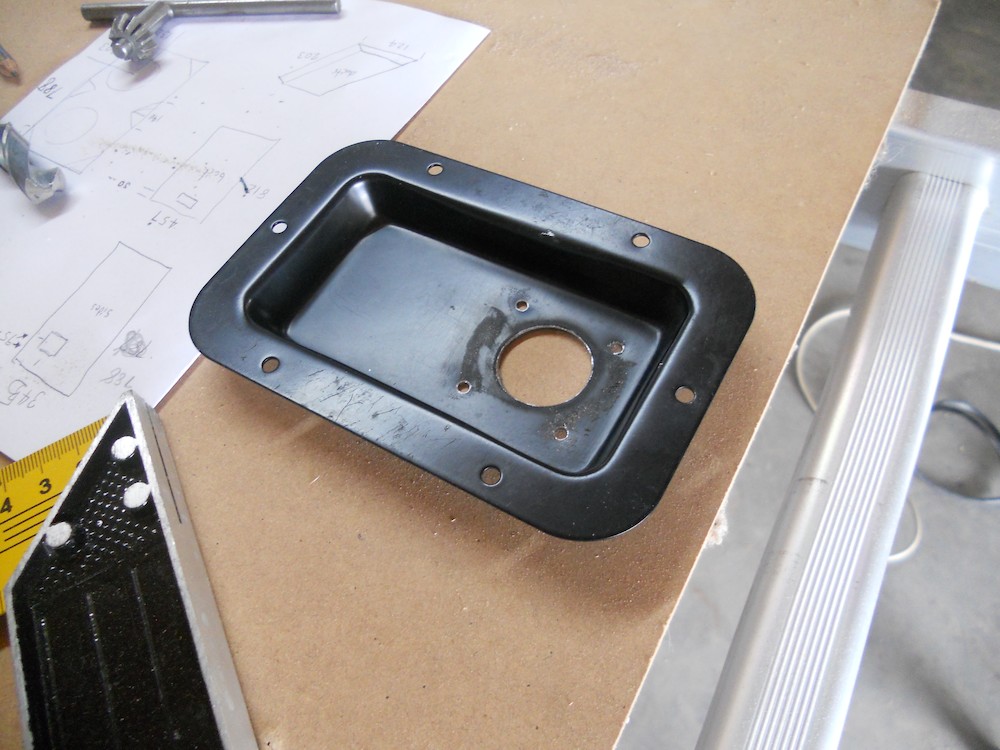
Drilling the jack plate messed things up a bit. |
A light sanding and a spray with enamel, and it looks nice again. |

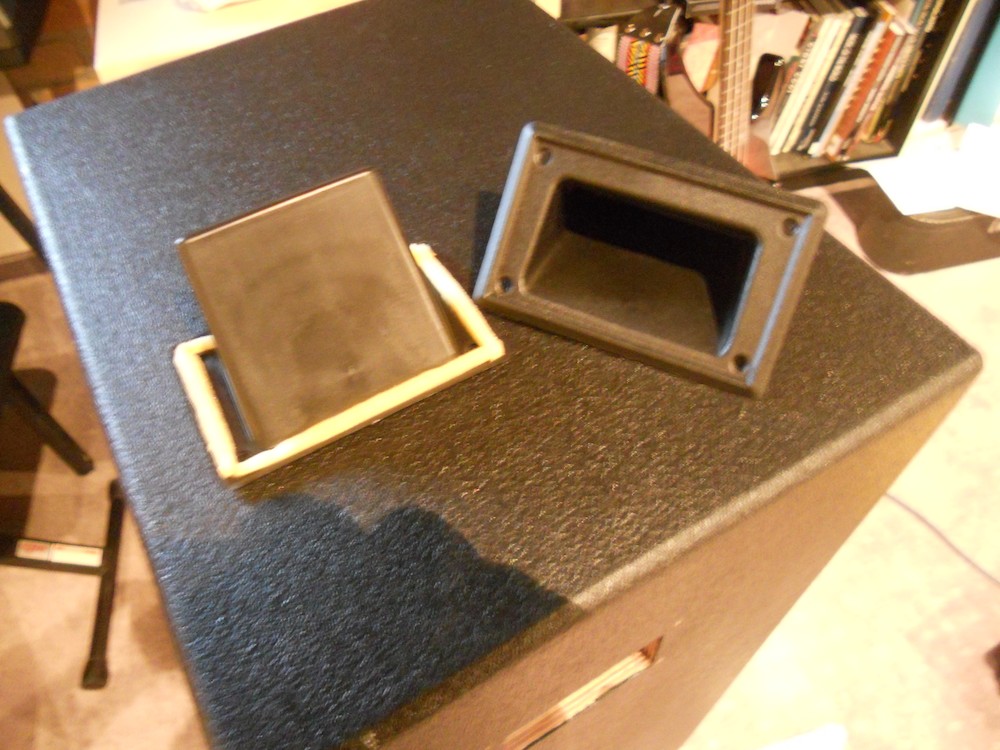
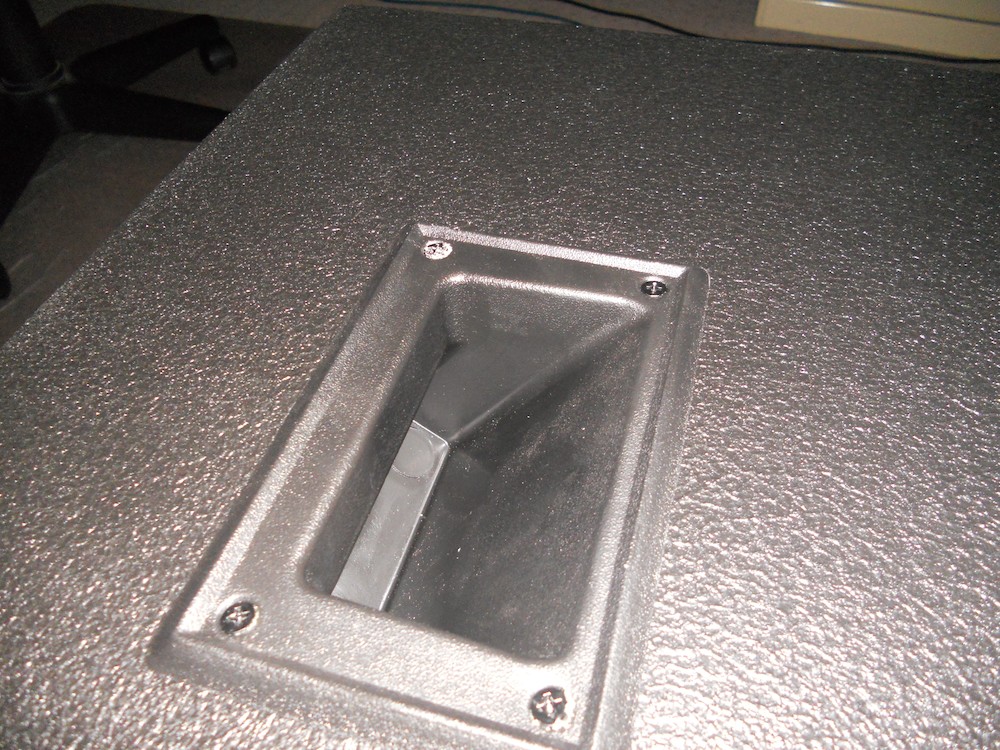
Using adhesive foam as an airtight gasket on the handles. |
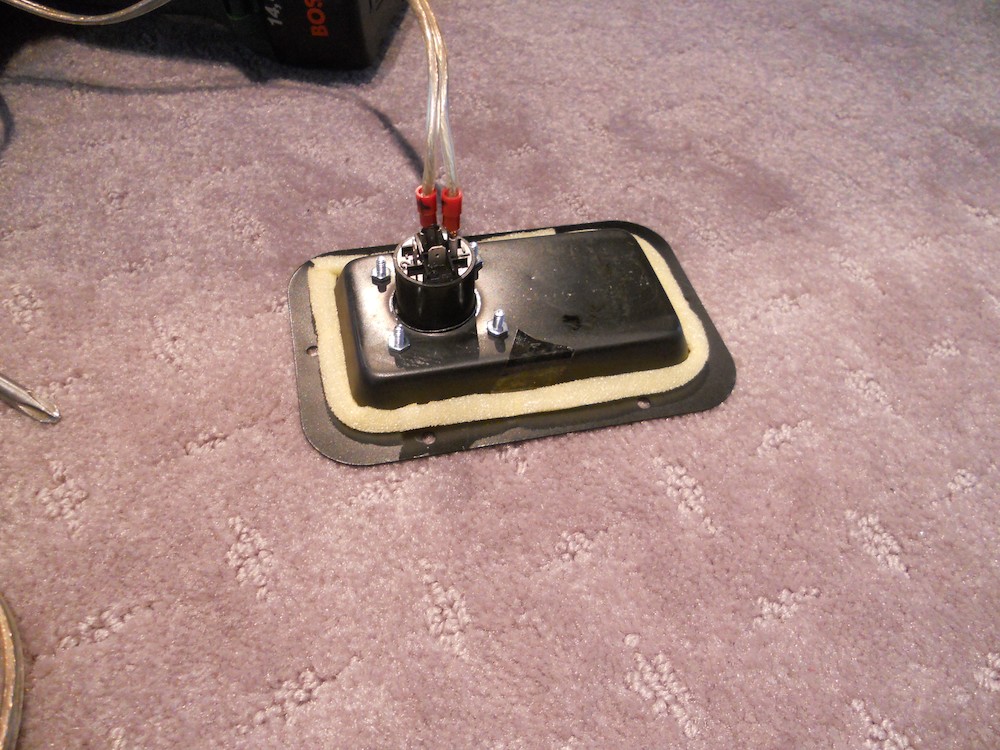
Similar gasket for the jack plate |
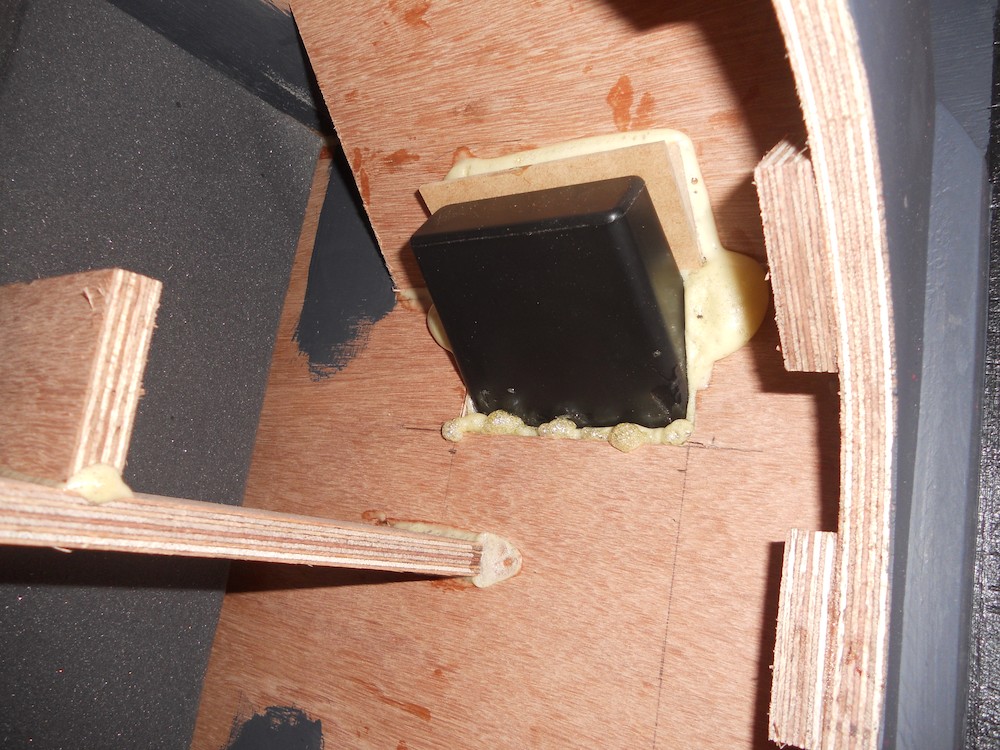
My choice of handle was very flimsy - I can feel them flexing and stressing when the cabinet is picked up. |
Two wedges to "buttress" them against the fortuitously positioned corner vents. |
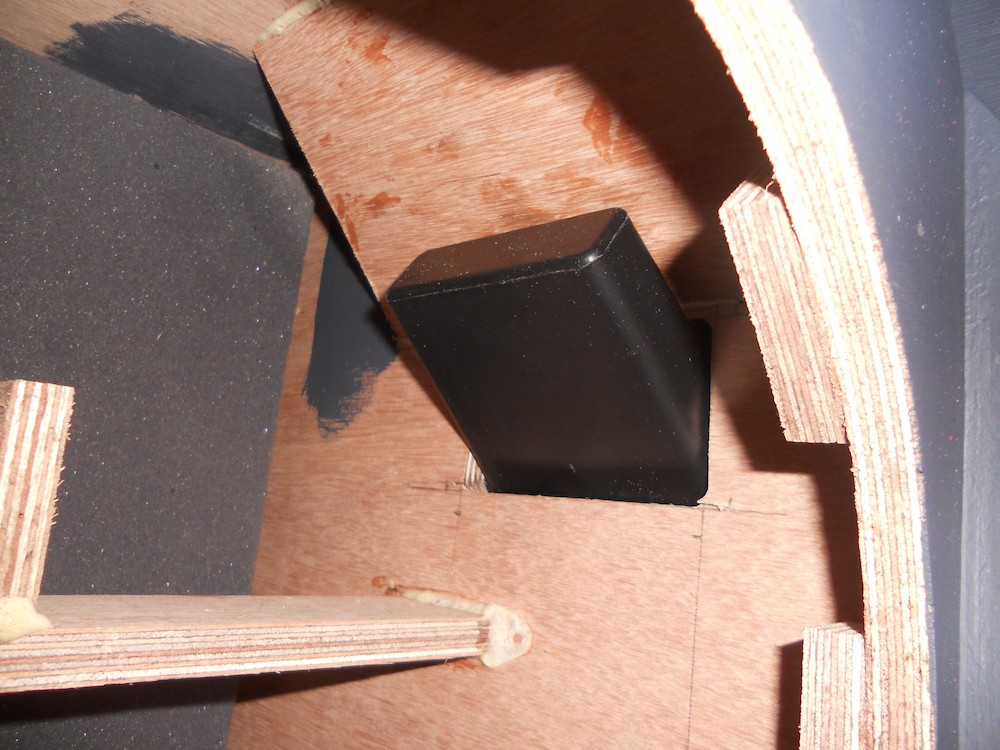
Handle buttresses installed, plus some glue in the channels to firm everything up. Ugly but effective. |
Some glue seeped through the mounting screw holes, but it was pretty easily cleaned up. |
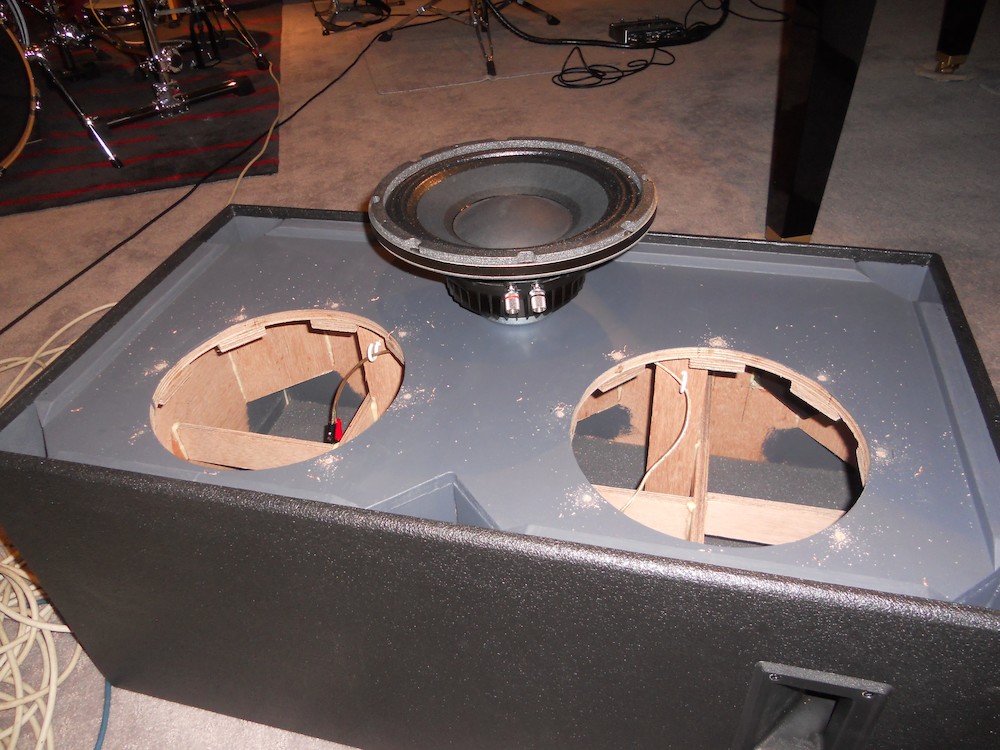
At long last the speaker drivers arrived. Time to see if my "predicted" hole cutouts were the right size. |
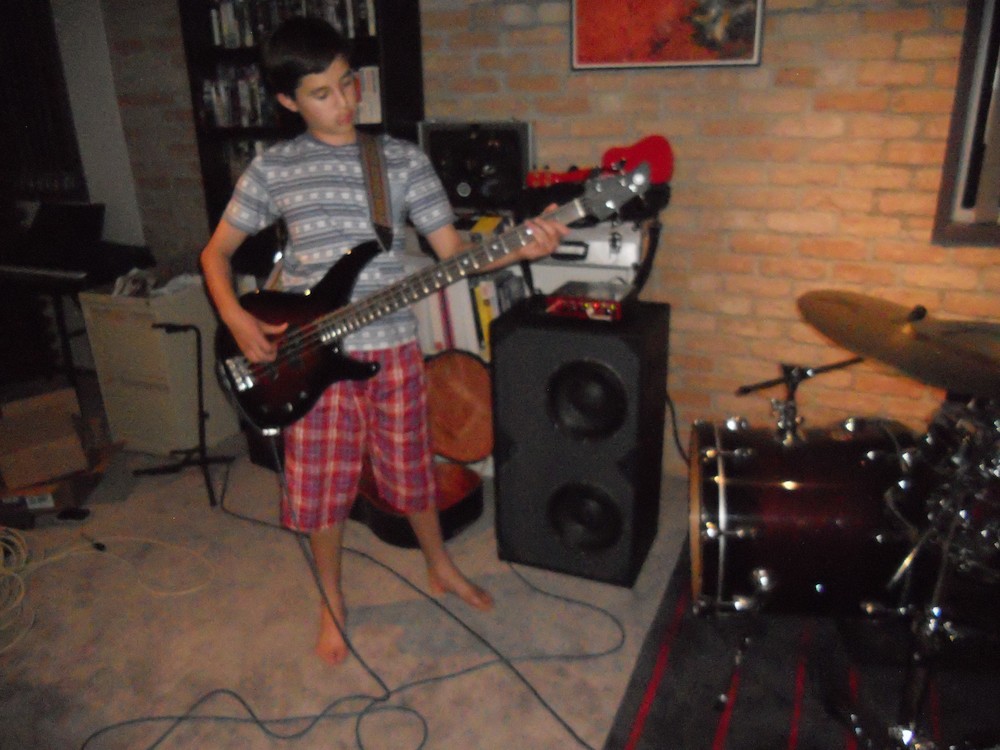
The inaugural sound test, with my son in the driver's seat! |
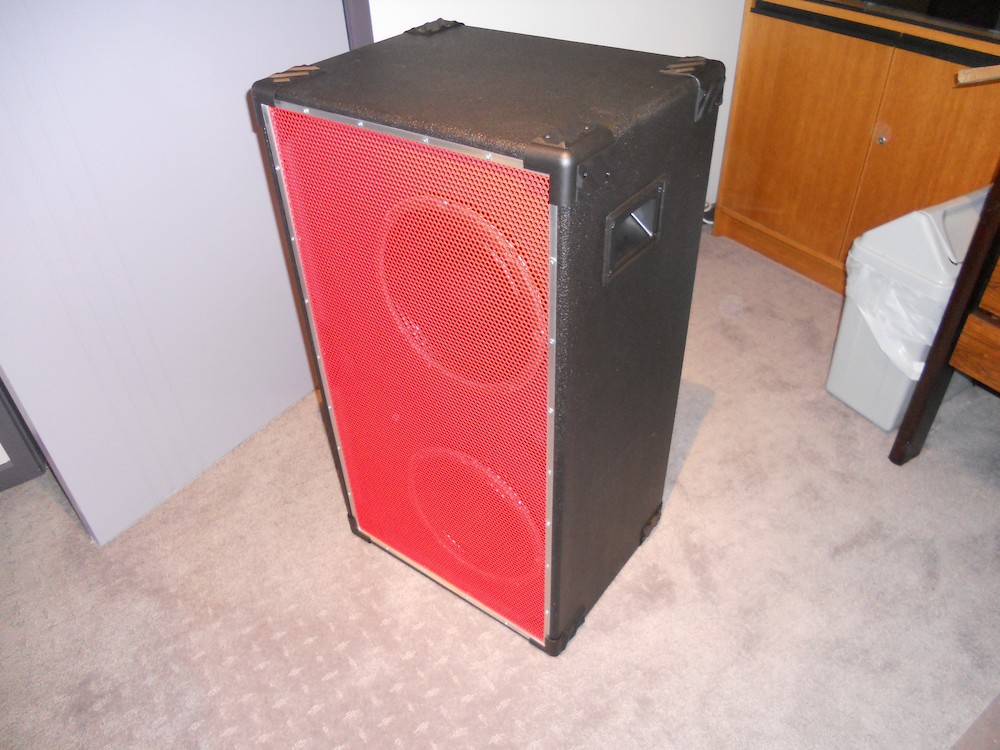
Grille and corners attached |
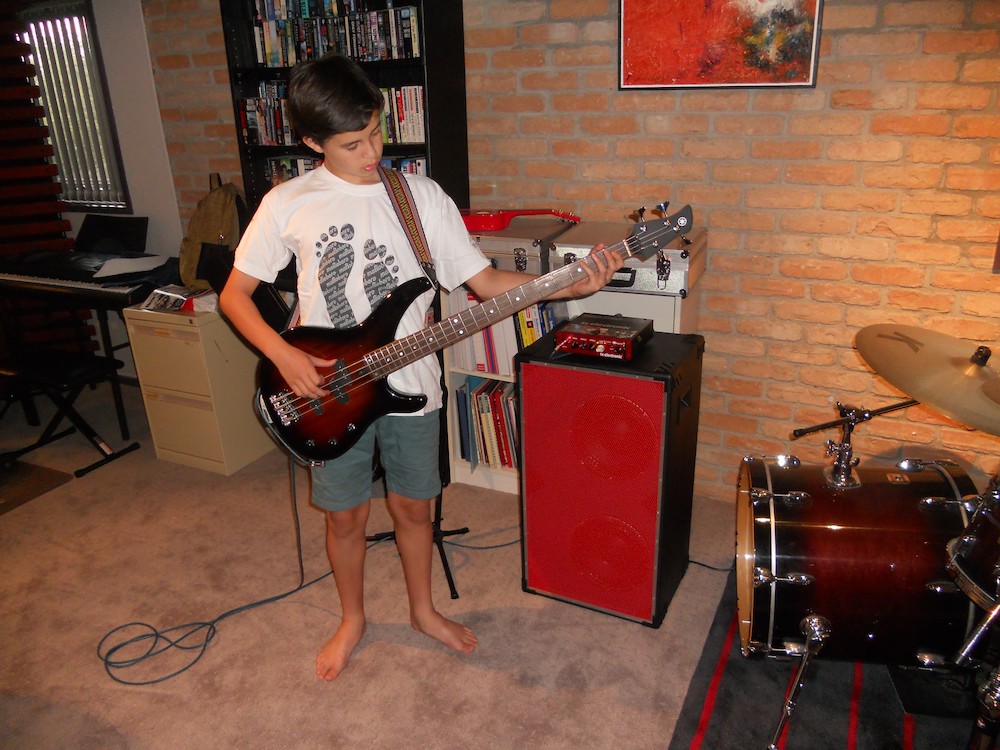
The recipient trying out his completed new rig. |
Final Verdict
Aside from its weight, this bass cabinet performs very well, and paired with the TC Electronic BH250, makes a very nice bass rig.
My grille/standoff construction was very elaborate and fiddly, I might do things a little differently if there is a next time.
The colour scheme is a bit brighter than I'd imagined, next time I might paint the baffle red, and the grille black.
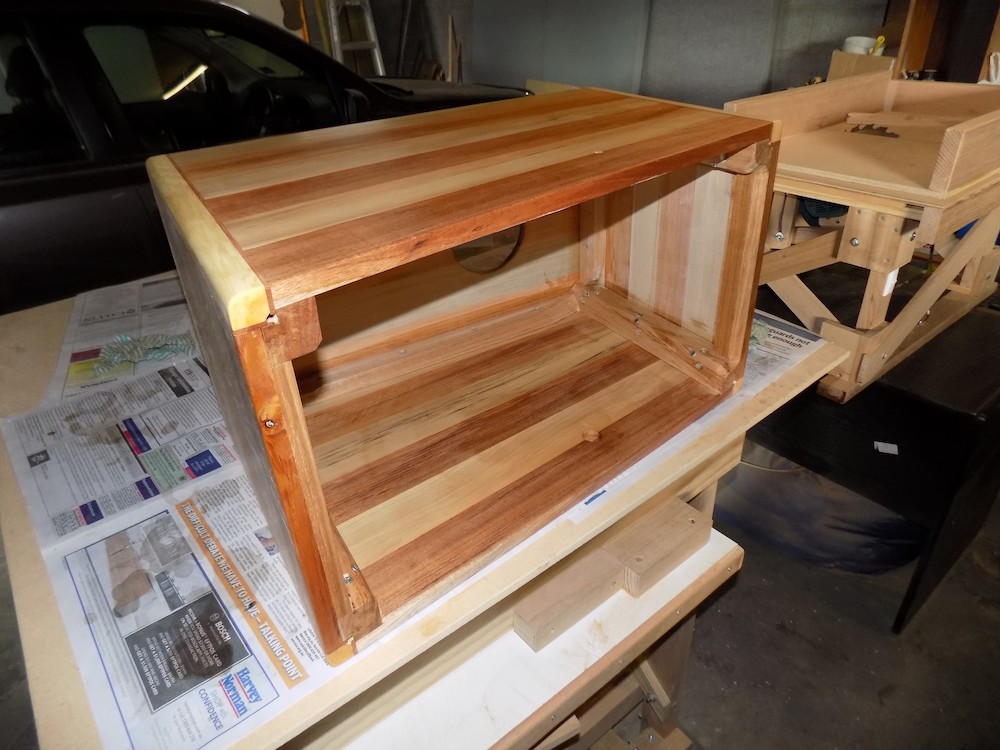
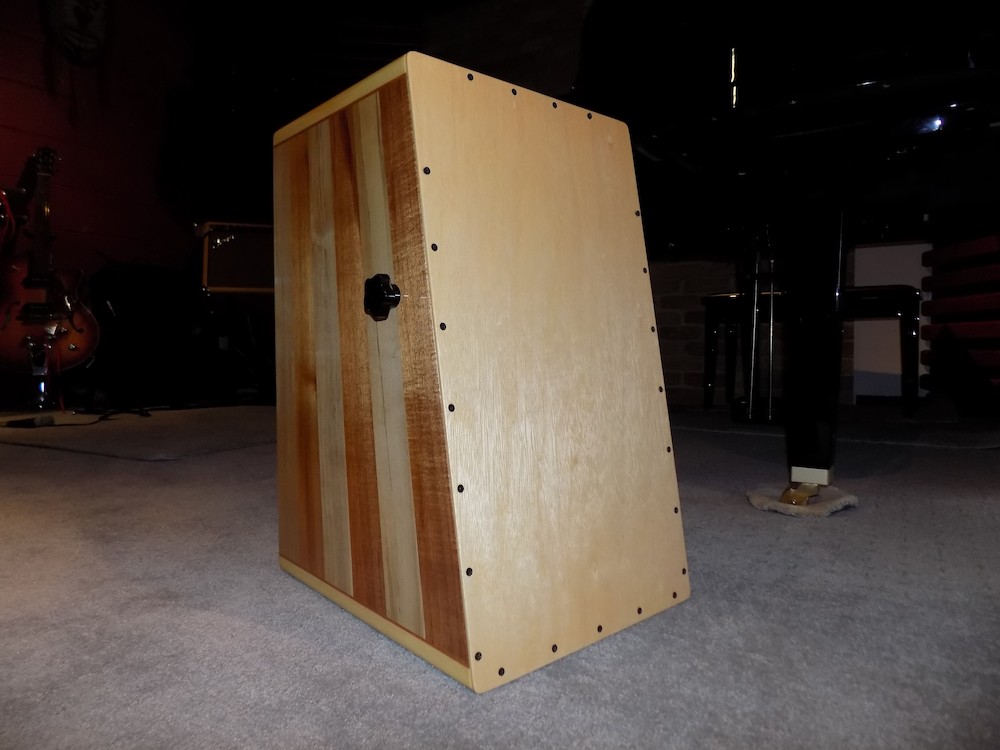
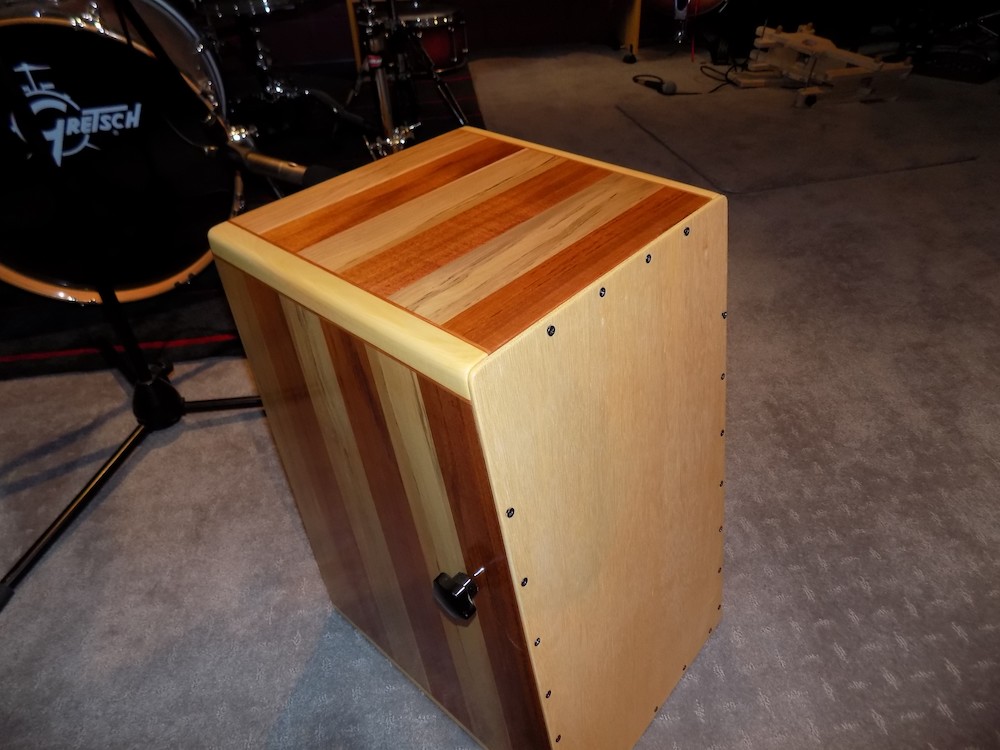
Trapezoidal cajon with adjustable snare (2017)
Made from Tasmanian Blackwood, Sassafras & Huon pine (some Spanish Cedar trim and Tas oak corner reinforcements, and the tapa is of course, plywood).
Case partially constructed |
Varnishing |
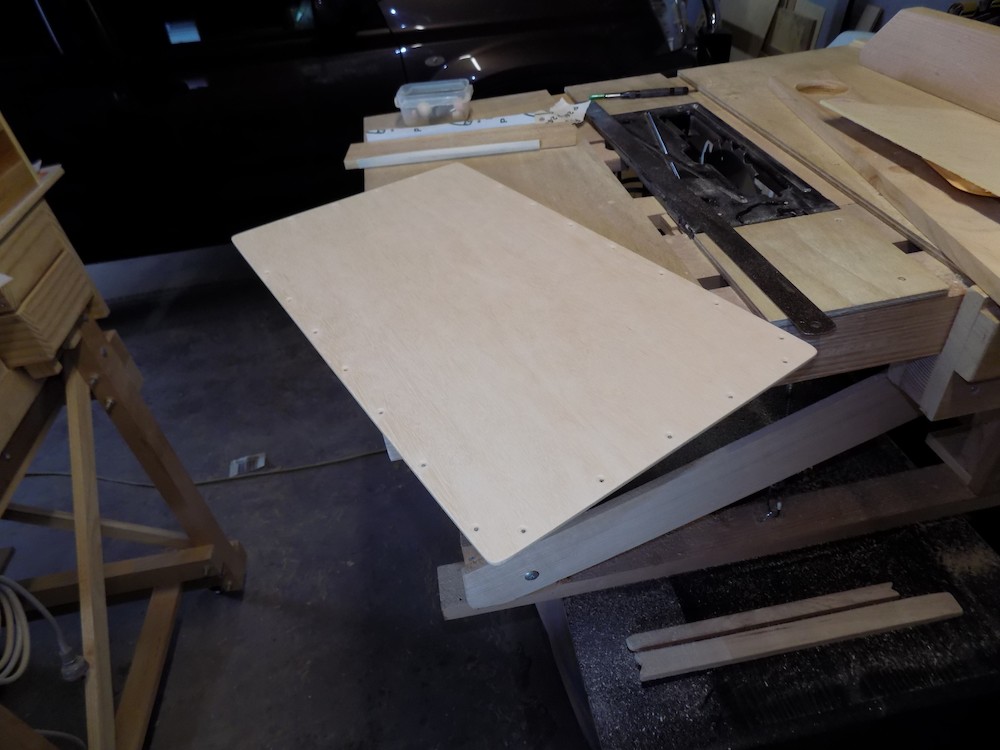
The plywood tapa cut and drilled |
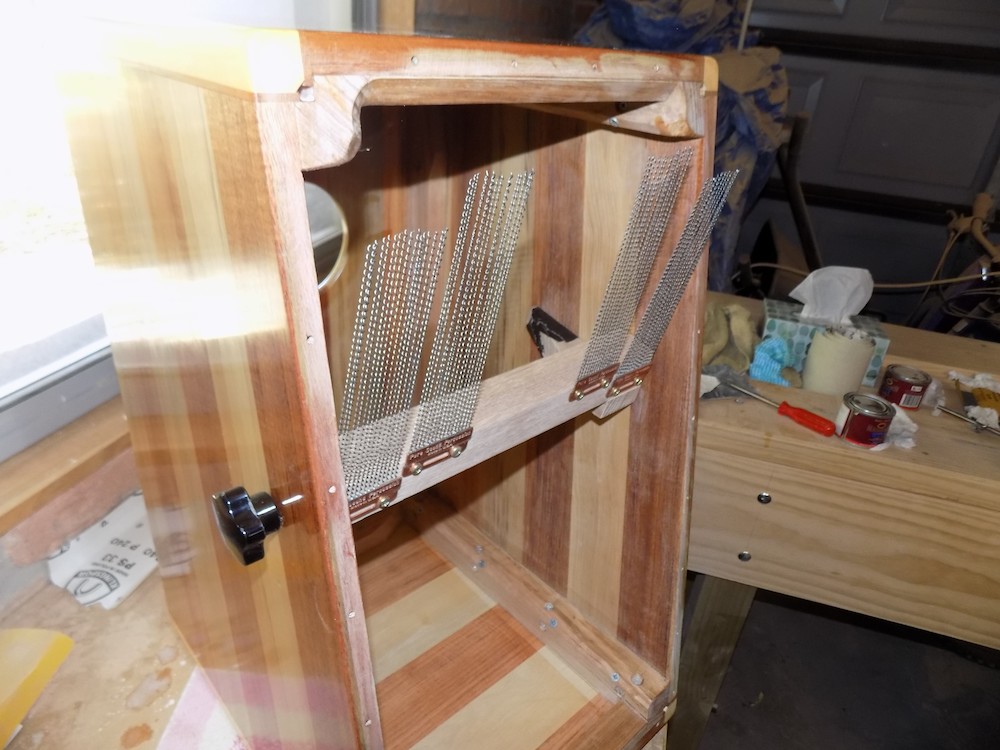
Snare mechanism |
Rear port |
Front view |
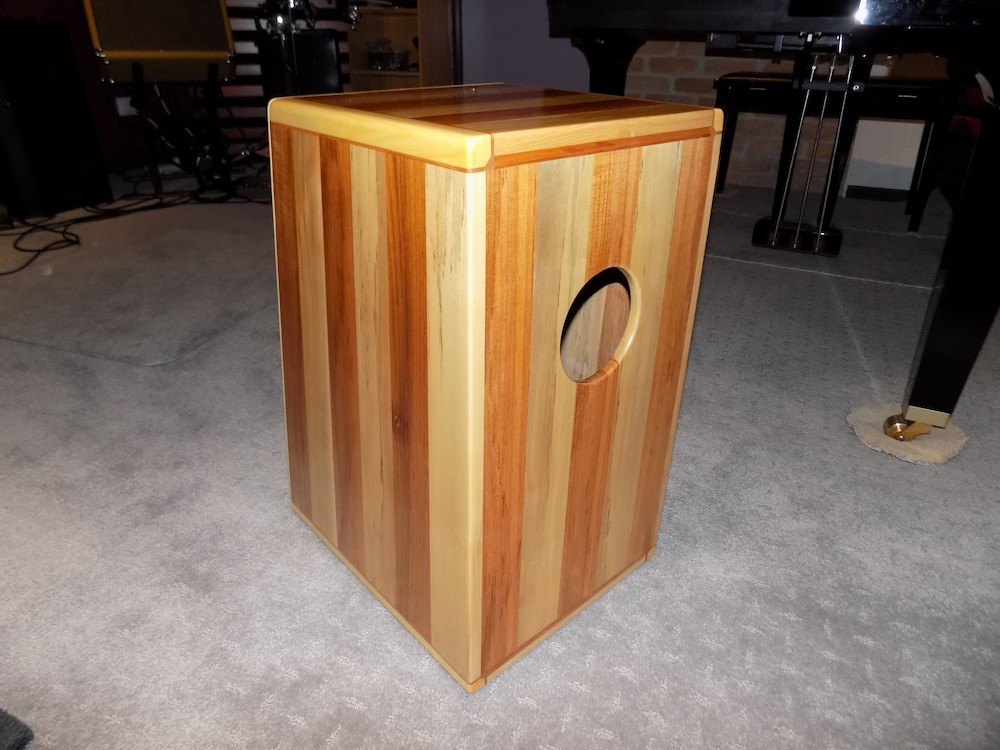
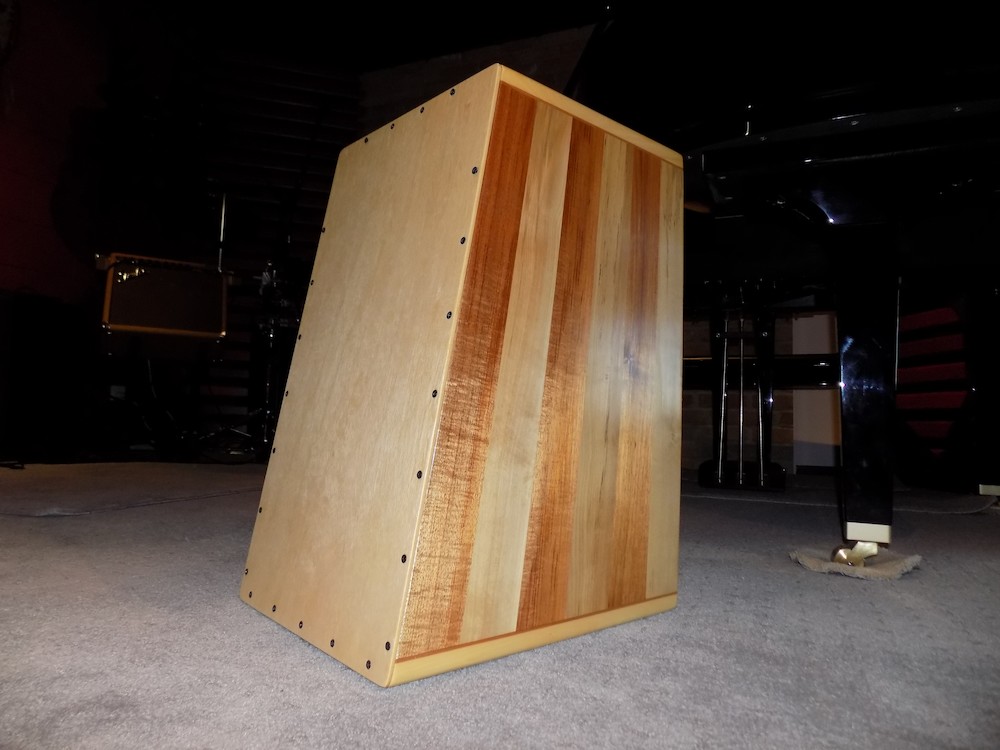
From the other side |
Top view |
Here is a video of my first attempt at playing it:
(If your browser doesn't support/allow embedding, here is a direct link to the YouTube video.)
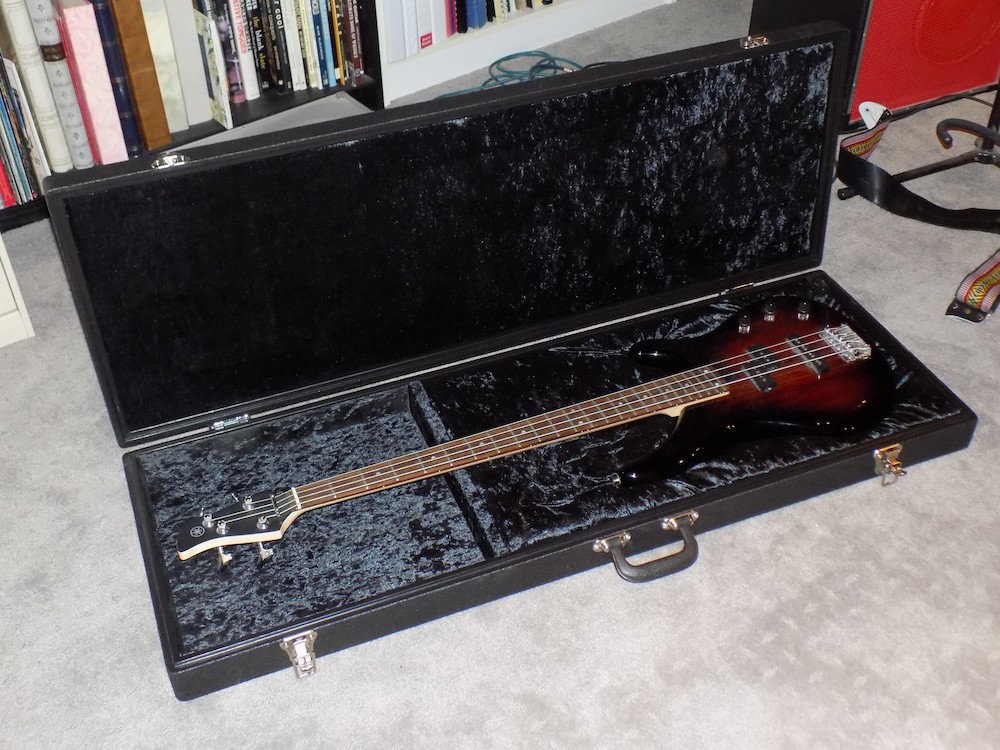
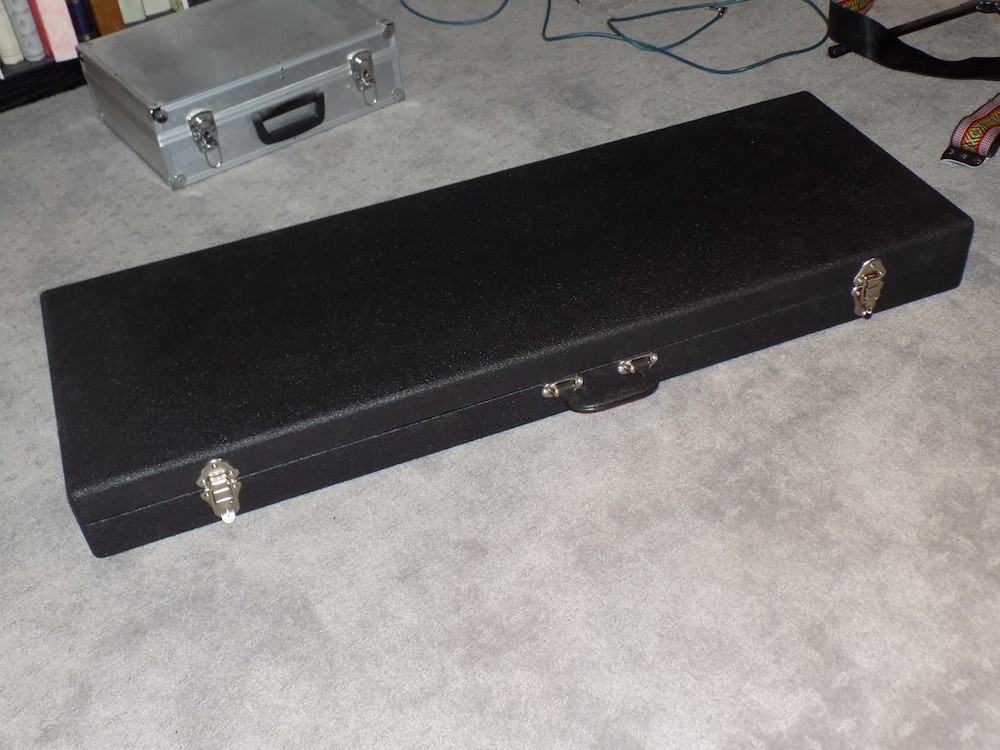
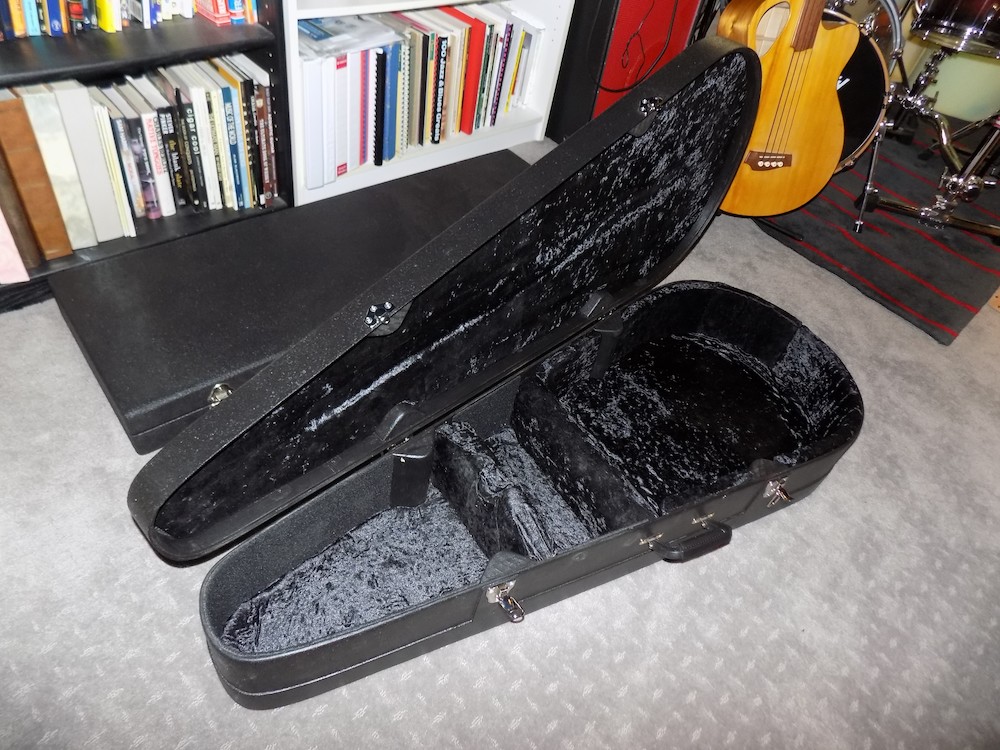
A case for my son's bass guitar (2020)
Looks great from a distance and heavier than it should be
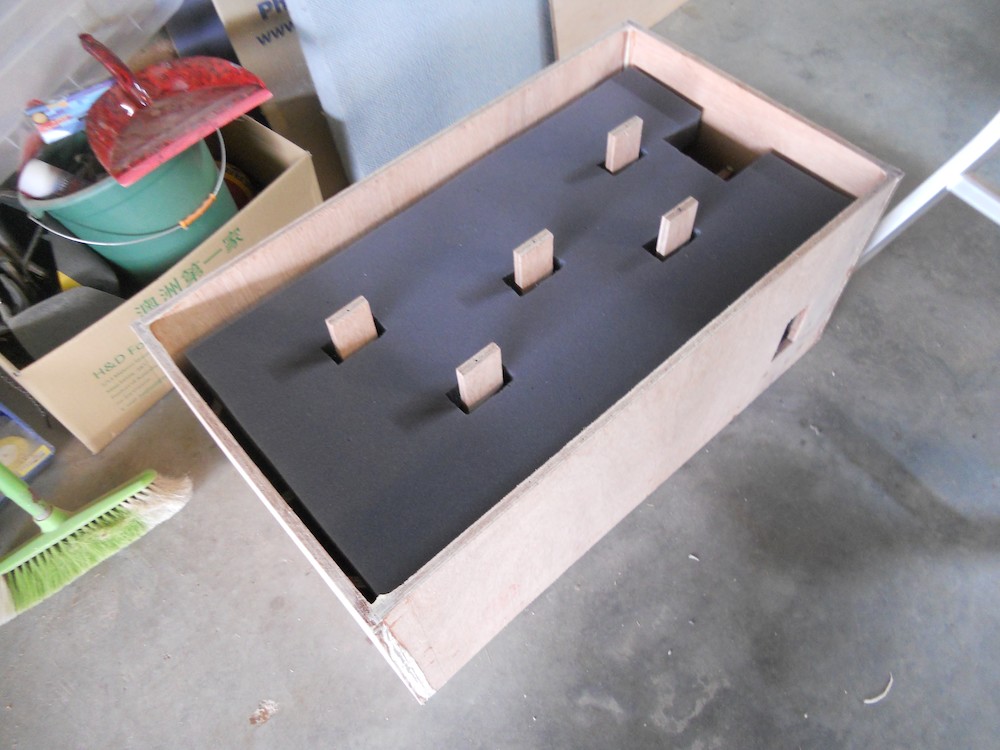
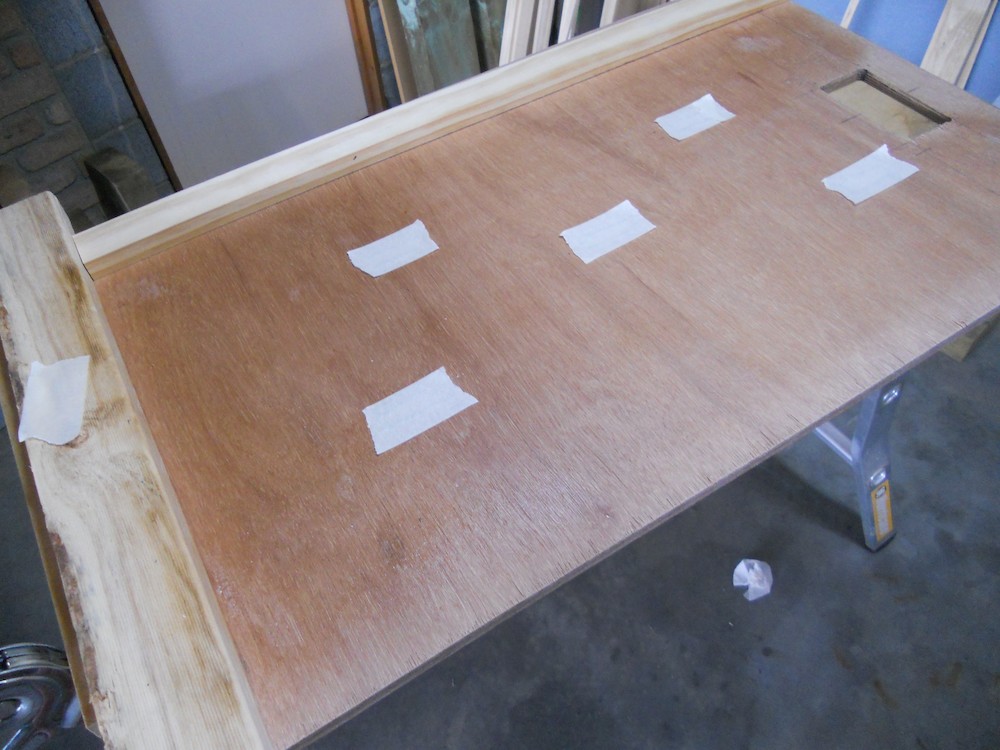
A pine-and-ply box painted with DuraTex (speaker cabinet paint) applied with a texture roller. This looks great and is quite tough. |
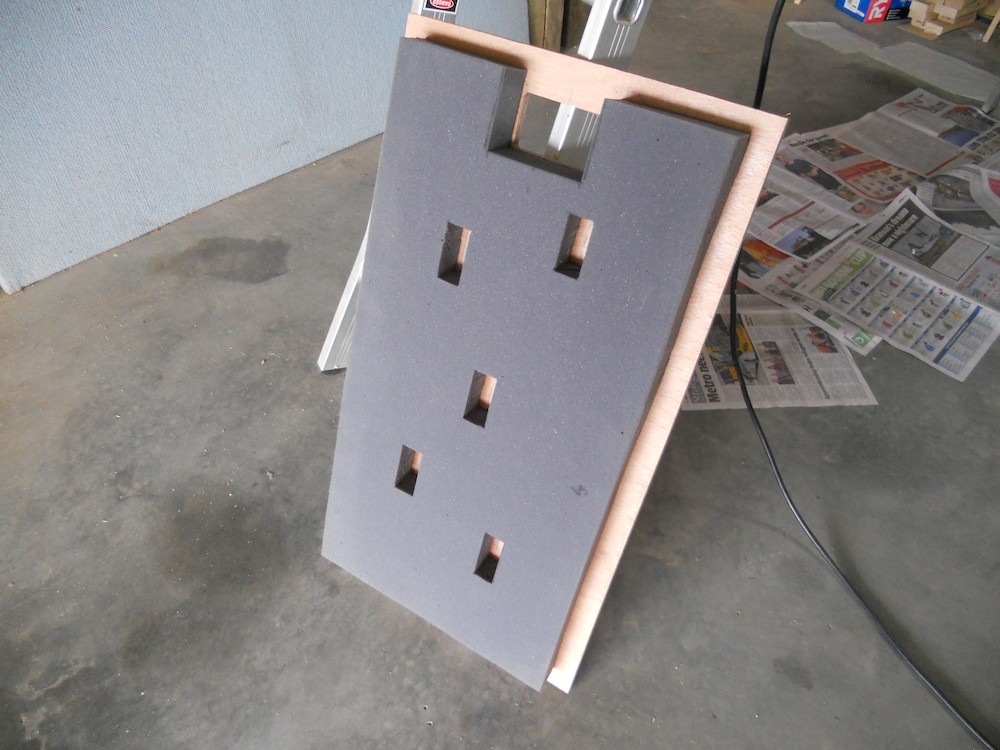
The foam inserts are covered with black velvet, using Bullet Bond rubber adhesive. This is quite a tricky process, and occasionally the glue solvent soaks though, giving the velvet a mangy appearance. |
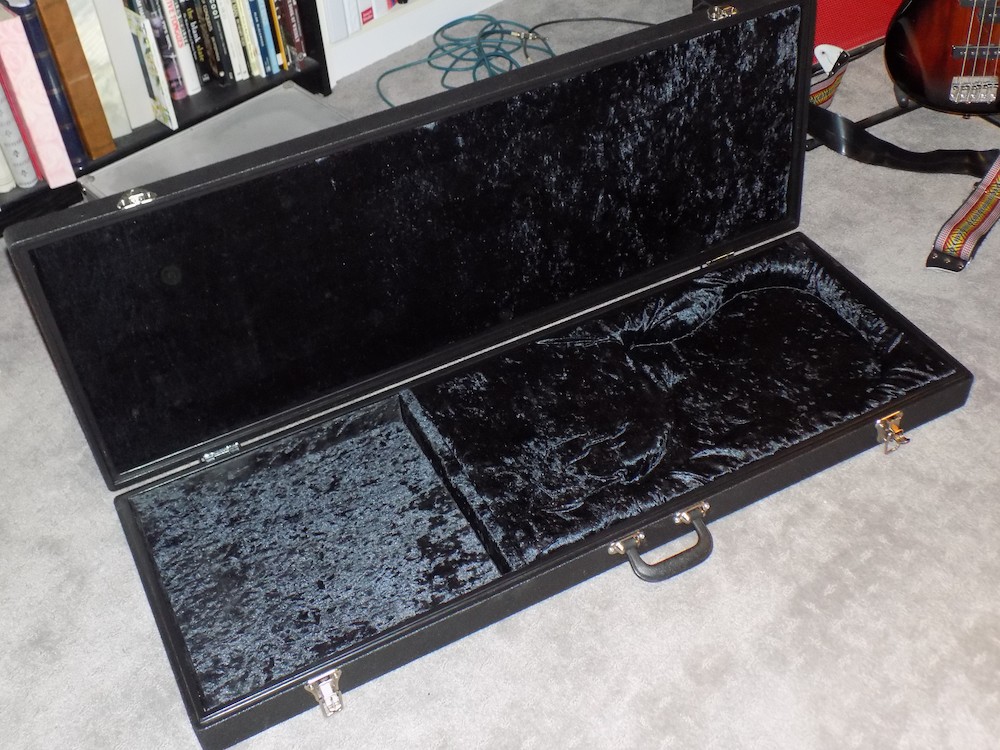

Velvet isn't very stretchy, so there are folds and tight areas. If I do this again I might try a few different ideas. |
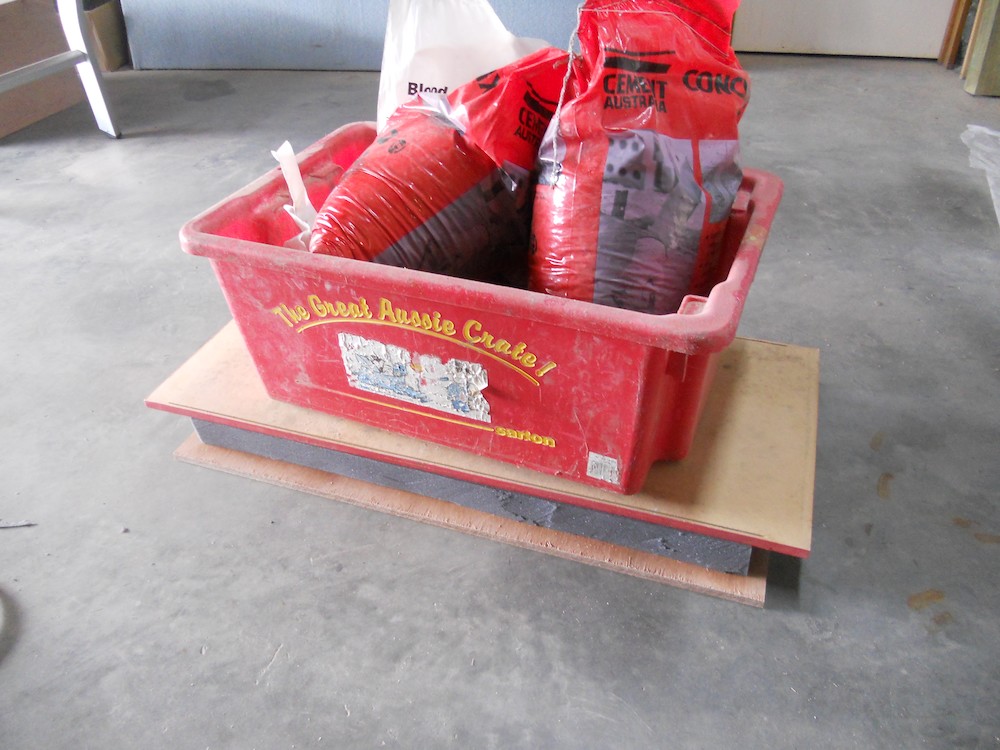
The case is heavier than I'd hoped, but I'm confident the fittings are up to it and it will protect the bass from teenager-type transportation disasters. |
A case for the acoustic bass guitar I built(2021)
I'll be darned if it wasn't trickier to build than the actual bass guitar
After building the previous one I thought this would be easy. |
But due to the size of the acousic bass, if I'd built a rectangular one it wouldn't have fitted in the average car. |
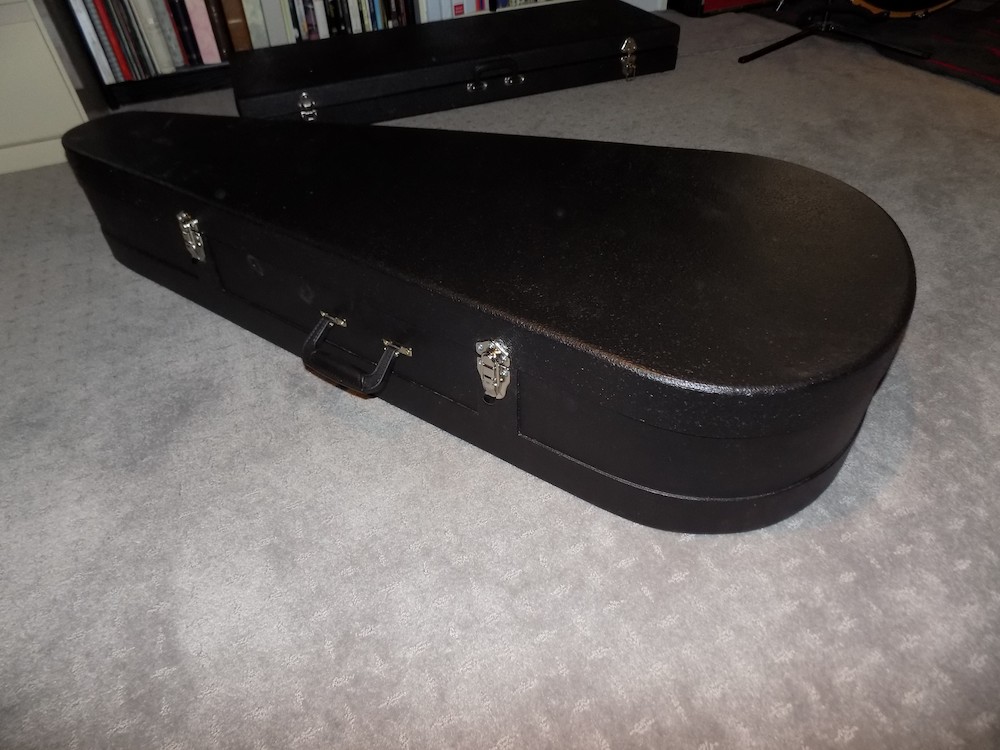
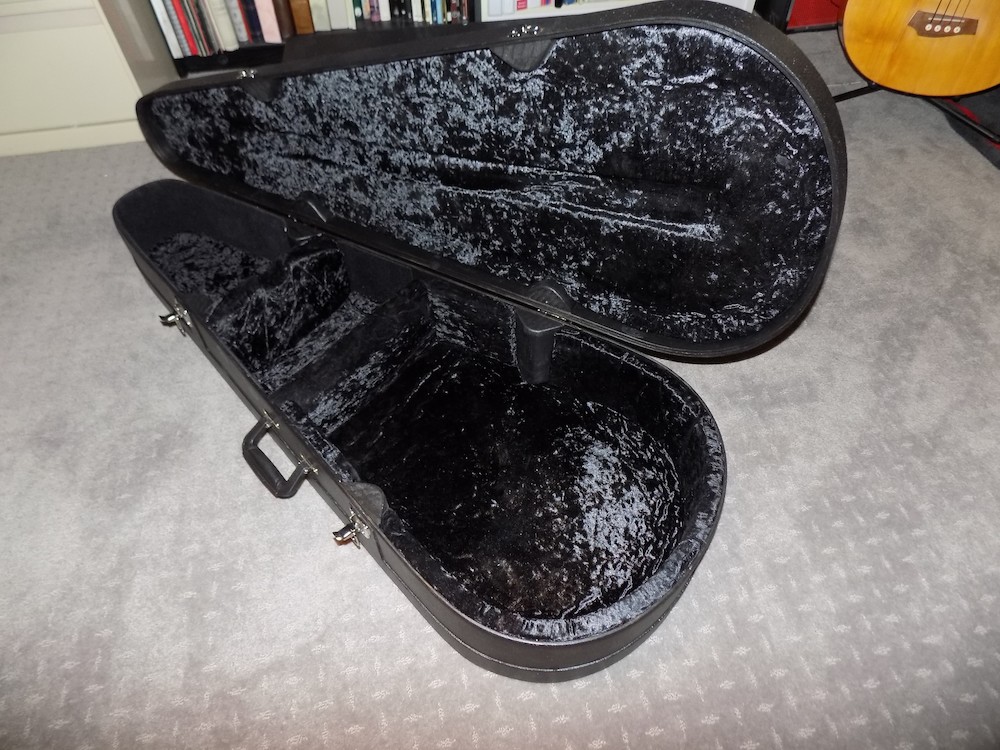
So I had to learn to steam-bend plywood |
Lining the inside with velveted foam harder when the sides are curved too. |

All content Copyright 2007 Trevor Magnusson
| × | |