Studio Acoustics Projects
Items:
Bass Trap Project (2003)
An incomplete documentation of my DIY bass trap project.
Every home studio owner knows that the acoustics of small rooms are terrible,
particularly if they have brick or cinderblock walls and concrete floors.
However, there is a widespread opinion that if you close-mic, these problems don't matter so much when recording.
So you just have to "take things into account" when mixing and mastering.
This is true for many instruments, but it is NOT true for instruments that produce a lot of bass,
particularly if the sound-generating surface is low-mass. The reason is that standing bass waves don't just
interfere with what you hear, they also interfere with the sound-generating surface itelf.
So some bass tones will be unnaturally boomy, and others completely dead. No amount of close-micing will avoid this.
I noticed this with my bass drum and 16" floor tom.
The solution is to add bass traps to the room. A modest amount of online research clearly indicates that foam wedges
are a con. You need high-density fibreglass or rockwool, mounted a distance out from the walls, and the most effective
placement is in the corners.
In the US, www.realtraps.com
have made affordable professional-grade bass trapping available to home studio and home theatre owners.
However, by the time these products make their way to Australia, after shipping, currency exchange, taxes,
distributor markup... that affordability evaporates.
Here's how I went about fixing the bass problems in my studio:
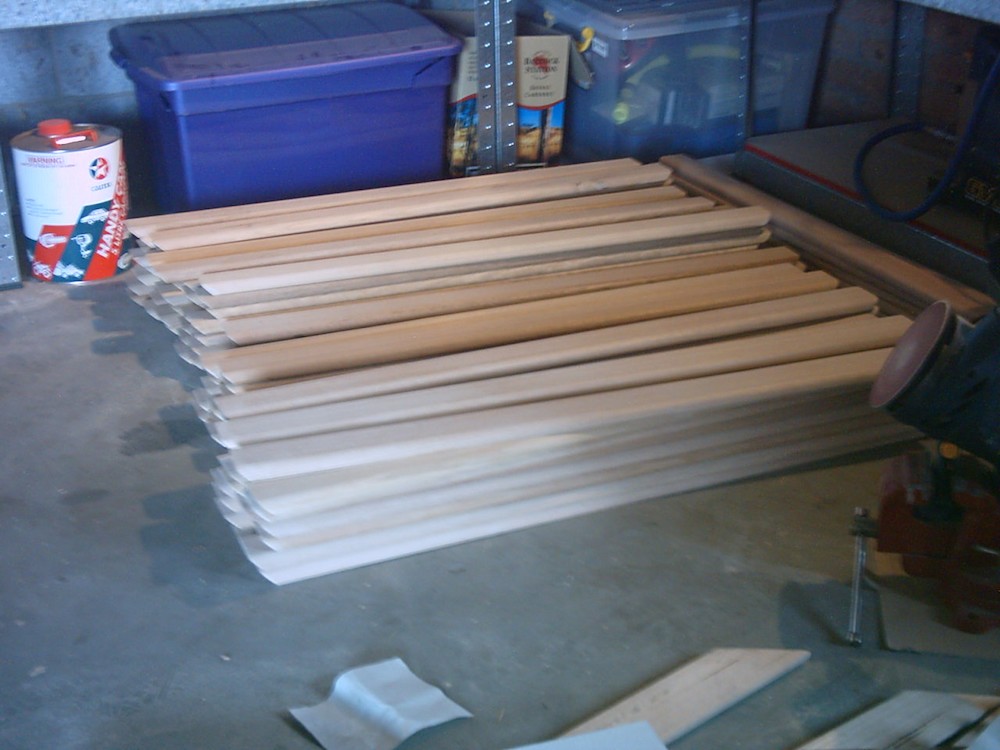
The Tasmanian oak slats as delivered by a local joinery firm to my specification. Some further shaping and sanding was required. |
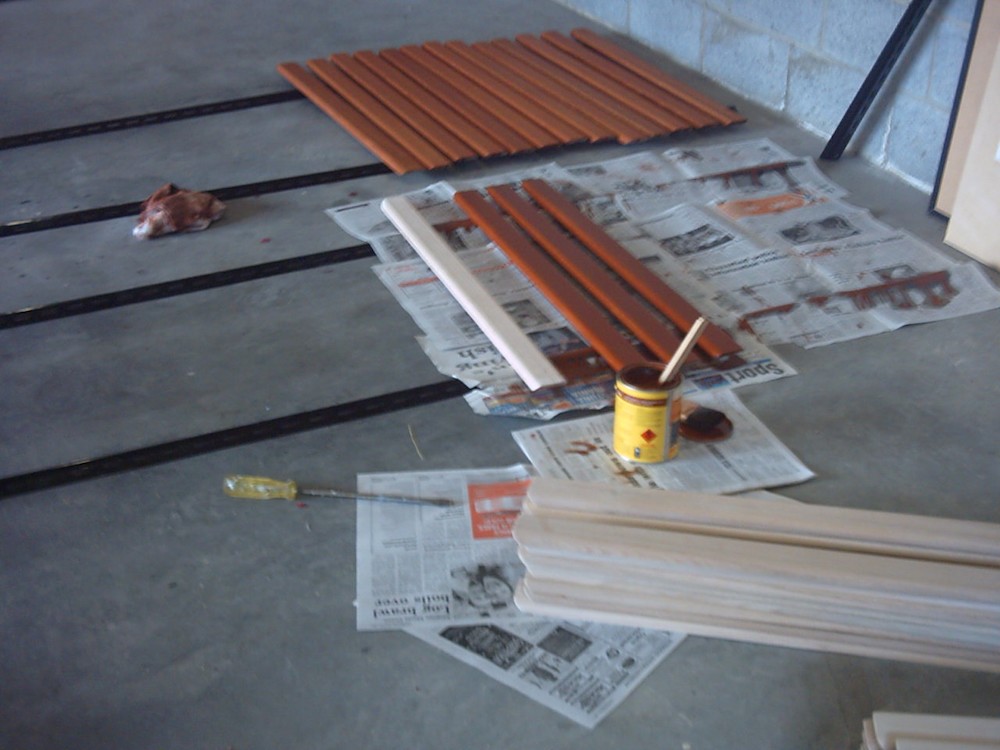
Applying stain to the slats. I used a couple of different kinds and applications. |
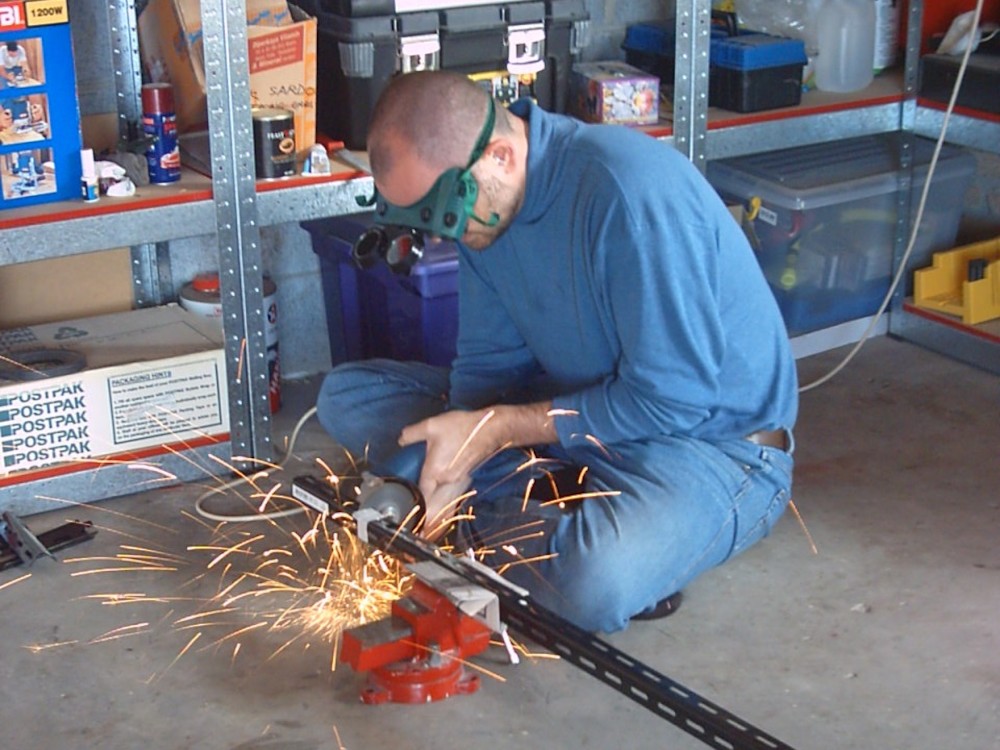
I used slotted angle iron from my local hardware supplier, here I am cutting it to size and cutting a bevelled profile at the top. |
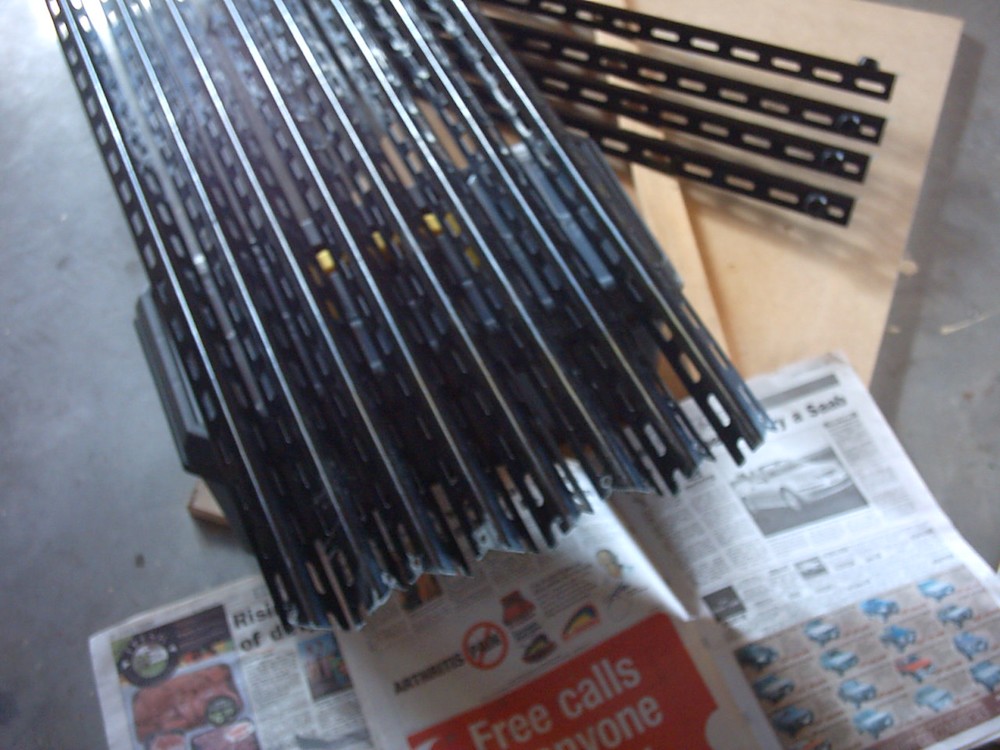
Finishing off the cut edges with various rust-proofing products (to be followed by enamel). |
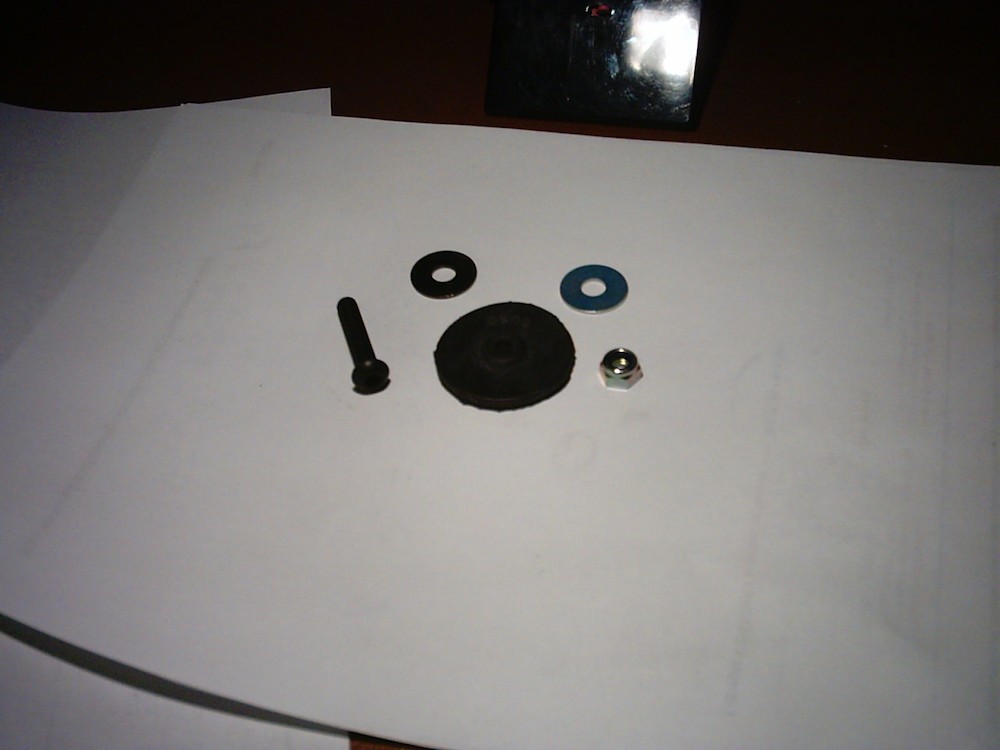
My initial selection of fasteners. Getting black-coloured washers was a complication. I eventually found a plater who could do it. |
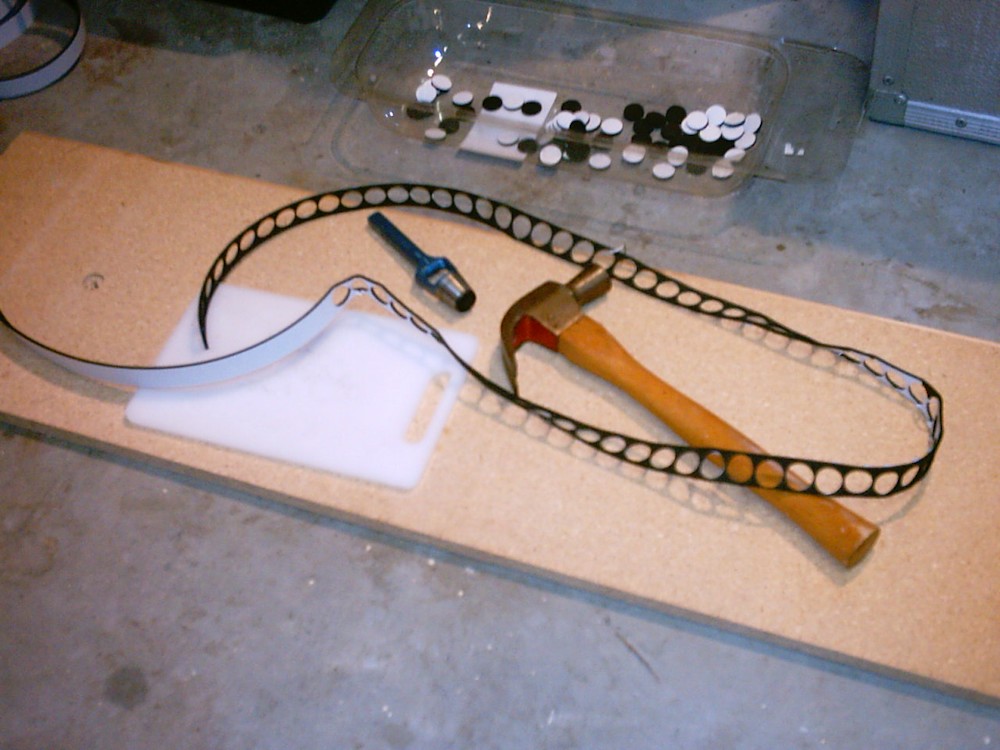
I realised that the washers would bruise the polyurathane finish on the slats, so I punched some circles of adhesive rubber foam to apply to the inside of the washers. |
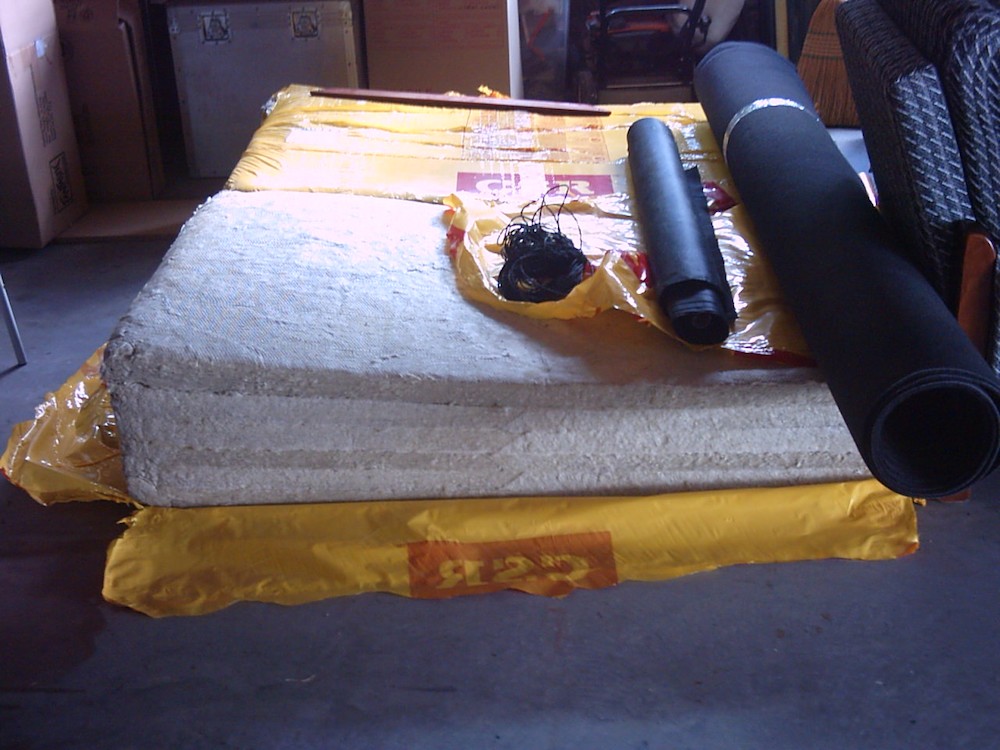
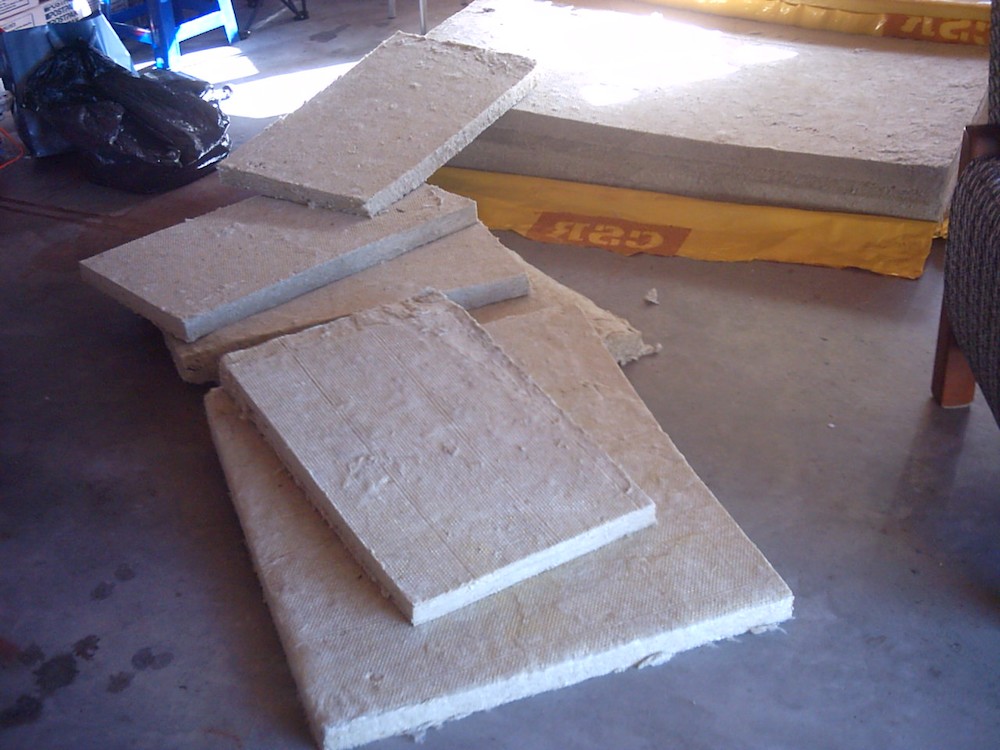
The "rigid" rockwool (Bradford Fibretex 450, 50mm boards), some sofa-lining fabric (a manufactured tissue) and black car carpet. |
Sofa-lining fabric and black car carpet |
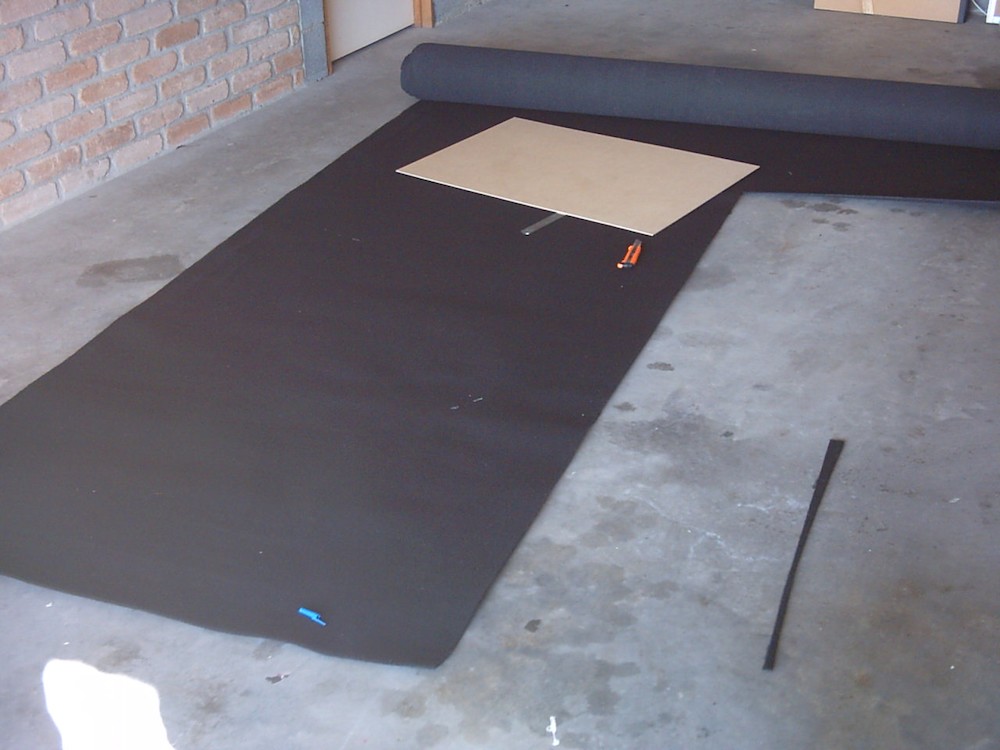
Cutting the fabric to size |
Cutting the rockwool |

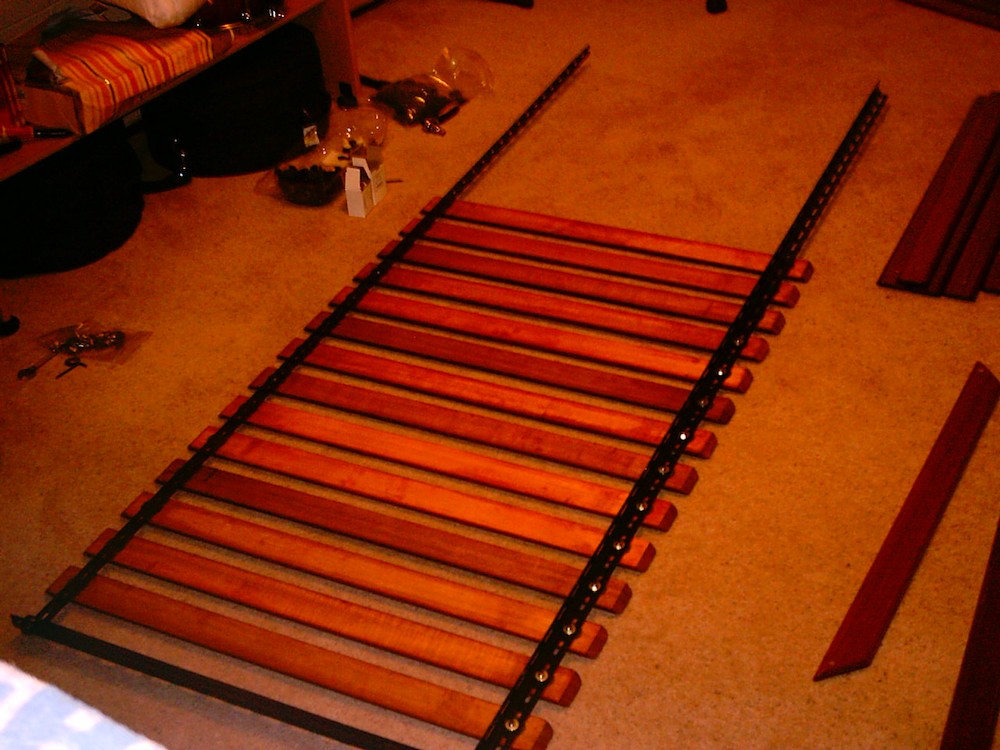
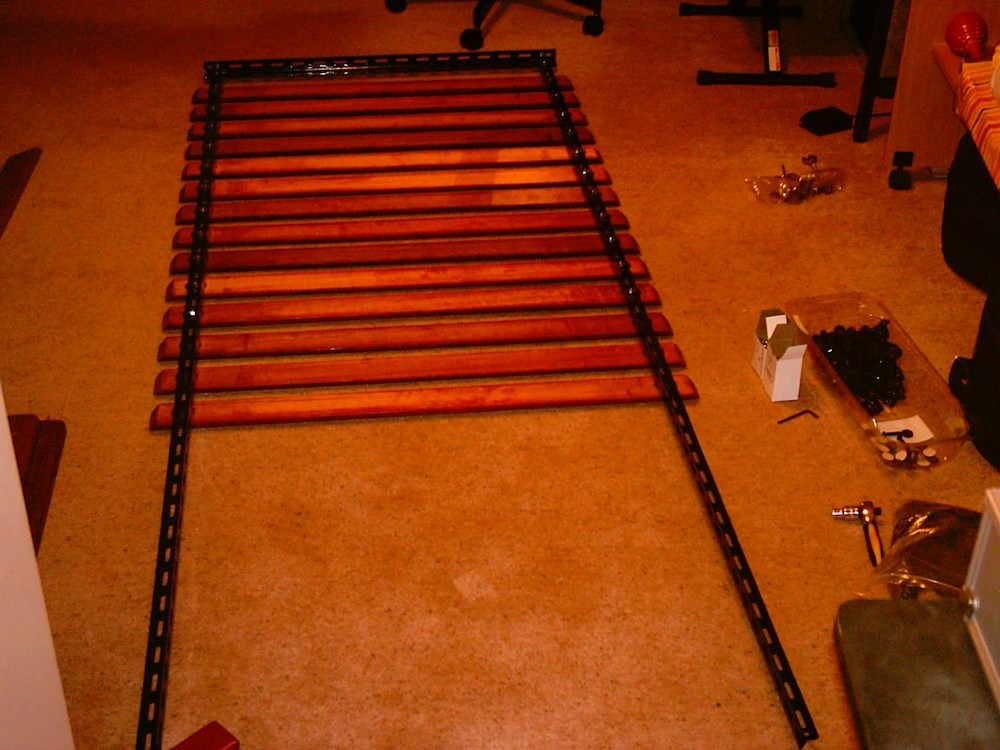
Attaching the slats to the angle iron |
|
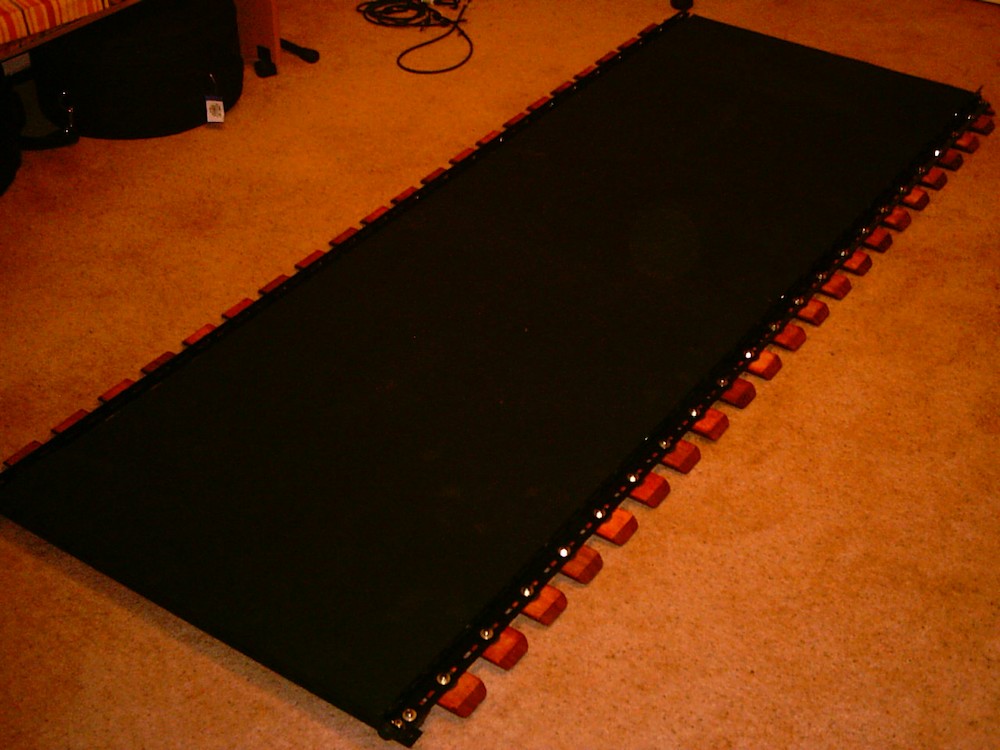
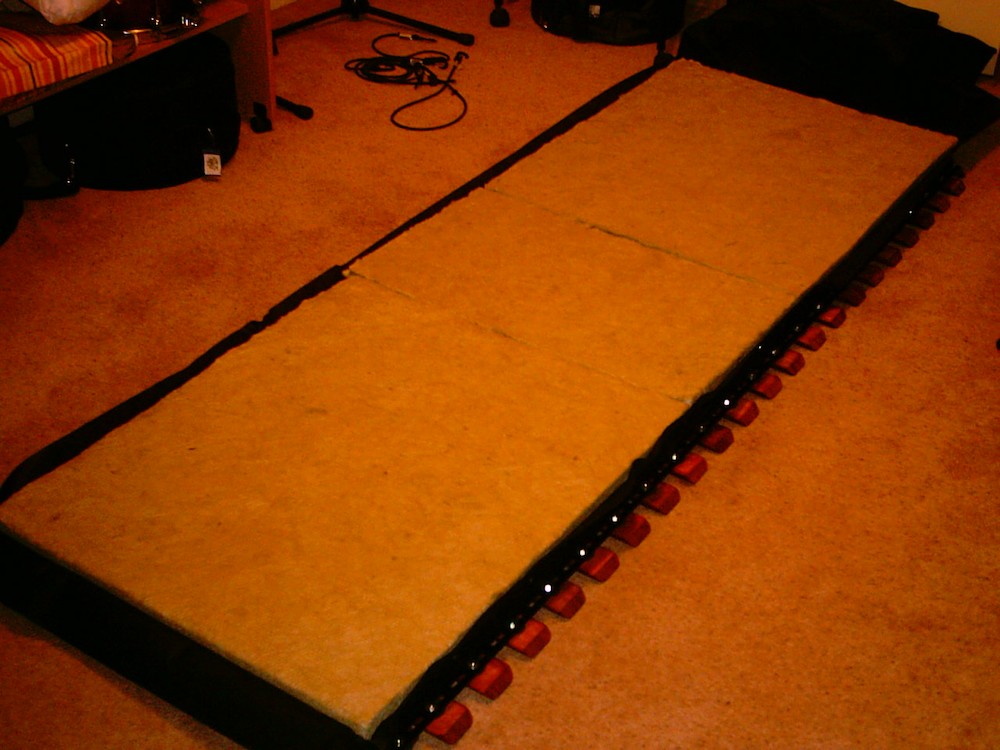
The carpet face down on the inside of the frame |
The first layer of rockwool. There is a sheet of the sofa fabric between the carpet and the rockwool. |
The second layer of rockwool. Note the crudely carved bevel. |
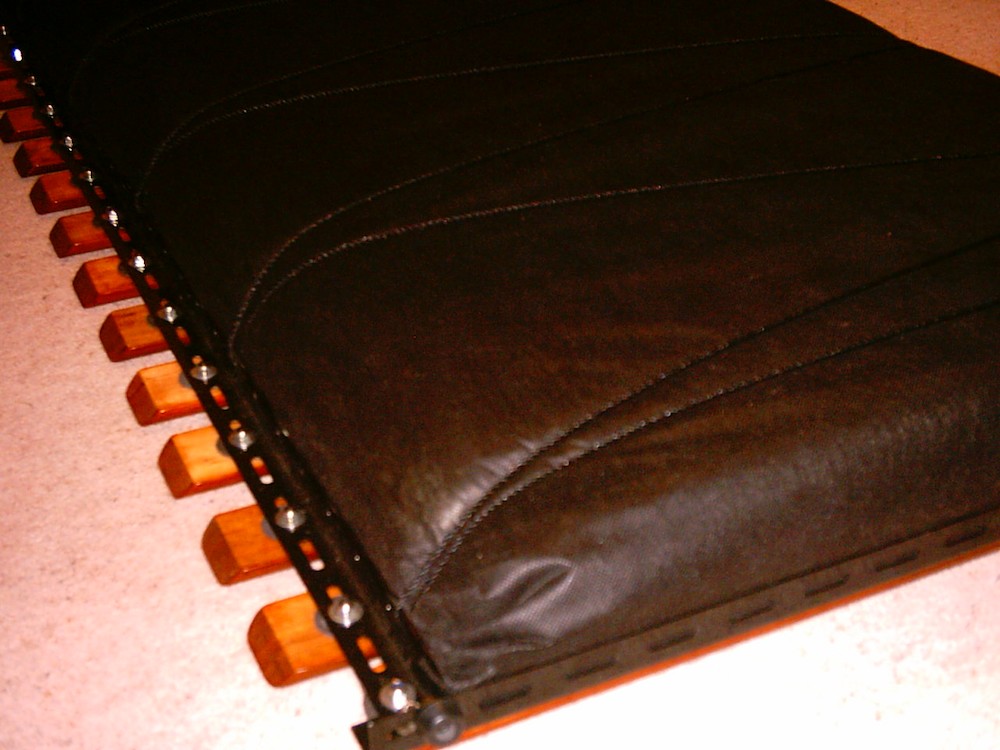
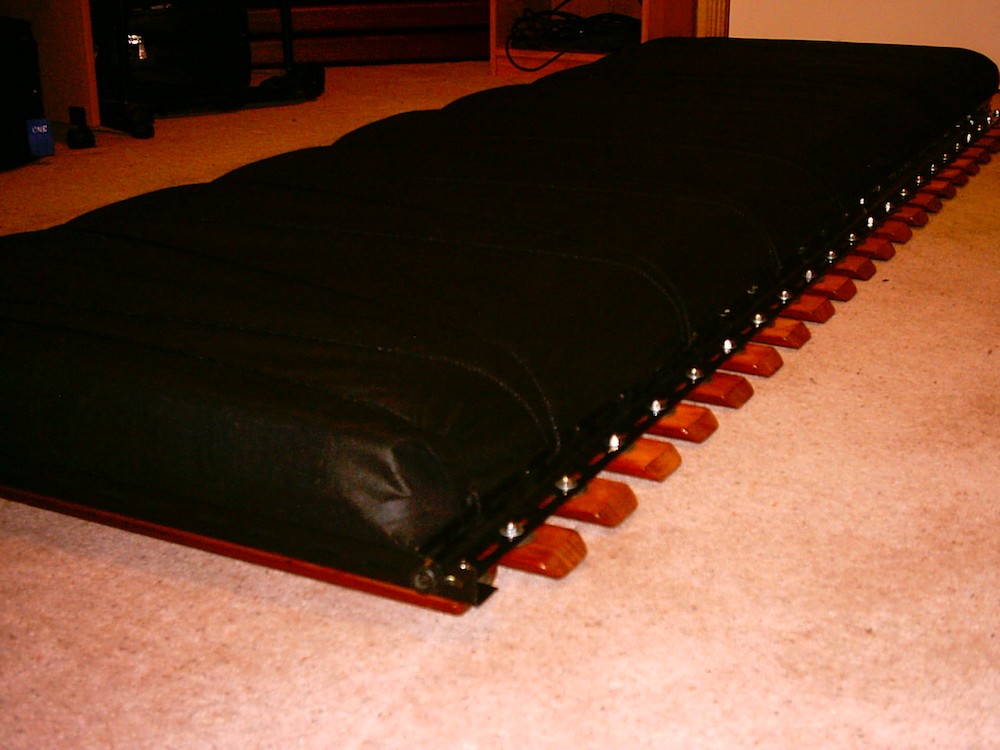
The fabric is folded down over the top, and roughly tucked in. I was considering glueing it in place, but this proved unnecessary. |

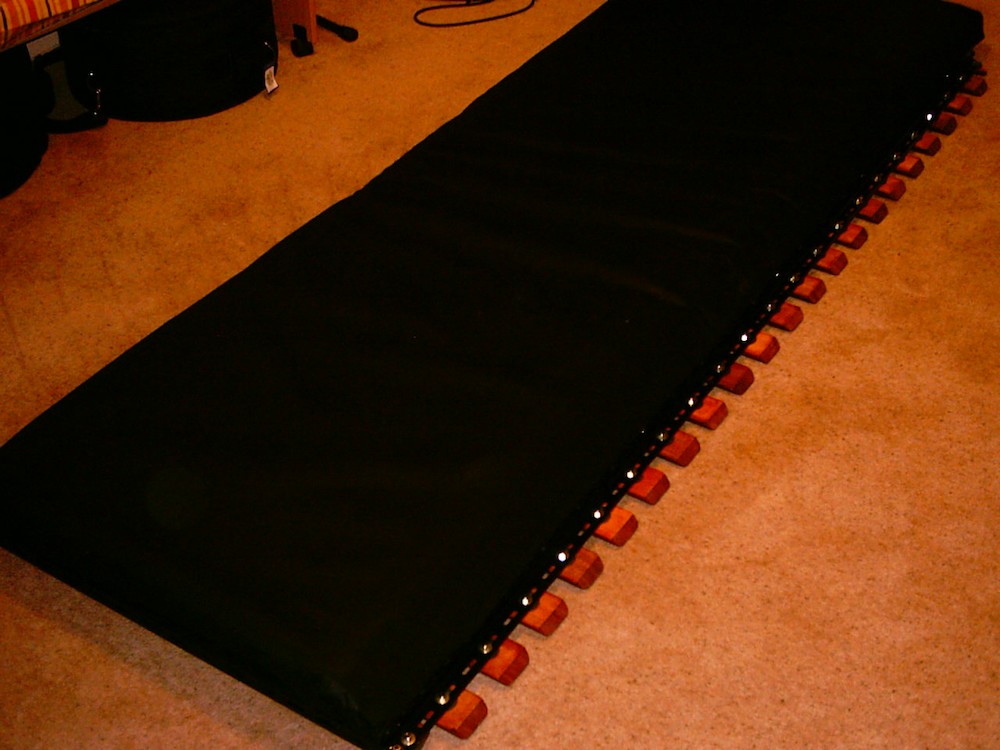
I lashed everything down with thin rope |
This held things together so well I was confident that no fibres would escape even though I had done no sewing or glueing. |
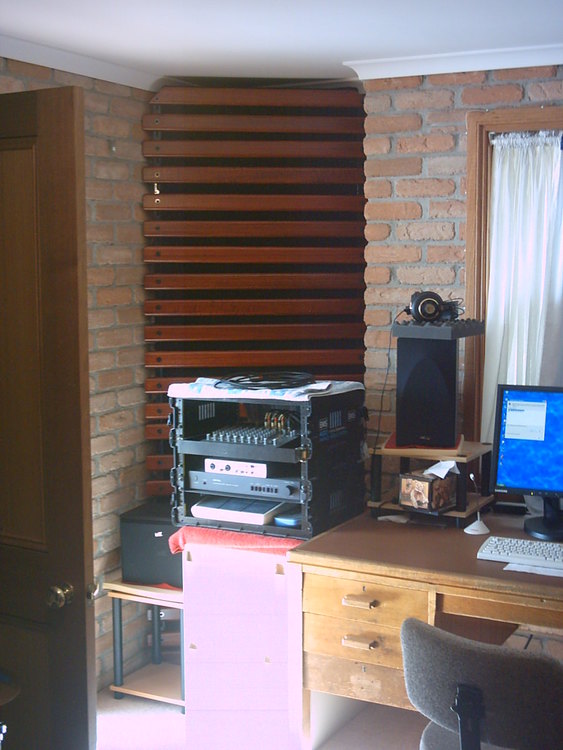
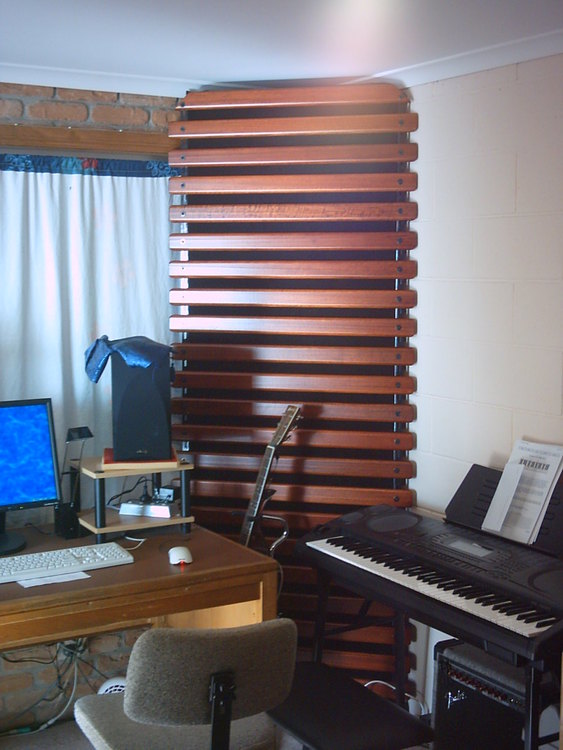
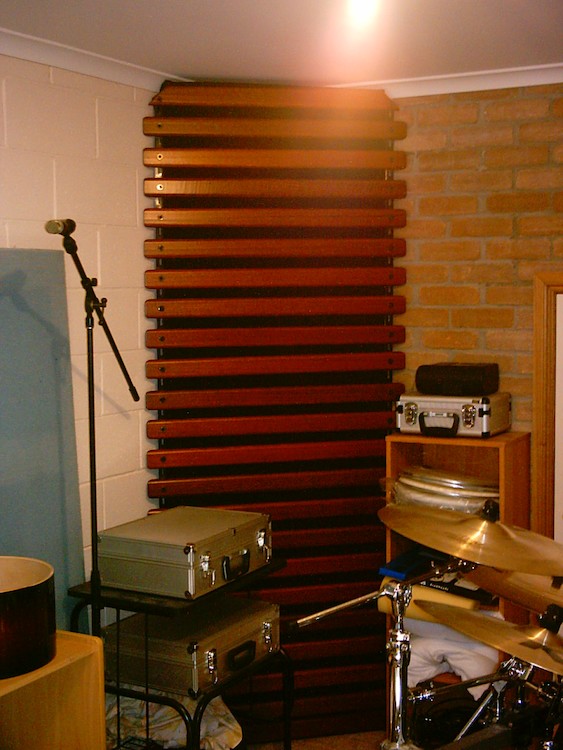
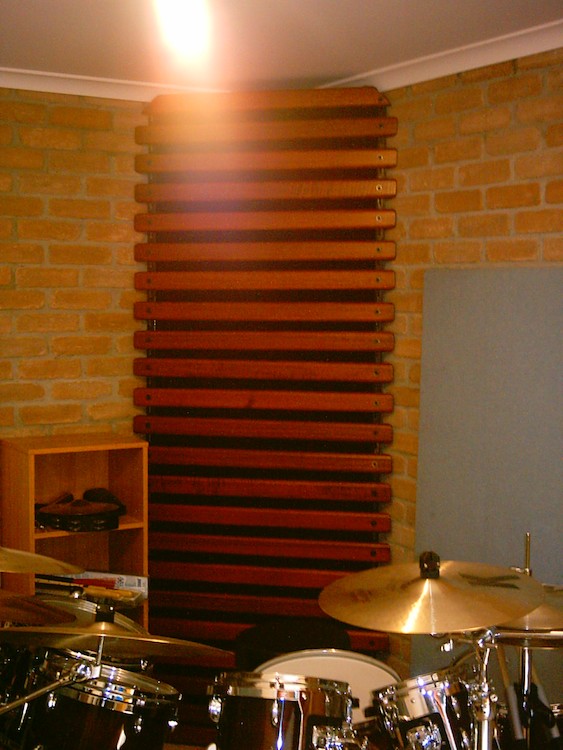
The four bass traps installed. |
They are held in place with bungy cords and heavy-duty hooks in the wall. |
This was pretty straightforward for a brick wall... |
...but if I were doing it on a plaster wall I would make sure those hooks were screwed into corner studs. |
|
|
|
|
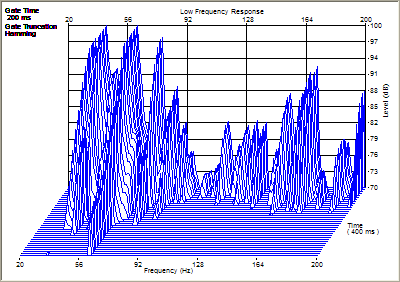
Bass reverberations of my untreated studio. I am not 100% confident in the accuracy of this analysis, every time I run the test I get different results. However the comparison does give some indication of the benefit. |
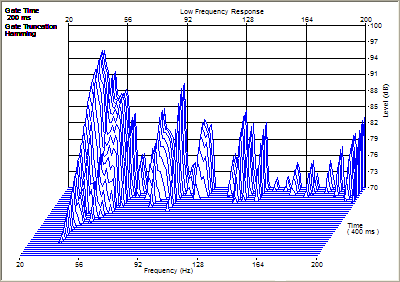
Bass reverberation with my new bass traps installed. Subjectively, bass sounds a lot more even, and does not vary nearly as much as I move around the room. |
Notes on my design:
The cost was approximately Aus$1300, which is about 60% of the cost of equivalent treatment from Shamrock consulting (probably the most affordable commercial option in Australia), and about 30% of the cost of the equivalent amount of RealTraps (when bought in Australia).
Although there are slots between the slats, this is not a slot resonator bass trap. There is no seal at the sides, so they don't form a cavity. And though I haven't done the calculations, I'm pretty sure the resonant frequency (if there was an effective cavity) wouldn't be in the desired range. Those slats are purely there for appearance and structural integrity.
I chose rockwool over fibreglass as it is easier to handle (the fibres are less irritating) and it came in sizes that were more compatible with the sizes of my design. Fibreglass has slightly better acoustic properties, but with the large surface area of my design rockwool was adequate.
They look spectacular, like they belong in a much more expensive studio.
My bass traps are extendable should I move to a new house with a different ceiling height. A length of angle iron extension can easily be bolted on, and I have some spare slats in storage just in case.
The traps are robust, so that if someone bumps into them with a shoulder, they'll easily take it. (I have young kids, so this was important).
If I do move house, I will probably have to disassemble them, they are not terribly transportable...
Studio Ceiling Diffusers/Reflectors (2015)
Documenting the ceiling reflector/diffuser panels I build for my music studio.
The Problem
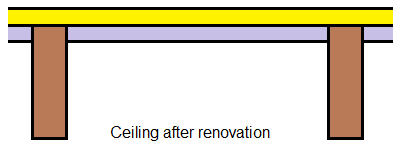
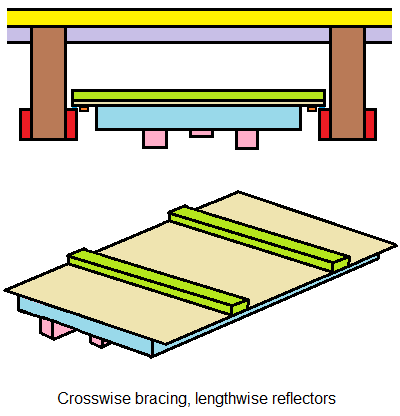
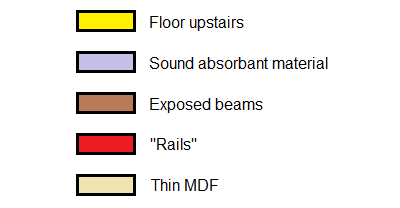
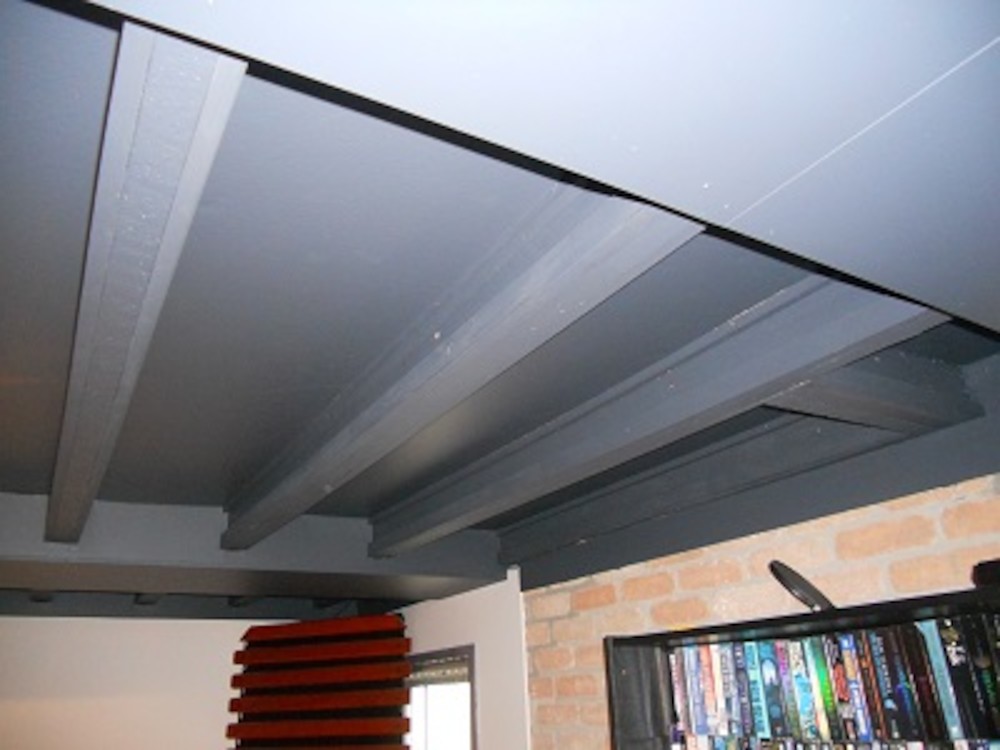
After the renovation of my music studio, the existing ceiling was removed, a sound-absorbent layer was laid against the underside of the floor above, and the support beams were left exposed. In conjunction with the carpet flooring, this left the studio very dead sounding. I wanted to liven up the room, without having the parallel walls render it too fluttery. Ceiling diffuser panels would "cover" the absorbent lining, and "break up" the echoes from the walls (rather than simply absorbing them).
Philosophy
The mathematics behind QRD and PRD diffusers, while stunningly elegant, suffer from one massive "elephant in the room"-type flaw: the beautifully even diffusion profile only happens at a single target frequency. (Fractal panels are one attempt at extending this - but they can only manage three or at most four target frequencies.) At lower frequencies, the panels appear as a smoothly curved reflector, at higher frequencies a random series of flat reflectors. So for the majority of the frequency spectrum, you get random, uneven diffusion. This is not a bad thing - that's what all good sounding rooms have ever done. My aim then was therefore to focus on random reflections rather than chasing a perfect diffraction wavefront. Bear in mind that the "main" problem was a dead sounding room.
As an aside, this 1990 paper by Robert Walker describes primitive root diffusers in great detail, and includes a design that appears similar to RPG Inc's 1993-filed patent for their "Skyline" diffuser. I am sure a lawyer somewhere can point out the differences.
Design
|
|
|
|
|
|
|
|
|

Construction
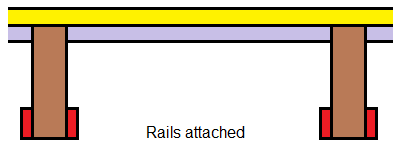
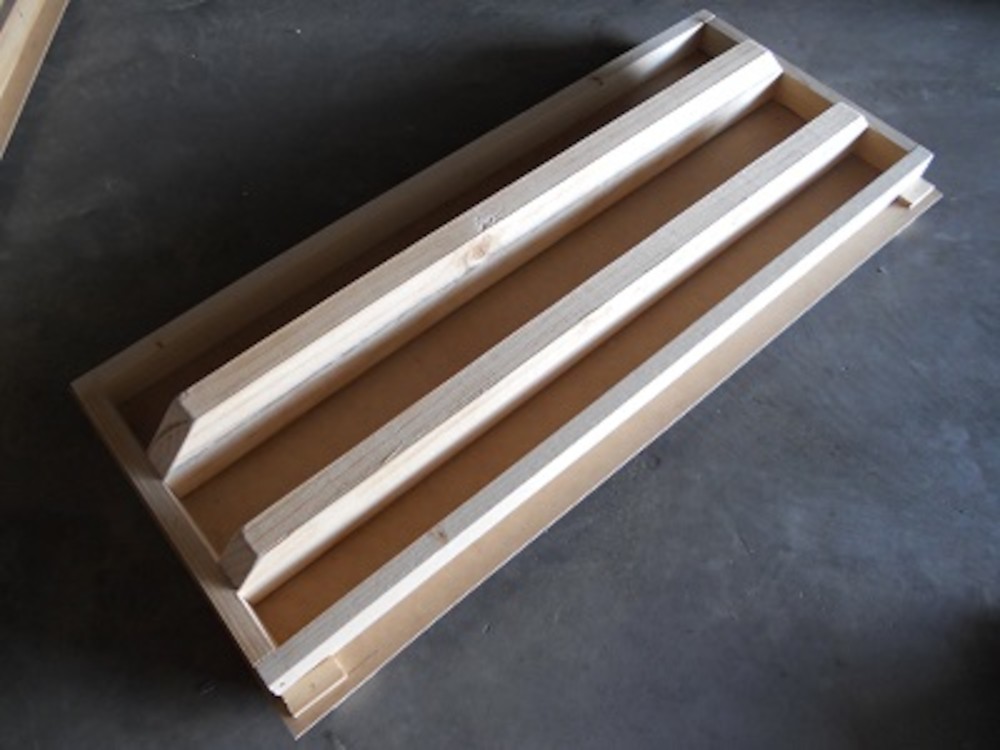
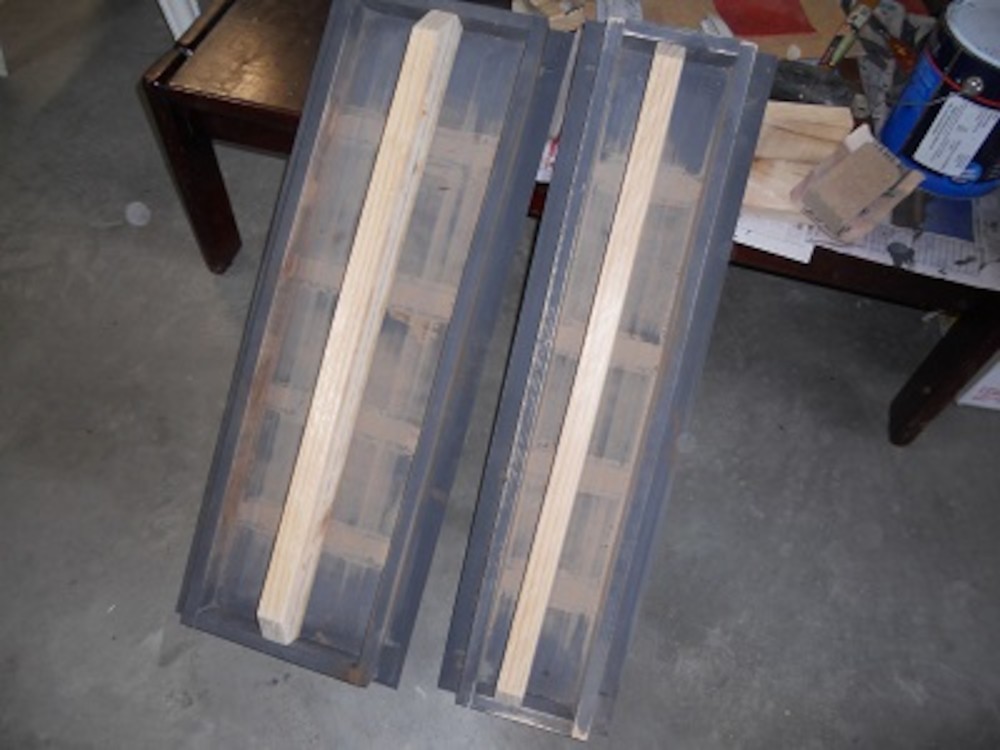
The first step was to attach "rails" (40x19mm pine) to the exposed beams, so that the panels would have something to hang from. |
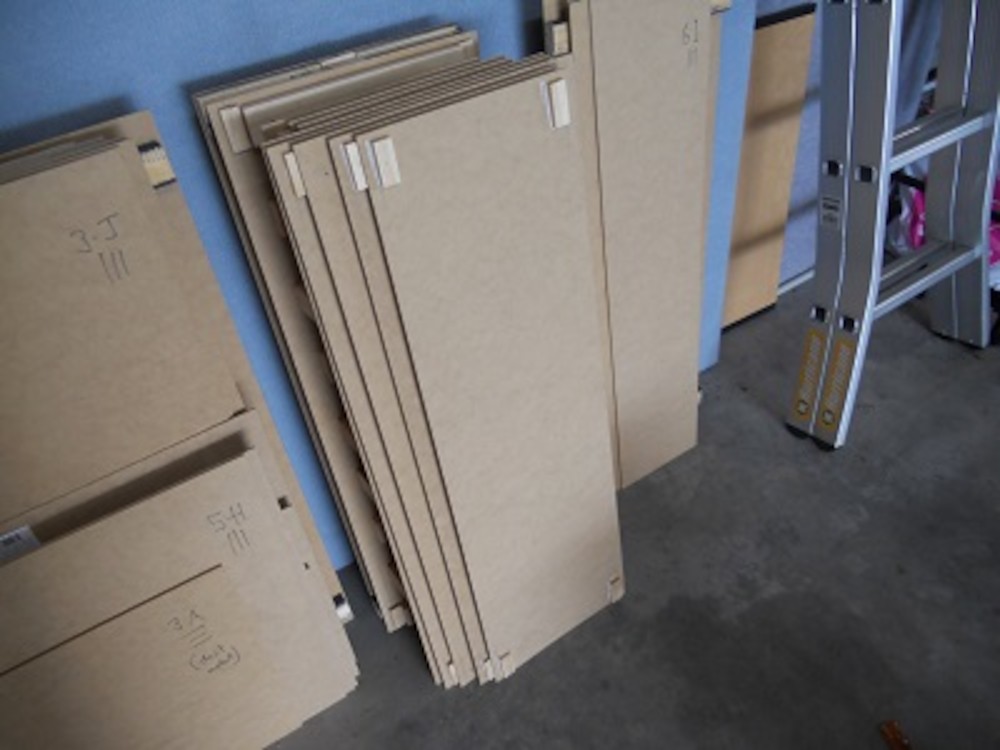
The panels could then be inserted into the cavities at an angle, clearing the rails, then straightened up and released. |
After cutting (and testing!) the MDF panels, I attached short beading strips to stop the panels from slipping sideways. |
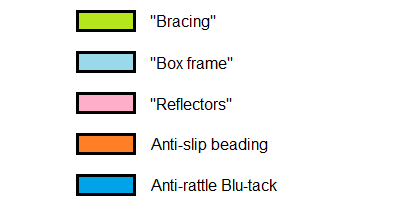
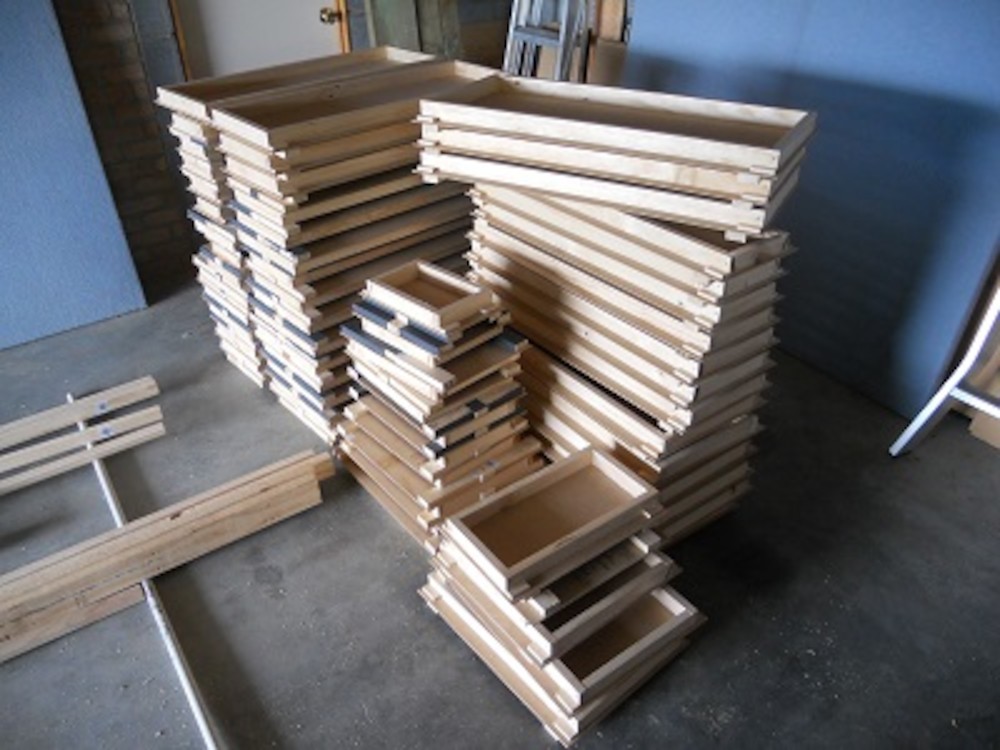
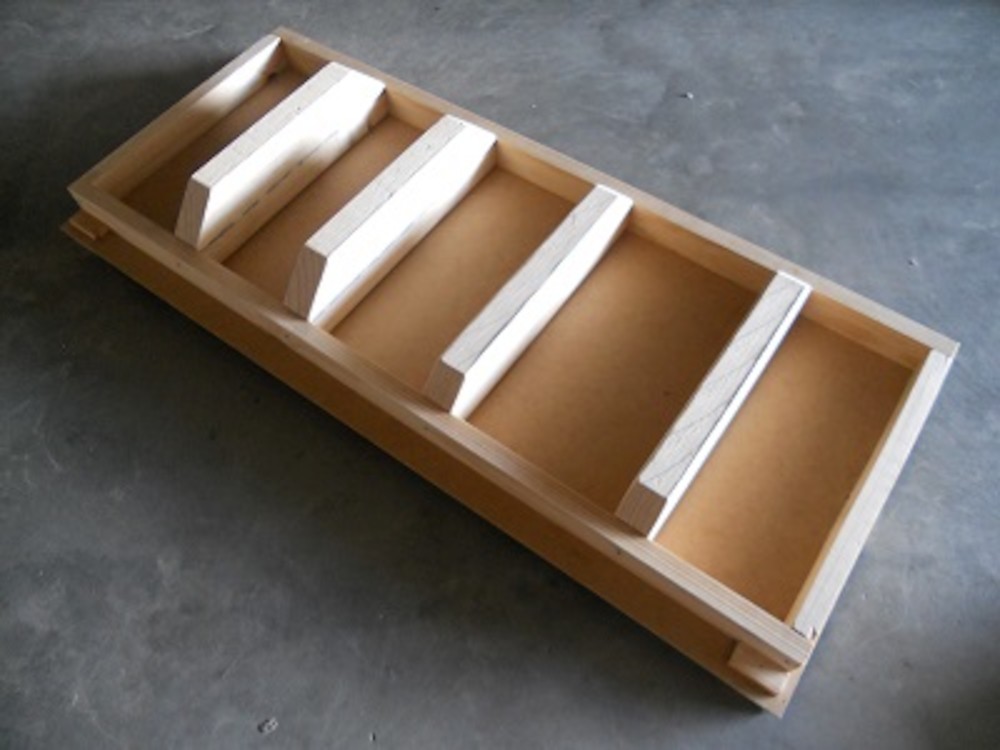
The bracing was probably unnecessary, it was there because my original design did not have the added strength of the "box frames". |
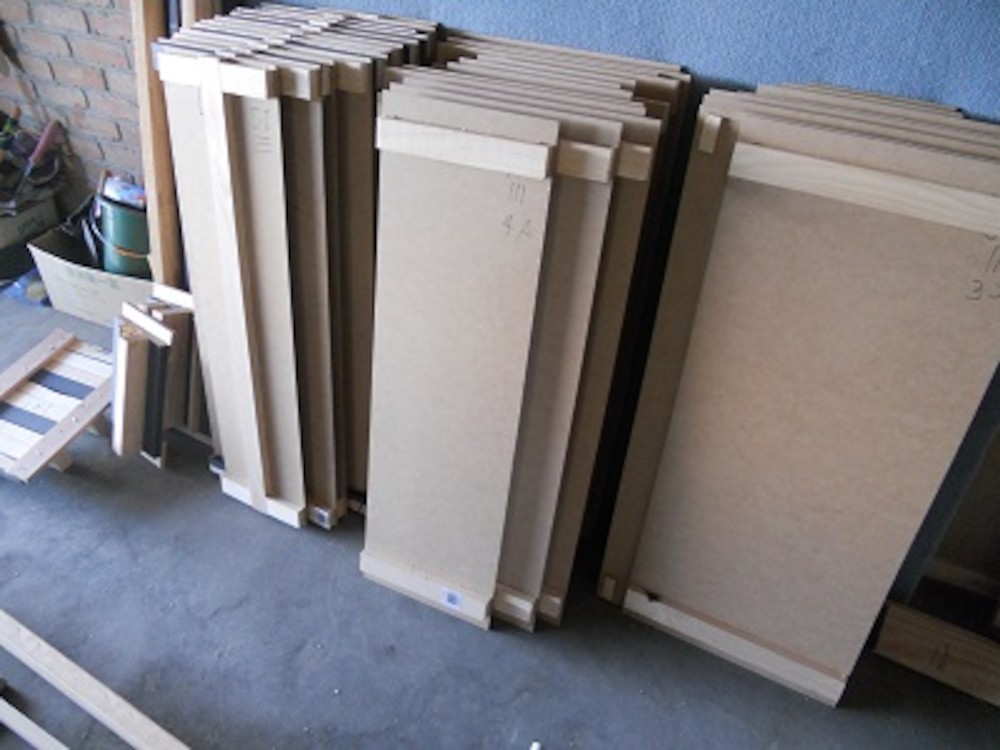
The box frames were added to improve the aesthetics (after a couple of prototypes). |
All the reflectors have been cut and attached. For aesthetic purposes I "bevelled" the bits that extended beyond the box frames. |

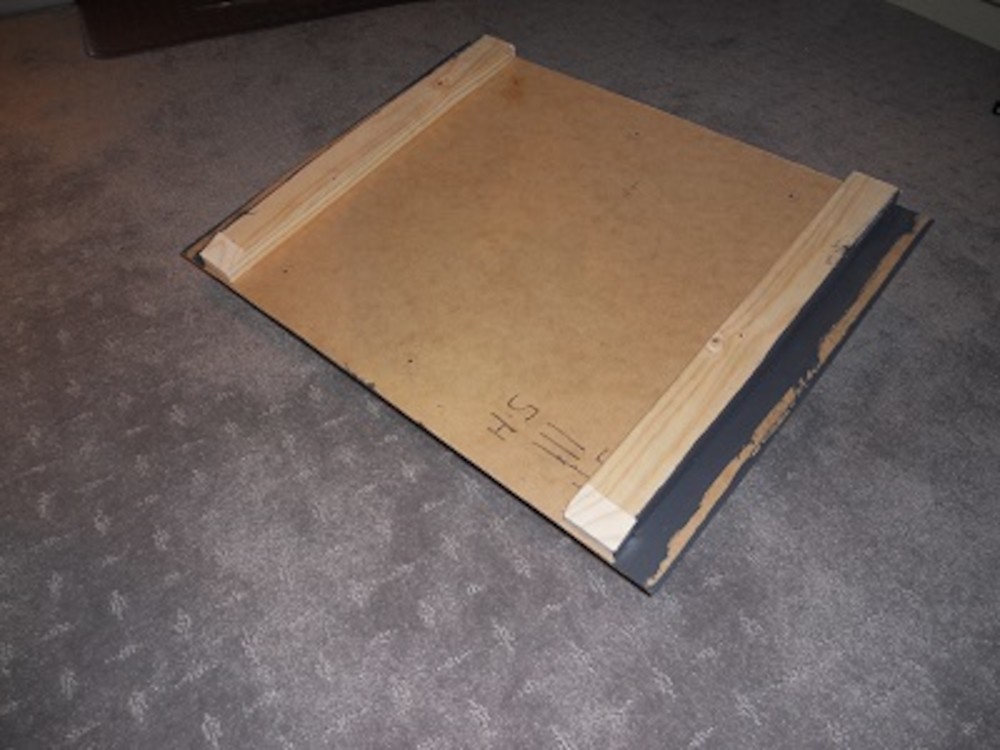
Closeup of a lengthwise reflector panel. |
Closeup of a crosswise reflector panel. |
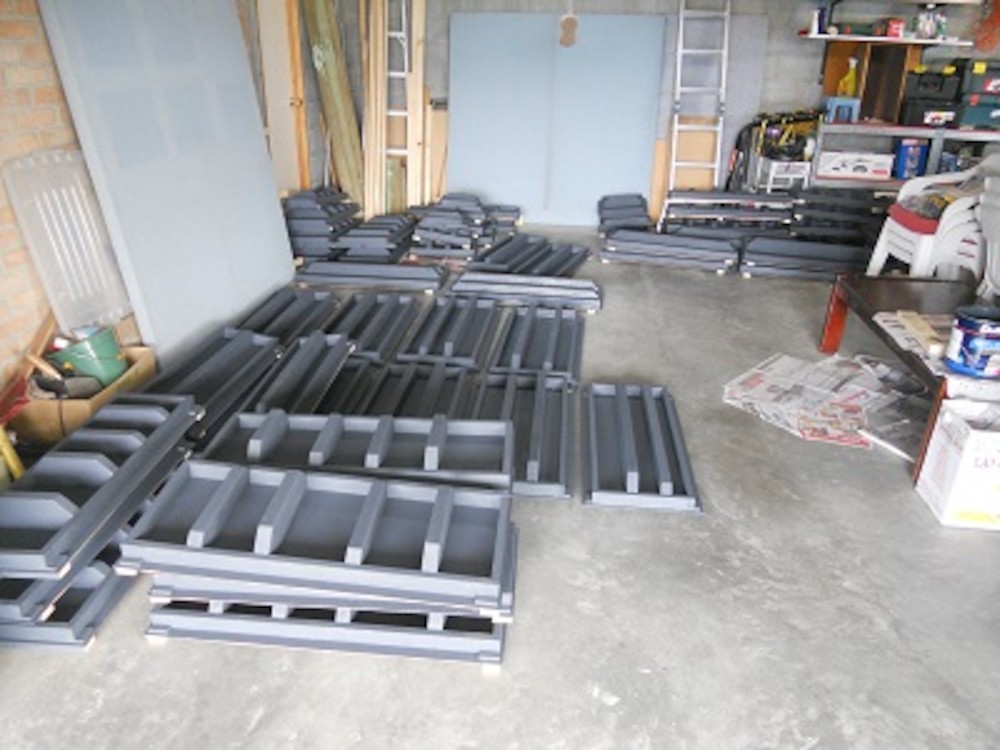
All painted and ready for installation. |
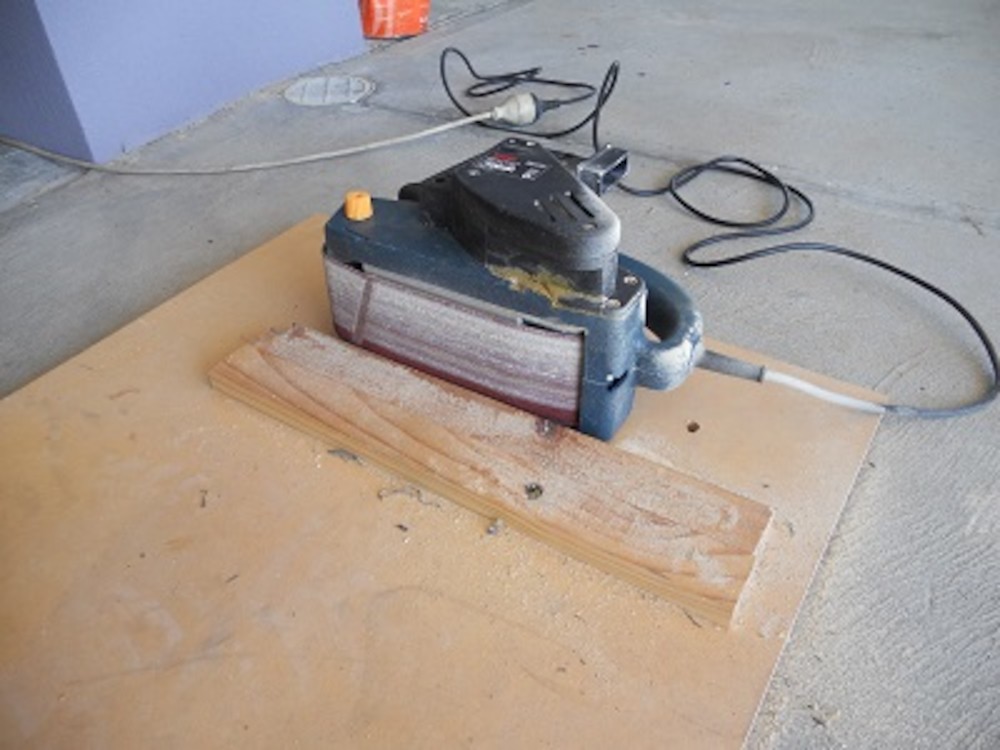
During installation some panels required adjustments. In most cases, the adjustment required was pretty mild. |
The mild adjustment was done with a DIY mounted belt sander (mounted with dowels). |
Owing to a momentary lapse of concentration, two panels required more significant "adjustment". |
After Installation
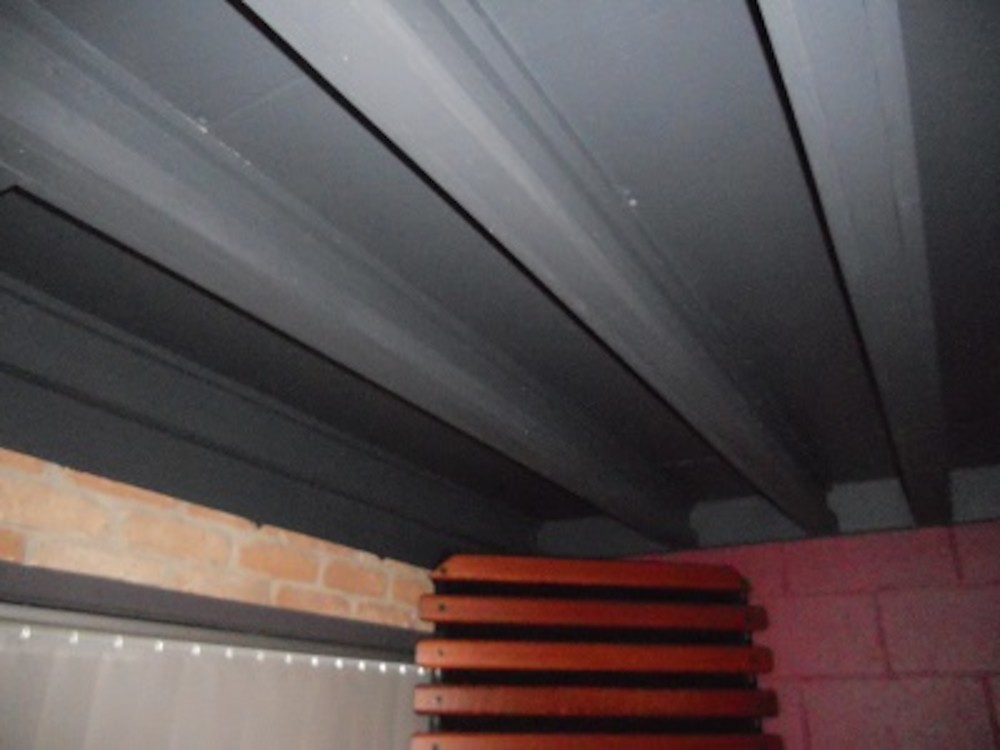
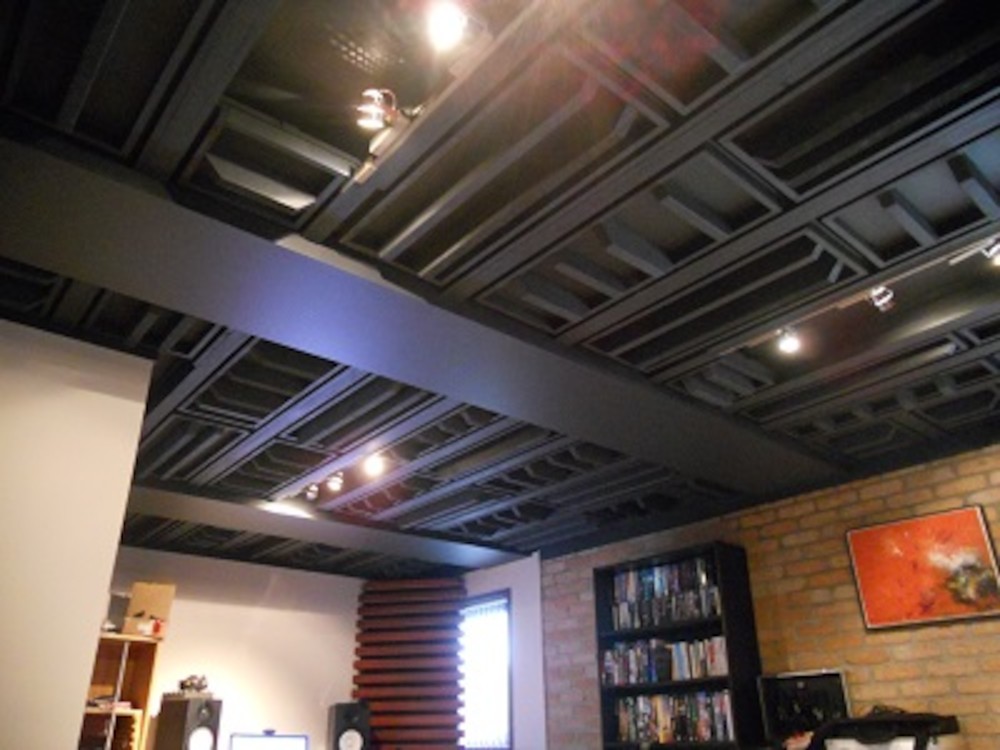
The installed panels look as good as I'd hoped. Notice the balance of randomness and regularity. |
I actually tossed a coin to determine reflector size, placement and spacing. |

Sound Samples
|
In this sample, you can hear some drumstick clicks and handclaps, recorded from across the room. I was standing beside a drum kit, and you can hear some sympathetic ringing of the heads, but the acoustics are very dead. (The difference between the two recordings is subtle, and heard most effectively with good headphones). |
This sample is the same thing, recorded in exactly the same way, after the ceiling treatments were installed. The room is slightly more lively, especially on the drumstick clicks. More noticeable is the increased drumhead resonance on the handclaps (which masks most of the actual reverberation). I think that is because more sound is being reflected, and thus reaching the drums. |
Final Verdict
I was initially a bit disappointed that the increase in reverb time was so modest. But then I spent a bit of time playing some instruments. The difference is significant, although hard to describe - it's more a feeling that you get when playing. Here are a couple of specific example: for the first time the piano sounded better with the lid all the way up. And drums "fill the room" rather than merely assaulting you with volume.
Issues Encountered
If the panels are constructed too "tightly" (every piece of wood glued to every other one), they tend to warp, making fitting very difficult. If constructed too "loosely", there is a possibility that they will rattle or buzz when a loud bass note is played.
I ended up using a lot of glue, but I waited between various construction steps, to give the wood a chance to settle naturally. The use of Blu-Tack as part of the installation process (quite possibly a first in the world of acoustics) should also minimise any rattling.
All content Copyright 2006 Trevor Magnusson
| × | |